Is your sliding glass door leaky, drafty, or does it jam when you try to open or close it? Disassembling the door can give way for you to replace old rollers and tracks, remove debris from the tracks, or even install a new door if need be. Read on for instructions on how to remove a sliding glass door.
Tools for removing sliding glass door
Here’s what you will need to get the job done:
- Screwdriver
- Reciprocating saw
- Flat prying bar
Materials
- Foam sheets
Step by Step Guide on how to remove sliding glass door
Follow these simple steps to remove a sliding glass door.
Step 1. Prepare the work area
Place foam sheets on the floor around the area where you will be working. This helps to protect the floor from potential scratches and can prop the glass door from breaking in case it is dropped on the floor. Be sure to remove any furniture, rugs, pots, and other items in the vicinity of the work area.
Step 2. Examine the sliding panel of the door

Patio glass doors typically have a sliding and a stationary panel. You will need to first remove the sliding part to make way for the unmovable portion of the door.
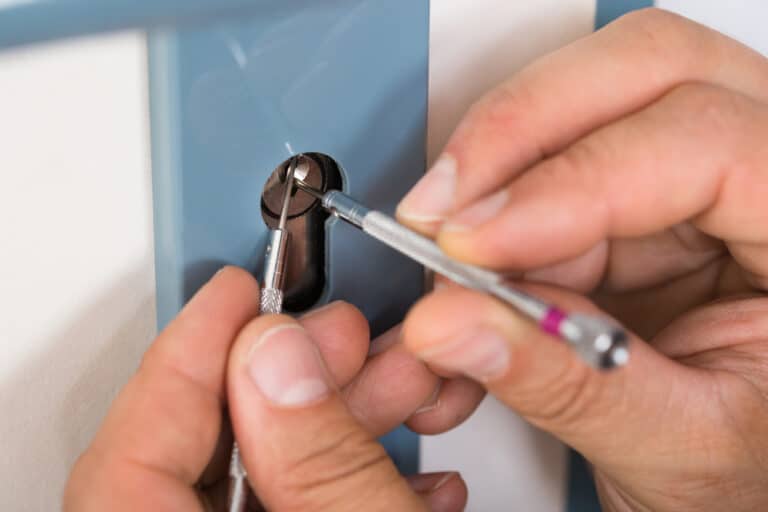
Most sliding doors have screws at the top and bottom along their edge on either side. These attach the door to the tracks. Examine the screws to determine the type of screwdriver you will need. In most cases, a standard flathead screwdriver gets the job done.
Step 3. Detach the door from its tracks

Regular sliding doors have tracks on which the door glides back and forth. Most also come with small but powerful rollers that enable the door to move effortlessly. Over time, the tracks can warp or collect dirt, or the rollers might break, making it difficult to open and close the door.
- Sometimes, all that is needed is to clean and lubricate the tracks to restore normal operations. In case of extensive damage, removing the entire door and replacing the tracks or rollers might be your best bet.
- To detach the door from the tracks, spin the flathead screwdriver counterclockwise to loosen all the fasteners. Loosening the screws lowers the doors, lifts the rollers at the bottom, and makes it easy for you to lift the door from the tracks. Once you remove the upper and lower screws along the edge of the door, stand in front of the door and hold it on both sides.
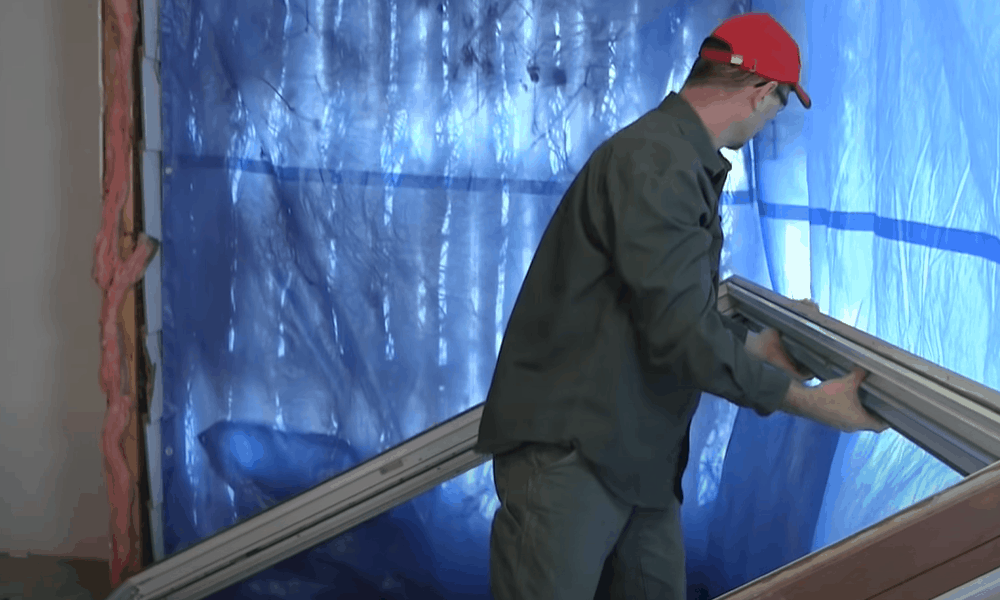
- Lift and tip the door to release it from the lower tracks and pull it out gently. These types of doors might look light because they consist of glass and plastic or aluminum but they can easily weigh over fifty pounds. As such, it is a good idea to have someone help you safely lift the door and place it in an out of the way location.
Step 4. Get rid of the screen door

Some glass patio doors come with a removable protective screen. Once the sliding door is out, simply lift the screen door from the outside and pry out it from the tracks. If it is attached in place with screws, remove the screws first then lift the door out.
Step 5. Remove the stationary panel
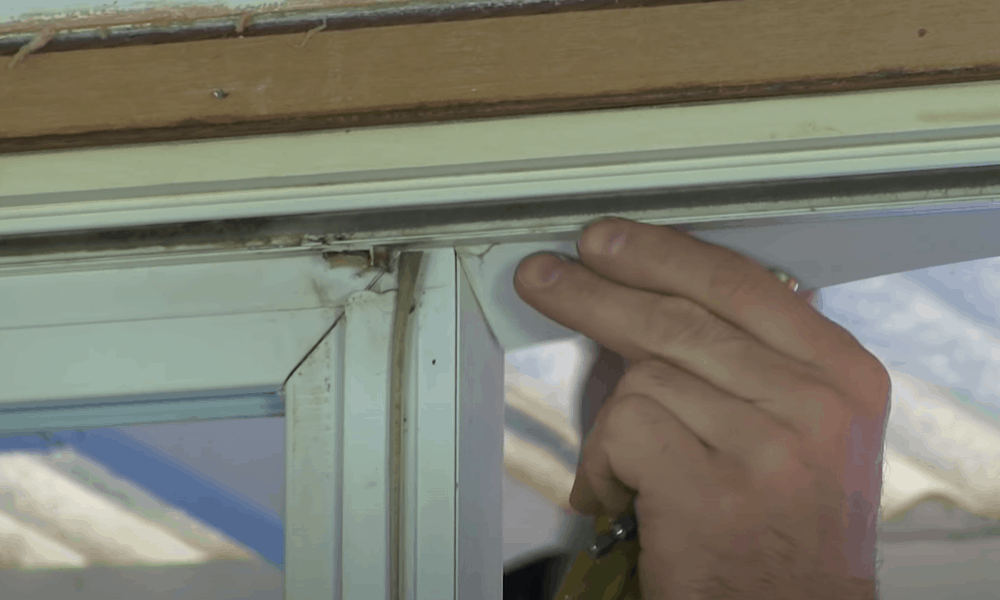
The stationary panel is usually held in place by a stopper, which could be a block of wood, or aluminum or linoleum angled brackets along the top of the track. If you cannot immediately see the stopper, it is probably hidden under a sheathing attached to the door frame.
- Use a flat prying bar to remove the sheathing and expose the stopper. Unscrew and pop the stopper out to allow the stationary panel to slid along the track.
- Check if additional screws are still attaching the door to the frame and unscrew these. Slide the door to where the sliding panel was while prying the door from the tracks.
- Use a utility knife to get rid of any paint or debris stuck along the tracks. Finally, tip the door inward and lift to free it from the tracks.
Step 6. Remove the door frame
If you want to replace your sliding door with a new one, you will need to get rid of the old door frame for the new door to fit properly. Depending on how the frame was installed, expect to do some significant prying to free the frame from the door jamb.
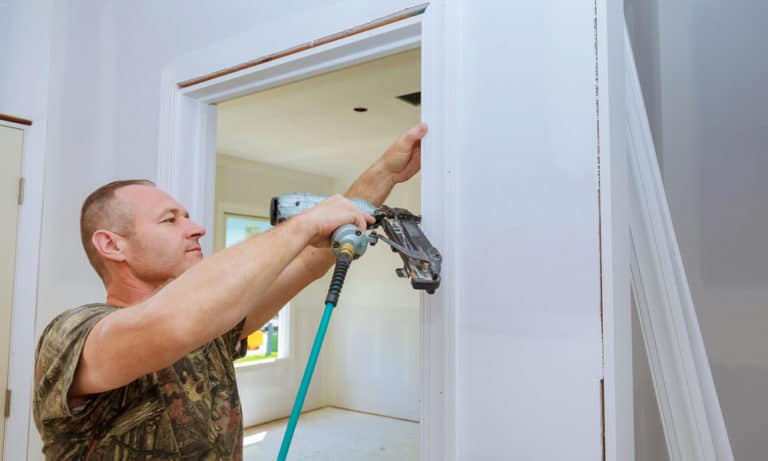
- Using a reciprocating saw, cut through and along the top and sides to remove the shims, fasteners, and other sealings attaching the frame to the jamb. The bottom part will likely be attached to the floor with a sealant of sorts.
- With your partner’s help, tip the frame from the top while pulling it outside. Meanwhile, pry the frame until you release it from the floor. To dispose of the frame, cut it up into chunks and throw the pieces away.
Extended Tips
Removing a sliding door takes a little bit of time but with the right tools and technique, you should be able to complete the project successfully and save on removal costs. Here are some extra tips to help you minimize damage and make the most of your time:
Avoid forcing the door out
Shims, fasteners, and sealing can make detaching a door particularly difficult. Excessive pushing and prying increase the chances of breaking the glass pane, ruining the tracks, or damaging the door frame and surrounding skirting, which means extra repair costs.
Try to remove all fasteners and to use appropriate tools such as a reciprocating saw to cut through sealing material to disassemble the door with minimal damage.
Use a center punch to avoid damaging the siding
Depending on the way the door was installed, the siding and frame might overlap, making it difficult to simply lift and pull the door. Drilling can help to separate the overlap without damaging the siding.
- A center punch is a handy tool when it comes to drilling holes accurately. Use this tool to punch an indentation along the overlap between the frame and siding and then use the drill to put a hole through and break the overlap without any damage.
- Repeat the process along the entire frame until it easily separates from the siding with minimum prying needed.
Measure before buying a new door
- If you plan to replace your old glass door with a new one, be sure to get the right measurement to buy a door that fits the opening left by the old one. It is best to measure after removing the frame. Place the tape measure from one side of the door jamb to the other when measuring the width and from the beam to the floor for lengthwise measurements.
- When measuring the length, do so starting from the floor upon which the doorsill is installed up to the beam of the door. This ensures that the new door you buy is not too short for the opening.
Maintain sliding doors regularly
The average cost of replacing a sliding door is about $1,000. A little maintenance goes a long way in keeping your doors in top condition and helps you avoid costly repairs or replacements.
- Using a toothbrush, sweep any debris caught in between the tracks. Alternatively, you can use a small handheld vacuum to get the job done faster.
- Next, with the door pulled back, spray a silicone-based lubricant along the track to get the door to slide back and forth with ease. Silicone lubricants are super slippery (which is the desired effect) but they also do not gather too much dirt.
- We recommend vacuuming the door tracks every time you vacuum the room. Lubricate when you notice the door slowing down. In other instances, lubrication might not be enough as the problem could be faulty rollers that need replacing.
Enjoy Big Savings By Removing Your Glass Sliding Door Yourself
Whether you want to replace the door or fix some hardware, removing a sliding glass door requires patience, some DIY know-how, and of course the right equipment. For safety and ease of work, ask someone to help you with securing and freeing the door from its tracks.
Here’s a quick recap on how to detach your sliding glass door:
- Remove the screws at the top and bottom of the sliding panel. Tip the top of the window and lift it off the tracks.
- If you have a screen door, lift it and tilt it outward to free it from the rest of the door
- To remove the stationary door, locate and remove all fasteners that might be holding door the frame. Firmly, pry the door to release it from the frame, slide it along the track, and then lift to release from tracks.
Do you have any questions or comments? Leave them right below—we’d love to read them!

Thanks for the tips on removing a sliding glass door. I appreciate that you mentioned that it’s smart to measure for your new door after you’ve removed your old one. My sliding glass door has been cracked for a while now, and I am finally trying to get around to replacing it. I think to make sure that everything is measured and installed correctly, it would be best to hire a professional to do it for me.
Can not get stationary door to move after removing the two bracket holding the edge top and bottom
Nice blog! Thanks for the tips on removing a sliding glass door. We are the sliding glass door retailer if you need any glass door you can contact us: Otto & Sohn USA Inc
This is a great tutorial! I’m going to try it out!