Are you looking to improve your home’s energy efficiency? If replacing your windows is out of the question, installing storm windows offers a cost-effective alternative. With the right tools and basic DIY know-how, you can install a storm window in a matter of minutes. Read on—I will show you how.
What is a storm window?
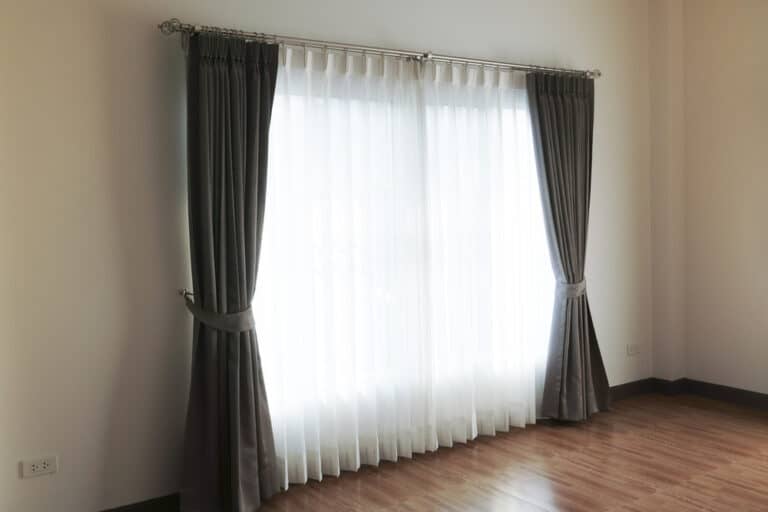
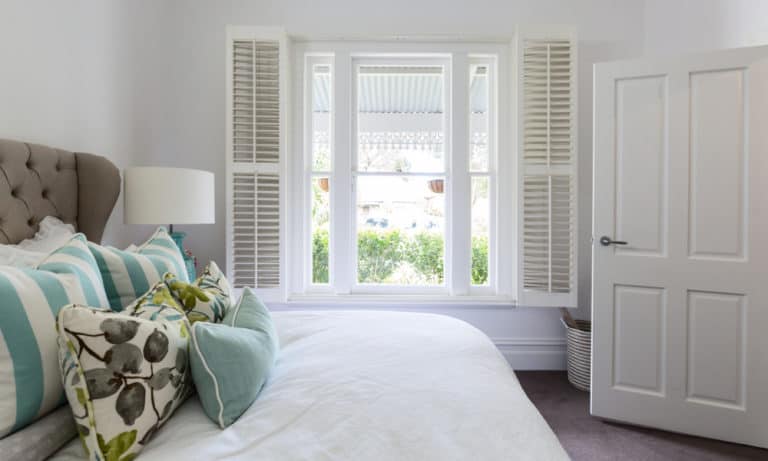
A storm window is a type of window you can install in the inside or outside of your existing window. It shields the primary window from weather elements. More importantly, it helps to keep heat in during winter and to maintain a cool inner environment in the summer.
These types of windows are made from a variety of materials including plastic sheets, vinyl, and glass. Modern ones feature an invisible glazing that enhances the window’s energy efficiency by retaining heat inside the home. These are commonly known as low-e windows.
Some storm windows are removable, allowing you to use your window according to your needs. For example, you can remove the glass in summer when you want to use your window fan.
Benefits of installing storm windows

Before installing storm windows, it helps to understand their benefits. Let’s take a look at some of these perks:
Improved energy efficiency
According to the Environmental Protection Agency, nearly a third of all homes in America have single-pane windows. These generally lack the capability to insulate against cold or heat as the seasons change.
There are other affordable methods of cooling your home, such as using a window fan. However, adding an extra layer of glass to your existing windows can help keep your house warm and cool as necessary without the extra cooling and heating costs.
Cost savings
Installing storm windows can save you big bucks on several fronts. First, setting up these windows generally costs half of what you’d pay for replacement windows. A new window can cost an upward of $400 while you’d pay about $120 for a storm window per piece.
Compared to the exterior types, interior storm windows pay for themselves faster—they tend to last longer as they are less exposed to the elements and they offer greater insulation.
In addition to this, insulating your primary windows can reduce cooling and heating costs significantly. We’re talking about trimming up to 33% of your energy bill, or $300 for households with an average energy bill of $1000.
Comfort and aesthetics
If you live in a particularly windy or storm-prone area, adding an extra layer of glass to your main windows can provide comfort and a sense of safety against the elements.
The glass also blocks noise, deflects heat, and minimizes air leakage, making your home more comfortable to be in. Lastly, a storm window can cover up old windows, giving them a new lease of life at half the cost.
A step-by-step guide to install a storm window
Adding an extra layer of glass to your primary windows can be quite a fulfilling and easy weekend project. All you need is an eye for details and the right tools and you’d be good to go. The same process applies whether you are installing an interior or exterior storm window.
Things you will need
- Tape measure
- Caulk and caulking gun
- Patty knife
- Screwdriver
- Storm window panel
Now that you have your tools gathered, it is time for the fun part…installation!
Step 1: Check the state of your windows
Fix any broken or cracked windows and repair the surrounding edges before installing the new glass. Dry the main glass to avoid entrapping moisture in between the windows.
Step 2: Get the correct window measurements
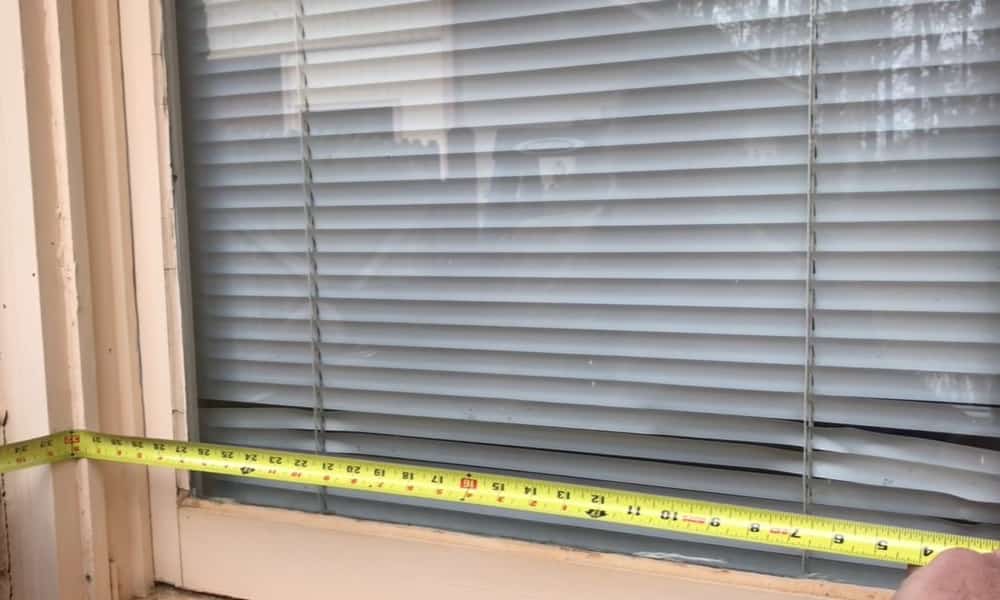
Measure the width and height of the primary window to buy the right size storm window. For the width, place the tape measure inside the window casing and measure the upper, lower, and middle width of the window.
Next, measure the height of the window from top to down. If you get different width measurements, use the smallest unit when buying the storm glass.
Step 3: Check for fit
Some stores sell standard size windows. However, it is best to bring along the particular measurements of your window to ensure right fit.
Place the window onto the opening of the primary window to ensure that it fits snugly. Check that all the edges of the storm window are lying firmly on the surrounding inner wooden frame of the existing window.
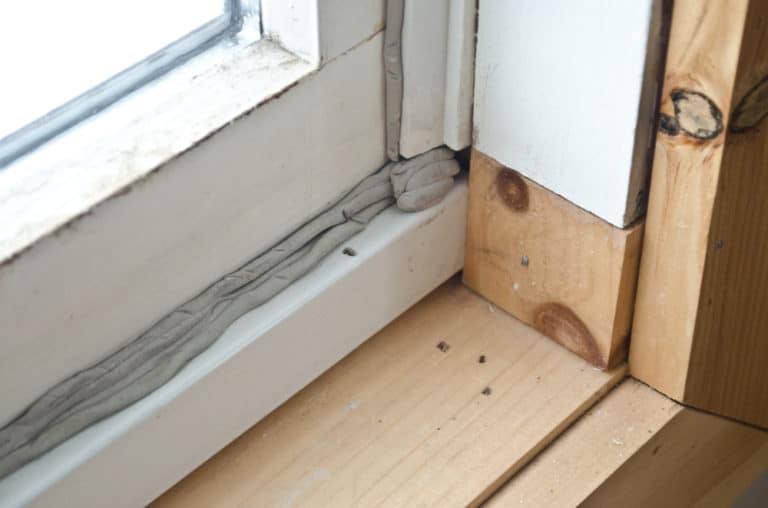
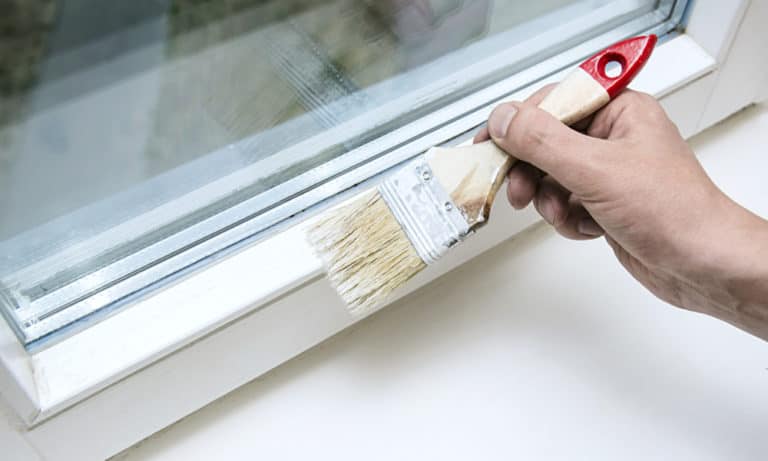
Step 4: Caulk the surrounding wooden frame
Place the caulk tube in the respective casing inside the caulk gun. Proper use of the gun is important for the best outcomes. Position the gun at a 45-degree angle against the window’s inner frame. Squeeze the caulk tube as you apply the caulk along the top of and on both sides of the window.
Do not seal the bottom part of the window, as this will block the small spouts that let out water. Blocked spouts could entrap moisture in between the glasses.
Step 5: Fit the window
Place the storm window atop the caulked edges of the window opening. Use the patty knife to pat down the glass along the edges of the window. This ensures that the top and sides are completely sealed with no space in between the primary and storm glass.
Step 6: Screw in the storm window
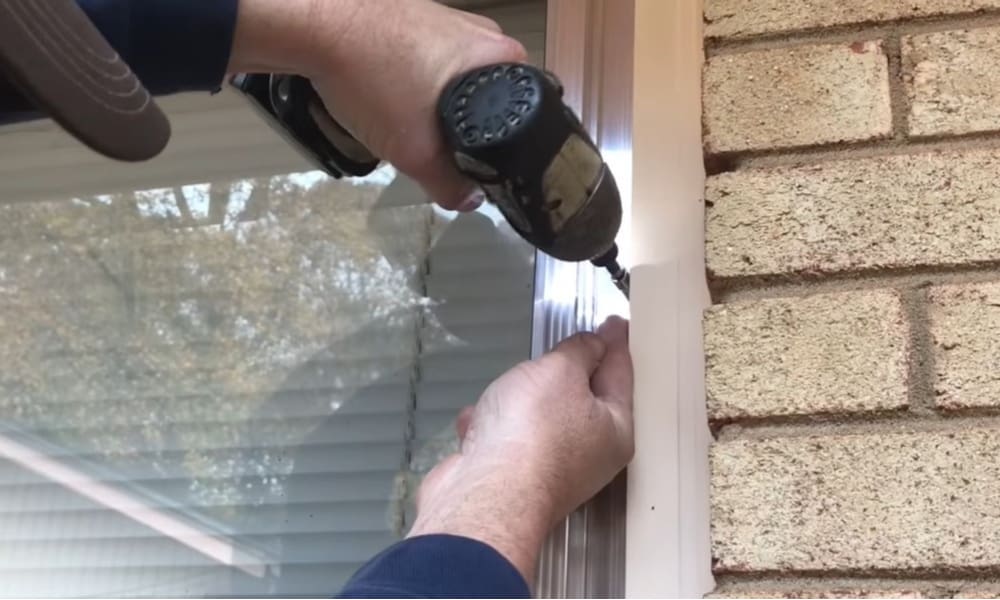
Use a screwdriver and fasteners to secure the window. The caulk alone is not enough to keep the glass in place.
Tips for a successful storm window installation
- Choose storm windows that best suit the type of primary windows you have. For example, exterior storm windows often go well with double-hung windows.
- Opt for low-emissive (low-e) windows if energy efficiency and long-term cost-saving are a priority.
- Check the corners of the window before buying. Go for overlapped instead of mitered corners—the former tend to be stronger and are less prone to air leaks.
- Look for window models with holes already drilled along the frame for easier installation.
- Consider removing the storm glass from its frame first. This way, you can easily install the frame first and then slide in the window.
Conclusion
Adding storm windows to your existing windows is a smart idea if energy efficiency and cost-saving are a concern. If you are not looking to replace your windows, fixing storm windows might be a great alternative. Still, for best results, always choose high quality windows—these will pay for themselves in a few short years.
Have you installed a storm windows or are you considering doing so? Let us know in the comments below and feel free to ask us any window-related questions you may have.

Hi there! My aunt just moved into a new house in Florida and she has been wondering if she should set up some storm windows. It’s really good to know from you article that they tend to have longer lifespan, making it a worthwhile long-term investment for our home. I’ll ask her to consider this option so she’ll make the right installation later.