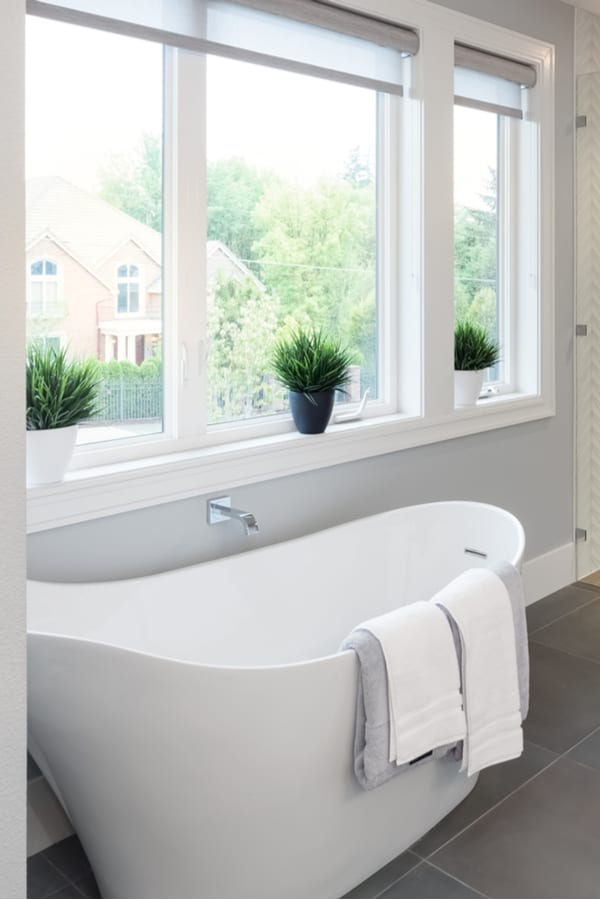
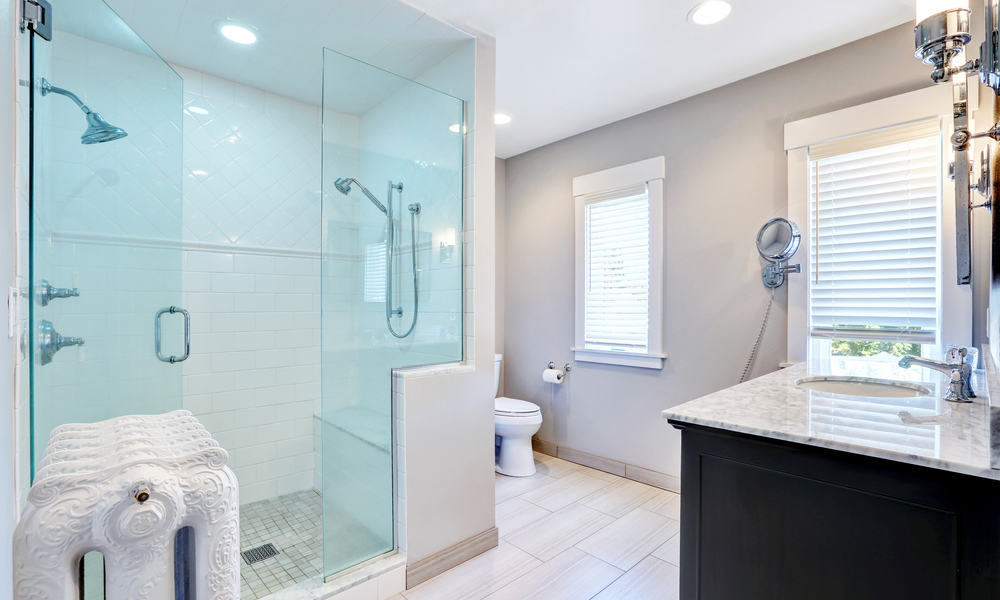
Placing a window at the shower space has several uses. Apart from making your shower look elegant, it helps bring in fresh air and extra light. Besides, you can even enjoy a beautiful outside view right from your shower.
But as moisture is common with this space, you might have to deal with potential damage on your window. So can homeowners keep these fittings safe from damp o?
Luckily, it’s possible to keep water from gathering around the sill. With the following tips, you will know how to protect window in shower rooms. Moreover, they don’t take up your time or cost a fortune.
Best Ways to Protect Window in Shower
1. Vinyl-Clad Windows Housed In A Wooden Jamb
Do you need a simple way to fix the tile with the window jamb, especially after providing a pitched sill? If yes, consider covering a window in vinyl and placing it in a wooden frame.
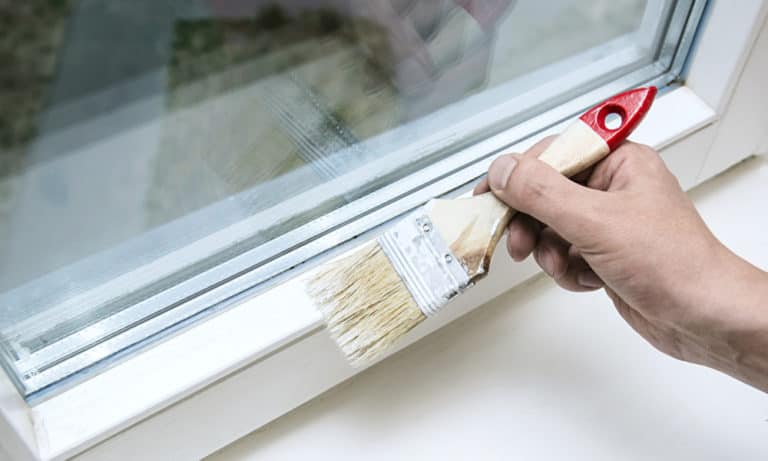
By adding both materials, your window gets the protection that it needs. First, the vinyl keeps damp from the window itself while the wooden jamb offers dependable support for it. But to get the best results, keep the window away from the shower spray.
- Like traditional tiled showers, cover the shower area with cement board. You should also allow this material to stay level with the window jamb. Then, use a good silicone caulk and seal the space between the frame and centerboard. Even if the caulk offers a seal, you will need extra materials to keep the wetness out.
- Wrap a piece of waterproof material -Schluter’s Kerdi works well – over the window jamb and joint. This material will entirely cover both fitting and keep them safe from damp. To secure the membrane to the wood, add thin-set that contains latex.
- Waterproof window sill helps drain water from a shower or bathroom window, so install one. Instead of going with wood, use latex-modified thin-set to fix a piece of Corian materials. For easy pitching, slowly build the thin-set from the back of the sheet and try to it mix it stiffly. With the sill in position, cover the area with tiles as you would with the shower.
- Add Silicone Caulk: After tiling the surface and sealing the grout, look for a point between any two planes and add some silicone caulk. You can start from the spot where the window touches the freshly tiled jamb.
Since the window stays on an exterior wall, heat or cold can weaken any of the materials. With this in mind, perform annual checks for defective joints, grout, or caulk.
2. Hang Shower Curtains with Rods from the Shower Ceiling
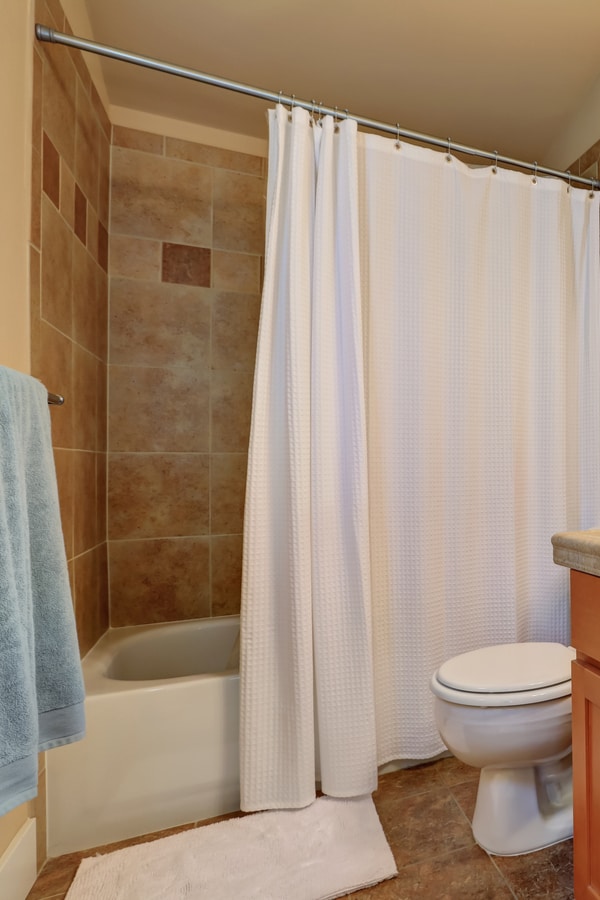
A set of ceiling hung shower curtains comes as an ideal way on how to protect window in shower. Apart from keeping the shower spray out, this solution ensures your privacy by preventing any outside view. If you can’t find one, a ceiling rod track for bay window curtains should help.
If you can’t carry out a remodeling project on your window, these solutions serve as ideal ways to protect window in shower enclosure. Besides, you will use for a long time until you renovate the tub or shower itself. Furthermore, they do a great job of allowing air or light into the building.
3. Choose Waterproof Window Treatment
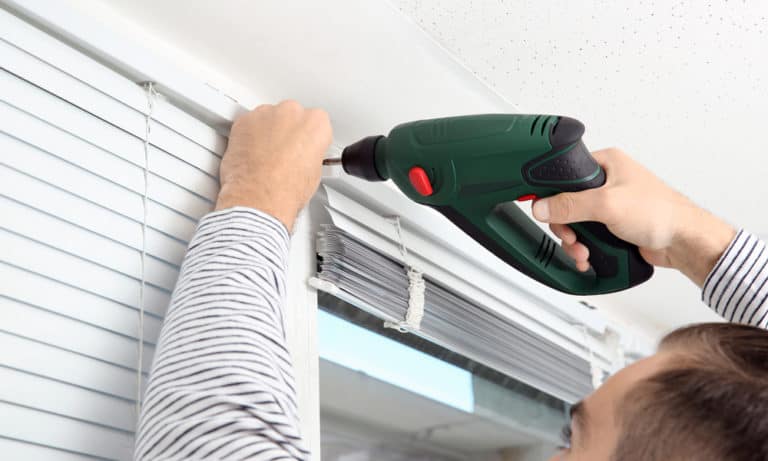
When it comes to using regular window treatments to protect your shower window, you need to consider items that boast of waterproof materials. Try using vinyl window blinds as they require minimum maintenance and cleaning. But you should choose one that can cover the whole window completely. With this size, the shower spray will not touch the curtain.
To install the blinds, fix the curtain on the tiled wall by using the grout lines. You can also mount it on the wall directly, but you will need a diamond drill bit.
4. Place a Waterproof Curtain on Your Window
Do you need another way on how to protect window shower from water spray? Well, placing a shower window waterproof curtain directly over your window should go a long way.
For this task, plastic or nylon products will do a great job as they can withstand damp and require minimal care. Most people love well-lit bathtimes, so purchase a see-through shower curtain made from the materials mentioned earlier.
Using a transparent one will also allow you to see amazing outdoor scenery from your shower window. However, this idea does not offer much privacy due to its transparency.
5. Use Glass Blocks Instead
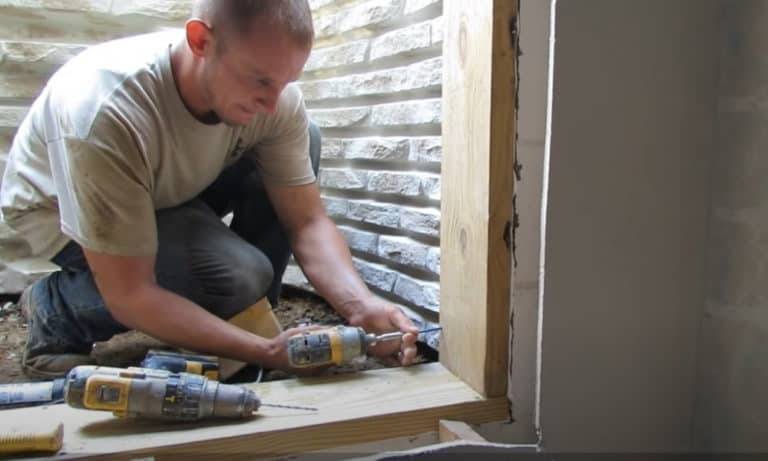
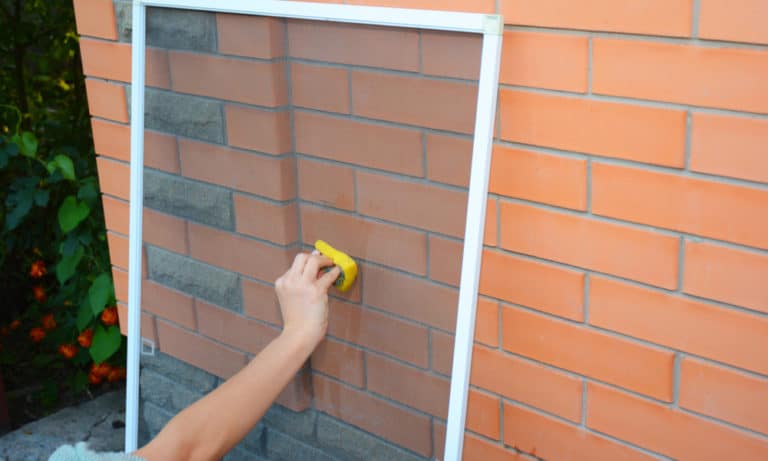
Instead of using a waterproof window sill fitting, replacing the window for glass block is a good approach for shower spaces. Asides preventing any damage, glass blocks can help bring natural light to the bathroom. To install this material, you will need to fill the spaces with glass mortar.
Most home improvement or online stores have glass blocks for sale. But before purchase, determine the number of blocks required by measuring the window.
How to Get the Right Protection for Your Shower Window
Before learning how to protect the window in shower spaces, your choice must define the overall look of the room. With the ideal method, you should get a proper mix of cover and light to space. Since you have access to many options, the following tips will help you pick the perfect choice.
1. Consider the Room Space and Window Size
Check out the dimensions of your room, particularly before applying waterproof shutters for shower window or any other methods. As expected, the size depends on your particular needs or requirements.
Let’s say you don’t want your shower times to become public, choose a two and a half-inch real dark colored blinds – with vinyl- for a perfect mix of light control and privacy. If you want something unique, these blinds should measure between two and a half-inch while using no holes for routing.
Also, the measurement of your window will guide you in choosing a suitable treatment plan. For instance, you might prefer a remodeling project that features tiny openings or massive shower windows. To protect windows with shallow features like sills or frames, think about an inch thick real vinyl blinds or the slim metal ones.
Overall, the way you use your space plays a significant role in finding a good idea of how to protect window in shower rooms. For this purpose, use enough time to study the room.
2. Determine Your Lighting Needs
Next, find out the amount of light that you would love to have in your space. Then, try out roman or cellular shades that control brightness via up and down movements.
Wrap Up
Windows come as ideal fixtures to have in a shower or bathroom. When it comes down to it, they provide ventilation and light to these spaces. Sadly, water from your bathtimes can lead to the window in shower rotting if you neglect to protect it.
However, you can avoid this issue by using various methods. For instance, using a vinyl casing for your window and the jamb should do the trick. You can also hang some shower curtains from your ceiling while glass blocks and vinyl blinds also help.
But before using any of the ideas, try to know the measurement of your shower window. Also, know the right amount of light and privacy that you need for the shower space.