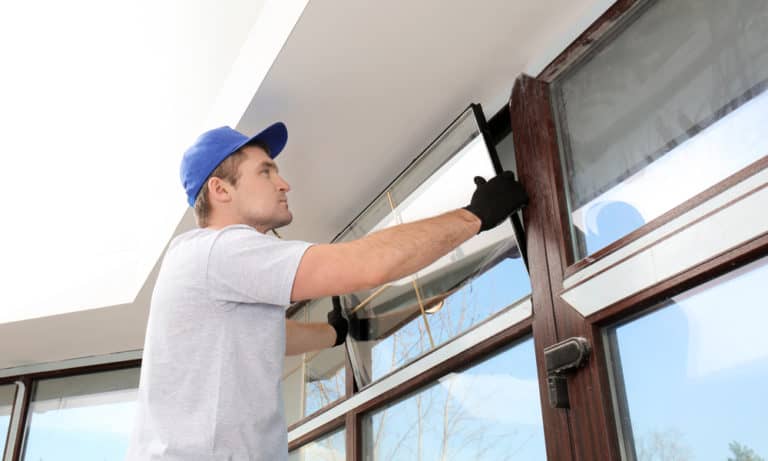
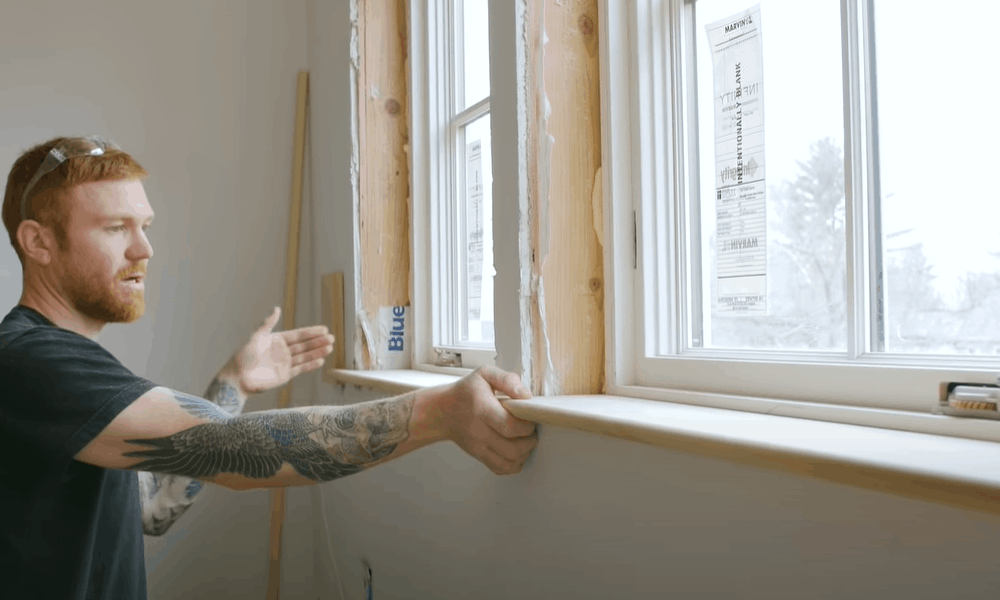
After replacing a window, it will be good thing to add an interior window trim. The reason is that it enhances the overall look of the window itself while covering all gaps. Also, it beautifies the wall, make your room, or the building façade attractive.
A trim is more like a decorative. If you want to remove any doubts, compare the task to building a picture frame. However, fixing this item might look complicated, especially with different interior window trim styles.
With this guide, you will learn how to install window trim. If you follow these steps, you can even get your sliding window fixed quickly.
Step on How to Trim Out a Window
Step 1: Fix the Gaps on the Wall
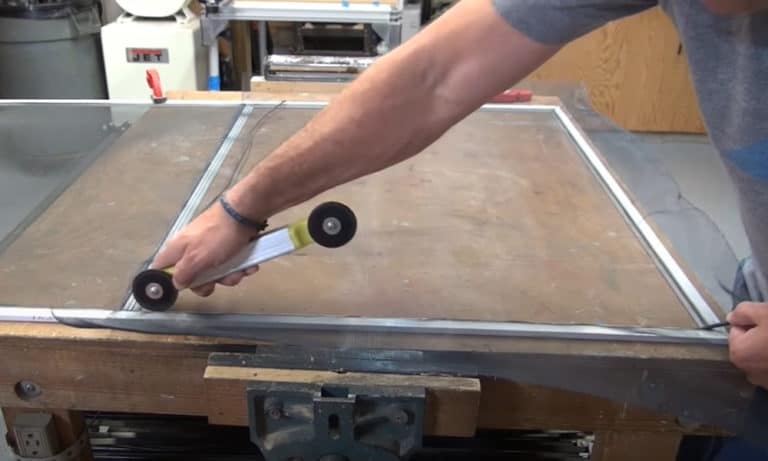
Installing window casing, especially in old buildings could leads to damaged walls. You will also notice spaces between the jamb and the trim. Instead of filling them with caulk, block the gaps with wood filler strips.
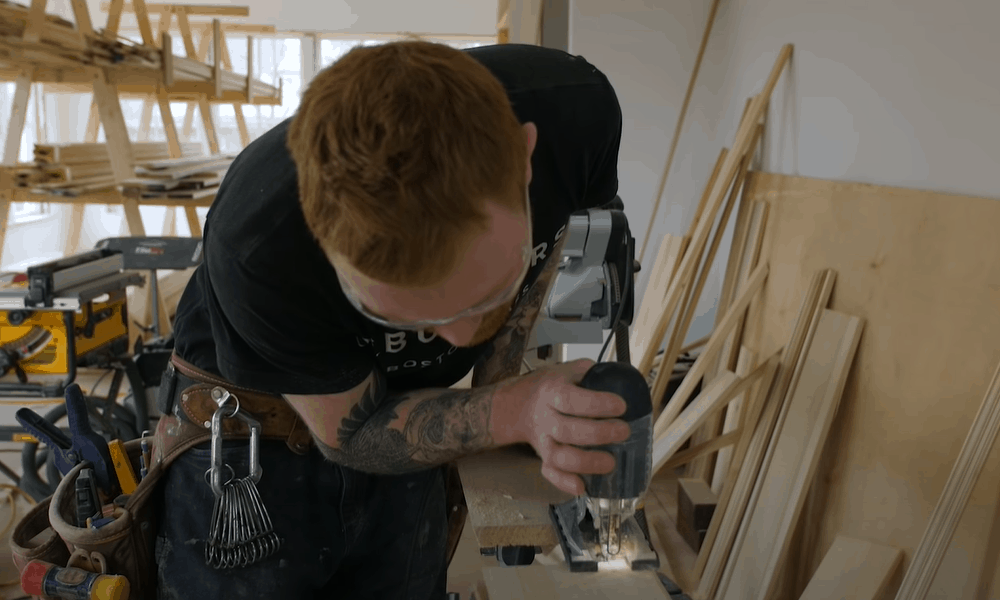
Start by ripping a bit of casing that measure about an inch wide. Then, grab a compass and span to the most prominent wall-to-interior trim. Next, transfer that measurement to the surface of the scrap wood itself.
Find a perpendicular spot to the casing and place the strip. On the compass, maintain the space between the biggest hole and the symbol on the scrap. Cut out the line with a jigsaw tool, apply some to the carpenter’s glue to and fix the gap on the wall. To make the joint to blend in via a slight paint and sanding.
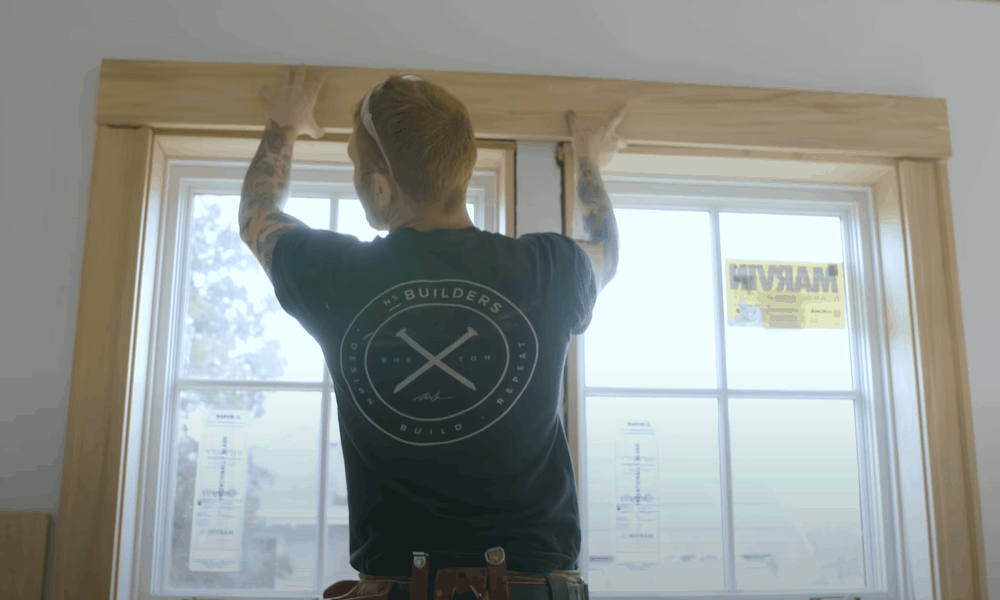
Step 2: Prepare the Window Jamb
Across the window, ensure the straight edge stays in position. You should also confirm if the jambs rest on the wall. If you find anyone that looks out of place (especially before installing window jambs), make them level with the wall itself.
Get some 1x stock and collect jamb extensions of your preferred width. Ensure they have a profile of about 1/4 inch of the thickness of the window jamb. Then, set the strip against the window vertical side, and insert 4d finish nails every 8 to 10 inches and level any excess. If you don’t have these nails, try using one ½inch 18-gauge pneumatic nails.
Open a pair of compasses while aiming for a space of 1/4 inch wide. Next, place the point on the bottom inner corners of the jamb. Taking the inner part of the frame as a reference point, make a reveal line at the ends of the remaining jambs.
Tip: If you want the jamb and casing to share a tight center, insert a bevel into jamb edges on the wall.
Step 3: Cut and Make a Rebate in the Stool
Head to the wall and set the side casing on it while ensuring it stays in position with the reveal line on the side jamb. At the exterior edge of the housing, make some marks on the wall beside it. Then move to the other frame (the one facing the current one) and repeat the process.
Check the distance between both marks. When you get the measurement, add two inches, and then trim the stool to this size.
Allow the front part of the stool to touch the window sill while the rear end meets the sill trim. Now, make a sign at the point where the upper part reaches the end of the stool.
With the rear edge lying against the sill trim, push the side of the tool towards the jamb. The next process of how to install trim is to draw a vertical mark that points where your stool’s end and frame meets.
Using a square, join both marks and draw an “X” sign at the place made by the lines. This area signifies the excess material that you will have to trim, especially as you want to make the rabbet. To do this, create two distinct rip cuts with a table saw.
Step 4: Mark and Set Up the Stool
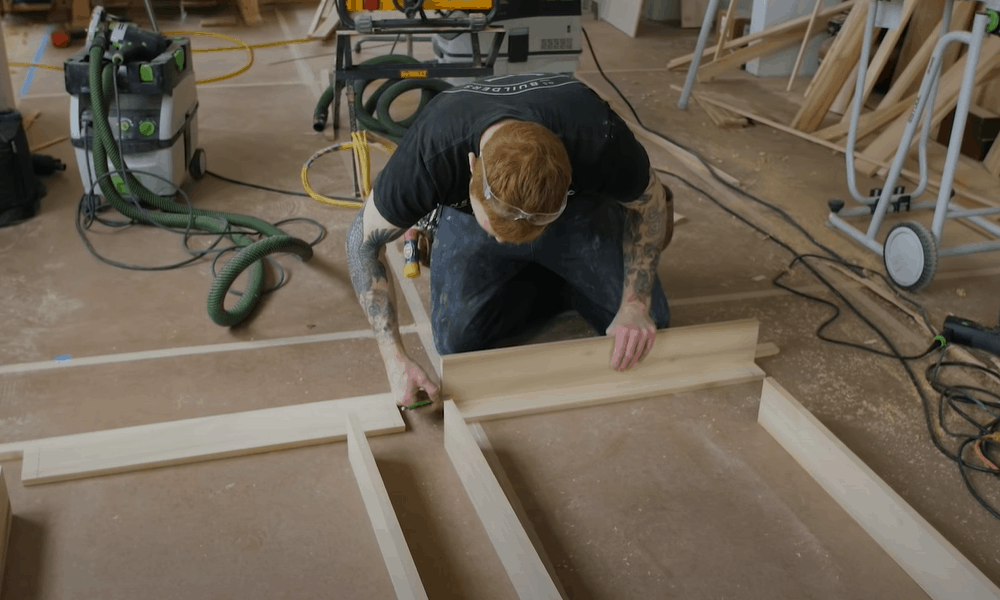
On the inner edge of the stool, measure 1 inch from each end and make a mark while setting it at the mouth. You should provide a notch at the point where the corner of this item joins the interior of the jamb. Place a square on these marks and create “jamb lines” on top of the stool.
Remember to position the jamb lines with its inner edges. Then, place one end of the compass on the stool’s rear while the other should stay at the sill trim. Keep the instrument’s pointed against the wall while tracing outlines from it to the jamb.
Taking the newly made lines as a guide, use a jigsaw to score a notch at each edge of the stool. When finished, confirm it fits perfectly, and if it doesn’t, adjust with a chisel or sandpaper. Drop a small amount of glue on the sill and nail it to the stool.
Step 5: Attach the Side Casing

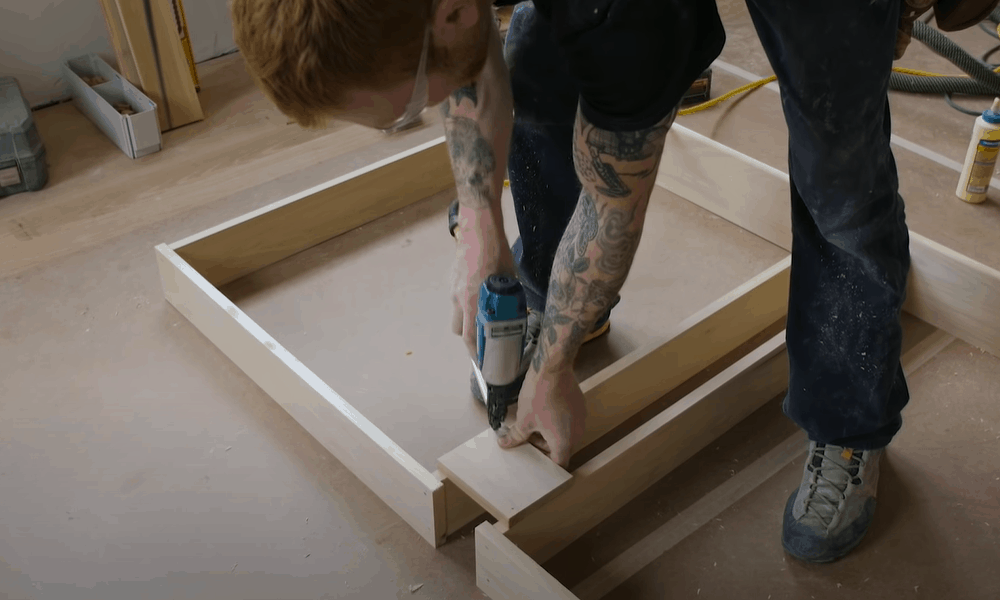
Make a square end cut on the casing and place it on the stool. Ensure you place a mark at the spot where the interior end meets the reveal line on the head jamb. Cut out a square at this spot and repeat this process on the opposing end.
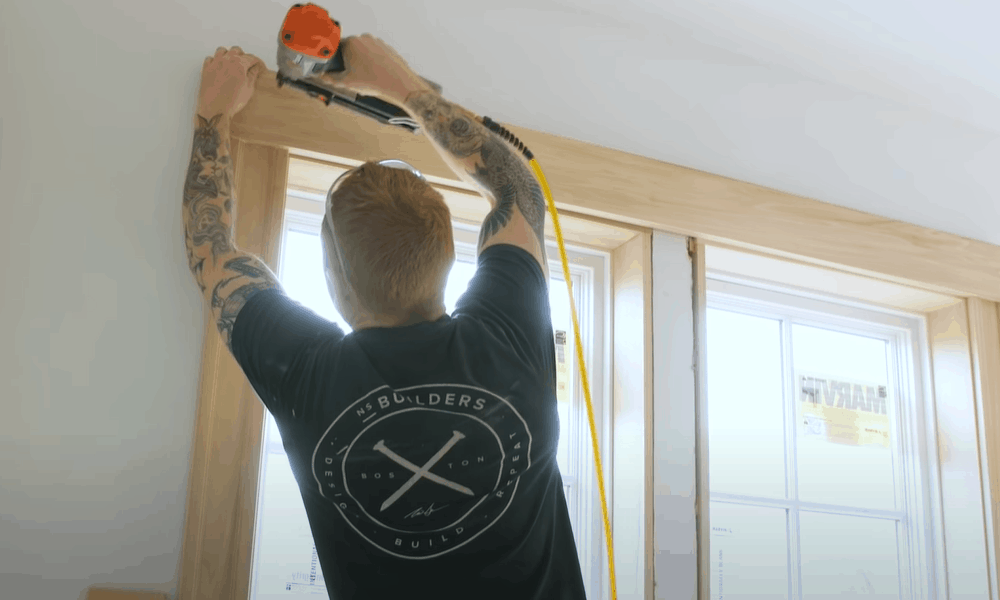
Drop a bead of adhesive on two areas – the casing that projects from the side jamb and the part that rests on the stool. At this stage, align the edge with the reveal line. Attach frame and casing with 4d finish nails before securing the object to the wall with 8d finish nails.
After performing this task, mop up any excess glue. Then you can move to the other part.
Grab two 18 gauge nails and drive them into the bottom of each horn from the edge of the casing. If you prefer a hammer, create some pilot holes with a drill. If you don’t have the nails mentioned above, the ones labeled 6d will work correctly.
Round up by making marks on a bit of casing, particularly at places where it touches the interior ends of every side casing. Then, get a miter saw and produce square crosscuts on the notches. When you have completed this task, join the head casing to the head jamb while ensuring the bottom edge touches the reveal line.
Step 6: Add Corner Blocks
At both corners, fit in the blocks and look for any holes. If the objects look awkward, get a perfect fit by leveling their edges.
Place a little adhesive to the ends of the head casing block and jamb. Quickly apply some glue to the bottom of the block and keep it in position.
Afterward, Insert 18 gauge nails using a pneumatic nailer. If you prefer a hammer, make pilot holes before using 8d finish nails.
Step 7: Prepare the Aprons
With the front end down, hold a bit of apron stock. On this stock, you should mark out the areas that will reach the exterior of the side casing. Then, use a miter saw to produce square cuts at these spots.
Smoothen the ends of the apron by gripping the scrap part that lies on a right angle to the freshly cut edge. Turn the scrap profile towards the side of the apron while making it flushes. Now, use a pencil to recreate the scrap profile on the surface of the apron.
Since you want to learn how to install window trim, repeat these steps on the other part. When completed, cut out the tracing and smoothen the rough edges.
Drop some glue on the upper end of the apron and position its corners with the outer end of the side casing. Finally, drive the top edge to the lower part of the stool.
Step 8: Complete the Project
Now you have reached the final step on how to install window trim. At this point, you will need a set of nails and hammer to handle the nail heads. Cover the gaps with putty and allow it to dry overnight.
Gently make the sticky material complement the wood by smoothening it with sandpaper. Then, use the paper to plane other parts of the window panes surround such as the casing, apron, stool, and corner blocks.
Make the area neat by cleaning the debris with a tack rag. Follow up by applying some primer and paint or a stain and varnish combo. Now you can prepare to throw on some window seat cushions.
Wrap Up
After changing your window, you should know how to install window trim. Even if this article does emphasize more on how to trim around windows exterior spaces, it can guide you on how to trim a window interior with ease.
- Begin by getting the casing ready and installing window jambs.
- Then you make a stool, mark out the item, and set it up.
- Do not forget to set up the side casing and place some corner blocks with an apron.
- For this project, you need to know more about how to trim a window sill. Just get the parts in the right size, check if they fit, and hold them down with glue and nails.
I hope you enjoyed this article. If you have any suggestions or comments, please drop them in the box below.