Have you lost your original door keys? Had a roommate moving out with the keys using which they can still access the apartment? Feel that too many people have copies of your door key? These are three of many reasons why you may want to learn how to rekey a door lock.
You may also want to rekey your door lock in the aftermath of an act of vandalism, break-in, or theft. The good news is that you don’t have to go to a locksmith. Just follow the instructions given in this video and the one you’ll find below, and you would be able to rekey your door lock in no time.
Before you rekey your door lock
You may want to keep the following factors in mind:
- You can’t rekey damaged or worn-out locks
Locks that have damaged beyond repair have parts that cannot be adjusted to match the grooves and ridges of a new key. That is why we recommend that instead of trying to rekey worn-out locks, you should replace them altogether.
- You can’t rekey multiple locks to fit one key
This fact is especially true if you have locks of multiple brands on your doors. Each of them will most likely have different grooves, thereby making it highly unlikely for you to rekey them all to fit a single key.
- You can’t rekey the same lock endlessly
As common sense tells us, there is a limit to how many times you can rekey the same lock. Most models that are available on the market allow you to rekey them up to six times. You’d then have no choice but to change them.
- You mustn’t rekey extremely old locks
Expert locksmiths tell us that today’s locks have a contemporary design and sophisticated features that you cannot find in their old counterparts. Using them in place of your outdated lock, therefore, will add to your home’s security.
What you’ll need to rekey a door lock?
Here’s a list of all the tools and equipment you’ll need to rekey a door lock:
- New lock key
- Rekeying kit
- Wire tool
- Tweezers
Step-by-Step Guide for rekeying locks
Follow these steps to rekey your door lock:
Step 1: Purchase a rekeying kit
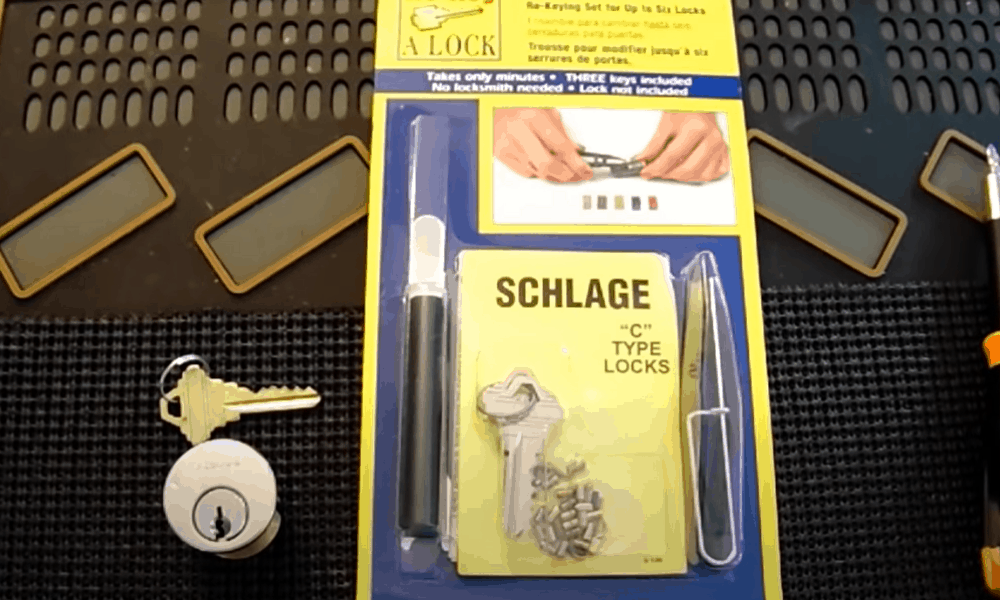
You can get it either from your local hardware store or you can have it delivered home from Amazon. The rekeying kit must have pins, multiple keys and special tools (plug follower, ring remover, cylinder follower) using which you can take out the old lock, rekey it and insert it back in its place.
Pro Tip: Provided you have an old lock at home which is no longer of any use to you, take its pins out. This way you won’t have to pay extra for getting pins in the rekeying kit.
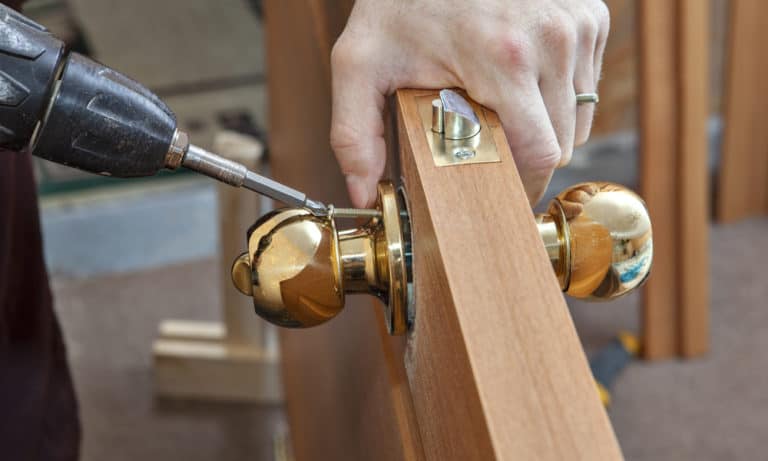
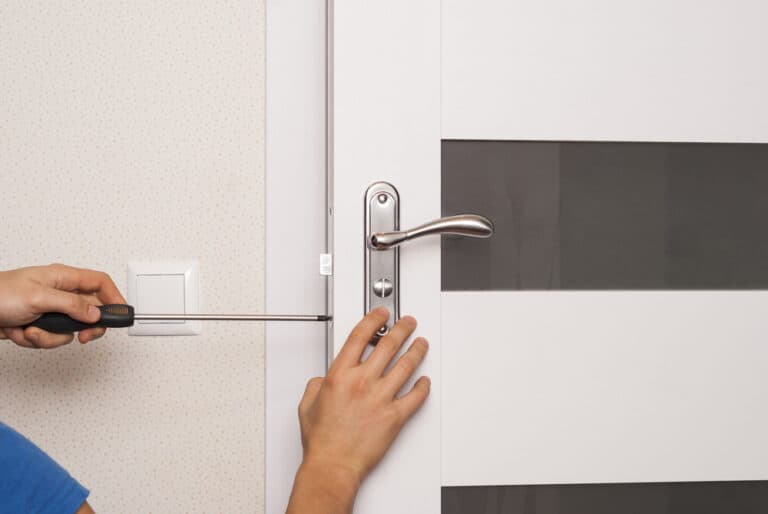
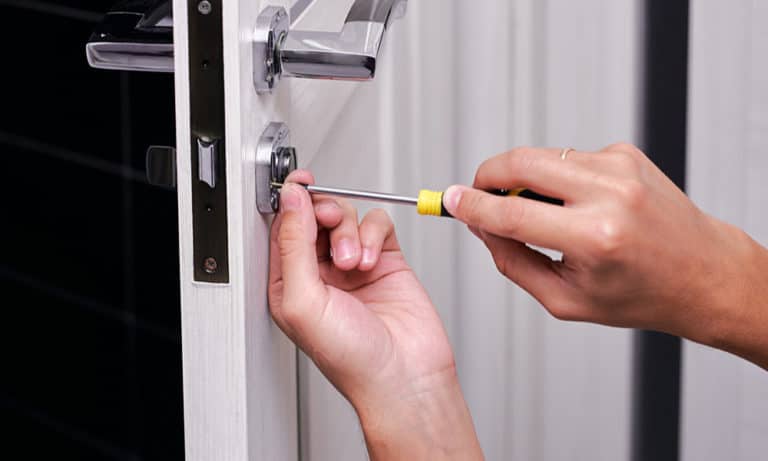
Step 2: Remove the lock face
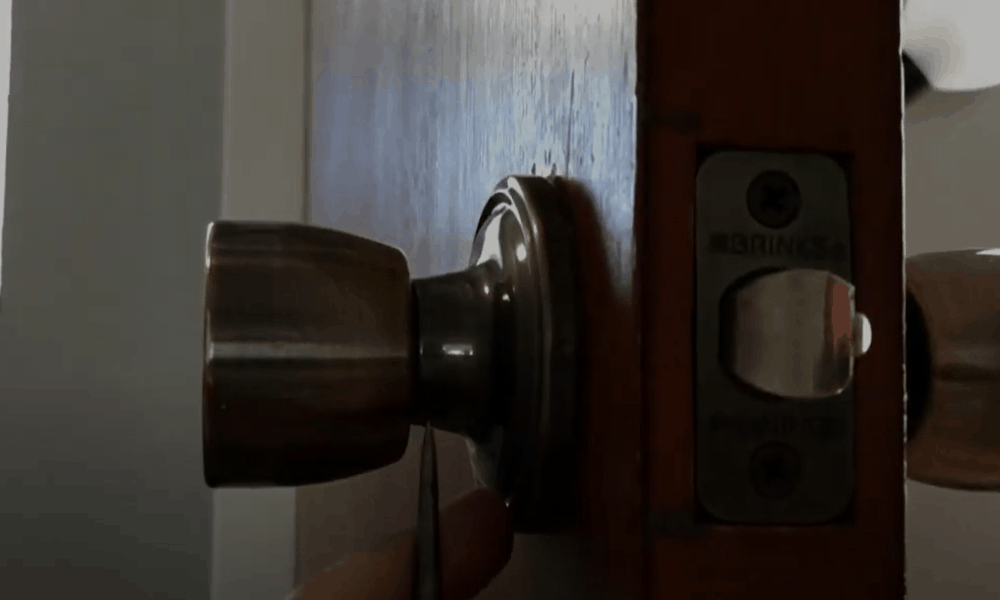
Also known as the exterior doorknob, it is held in place with a clip. Remove this clip by inserting a wire into a tiny hole that will be visible to you as you stand in front of the lock face. Most rekeying kits come with a wire tool for this purpose. If yours doesn’t, take a paper clip, unbend it and insert it into the hole.
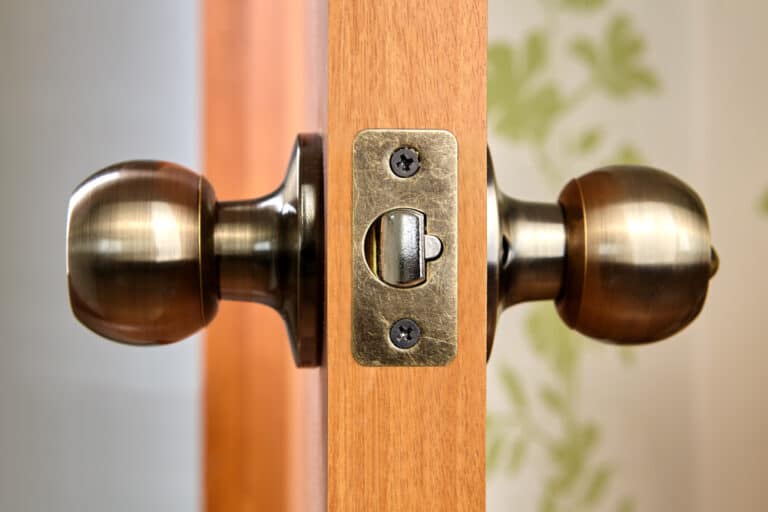
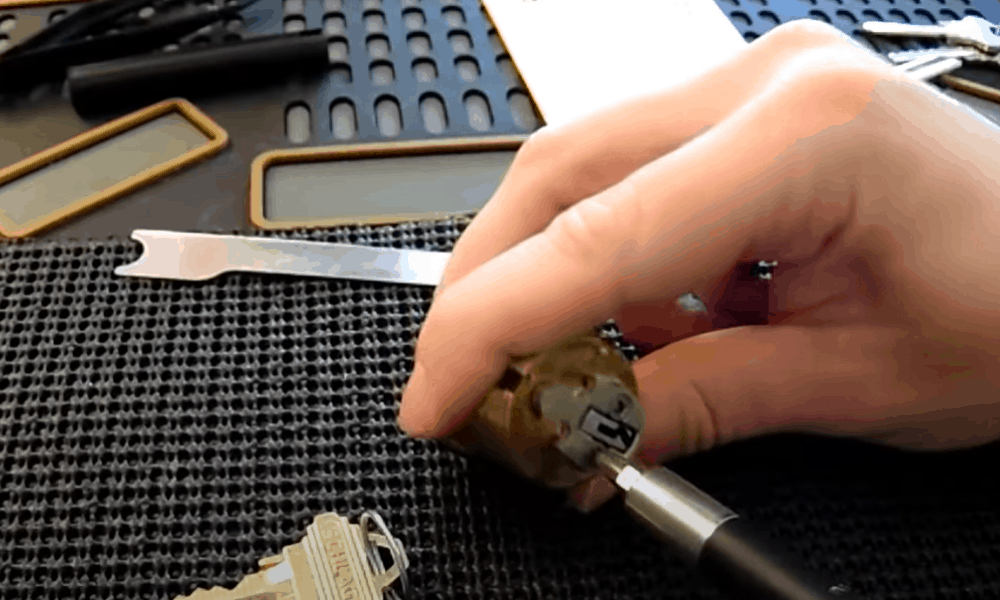
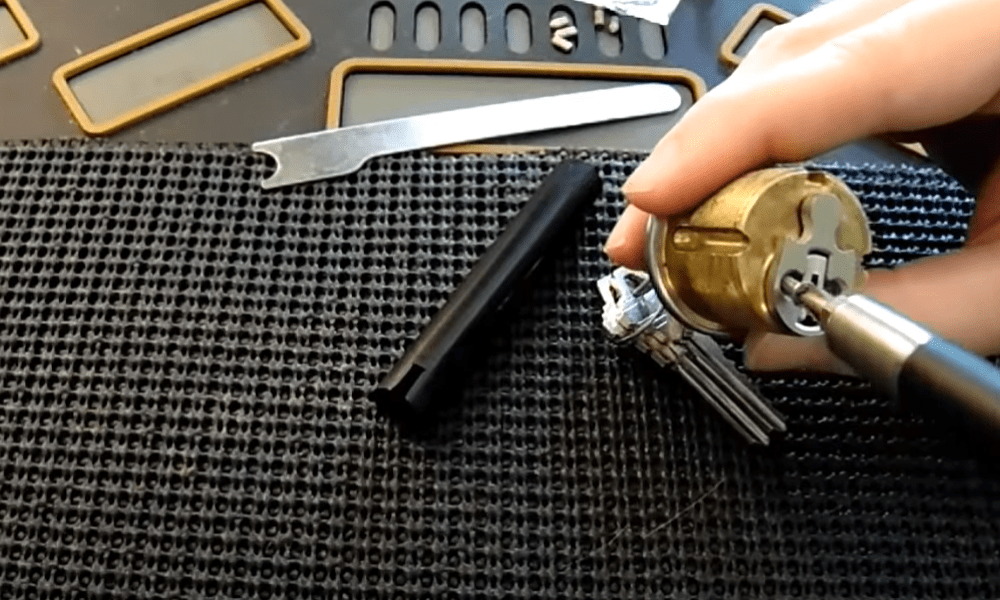
Step 3: Remove the lock cylinder
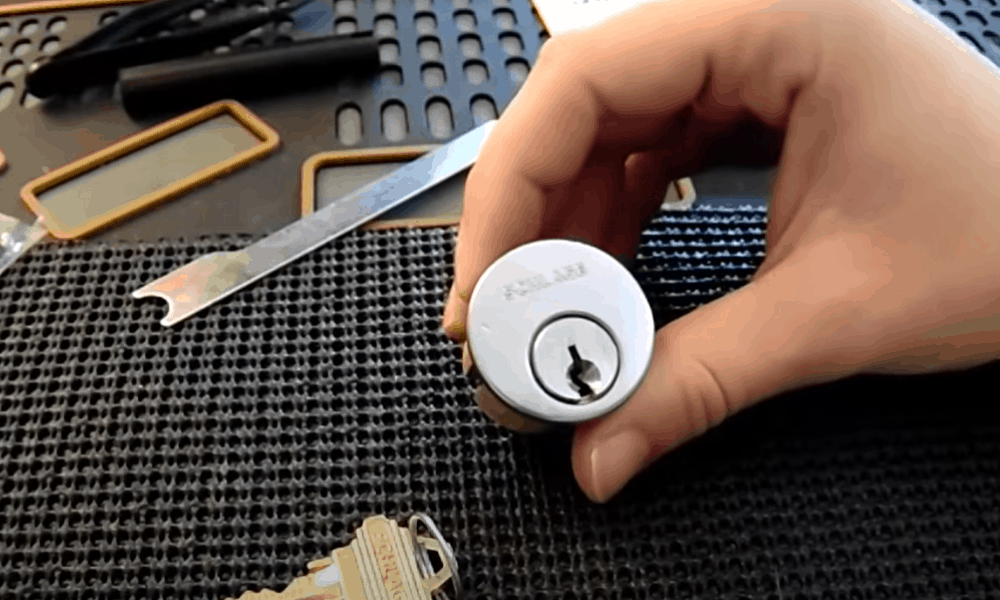
The lock cylinder is that part of your door lock where you enter the key. When the door is locked, the cylinder is in contact with a series of spring-loaded pins that prevent it from turning. Inserting the key into the cylinder pushes up the pins holding the cylinder in place and opens the door.
You can easily remove the lock cylinder by pushing a cylinder follower through the lock cylinder’s assembly. The cylinder follower is a small brass tube that will help you remove the sleeve covering the cylinder, after which you can take out the cylinder with your bare hands.
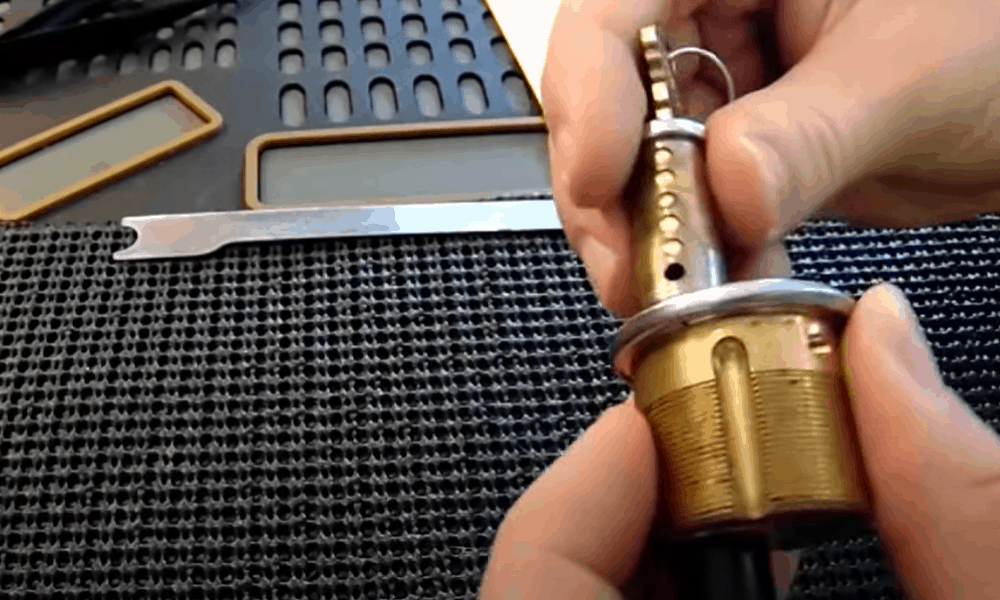
Step 4: Remove the cylinder retainer ring
Your rekeying kit might have come with a wrench-like ring remover using which you can take out the cylinder retainer ring, which is hidden inside the lock cylinder. Otherwise, you may have to purchase a ring remover separately as you cannot rekey the lock without removing its ring.
Step 5: Remove the cylinder plug
Insert your current key into the door lock. Turn it to separate the lower and upper lock pins that will be holding the cylinder plug in place. Afterwards, insert the plug follower into the cylinder with gentle taps and apply pressure to take out the plug.
You’ll need to make sure that the upper lock pins, as well as their retaining springs, are in place when you’re removing the cylinder plug. If they move from their place and the springs fall out, you won’t be able to remove the plug unless you put the springs back in using tweezers.
Step 6: Remove the lower lock pins
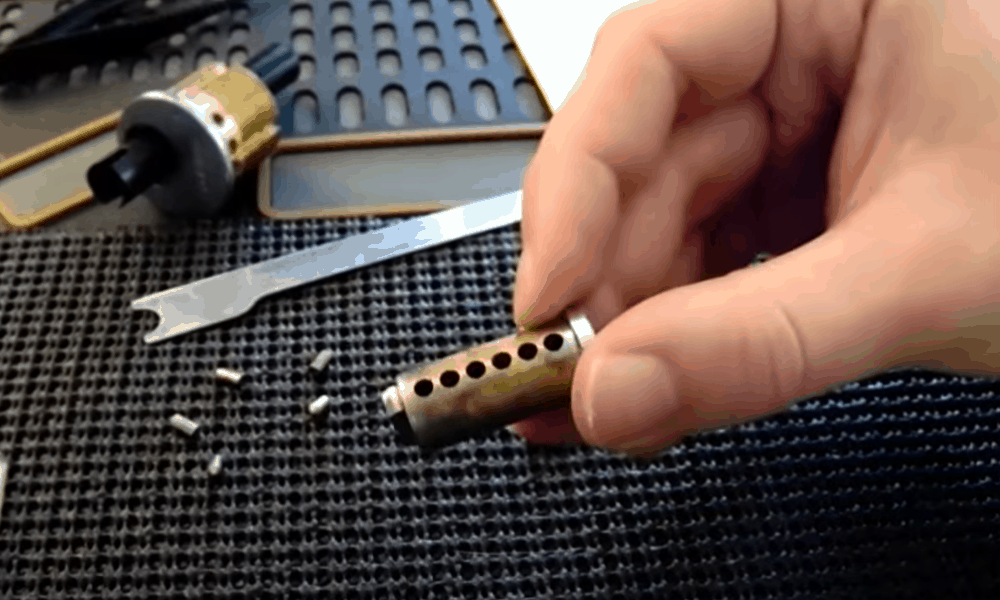
While keeping the upper lock pins in place by applying pressure, remove the lower lock pins. They will be of bullet-shape, with sharp ends that come into contact with the key and, together with the upper lock pins, open the door.
Step 7: Insert the new lock key
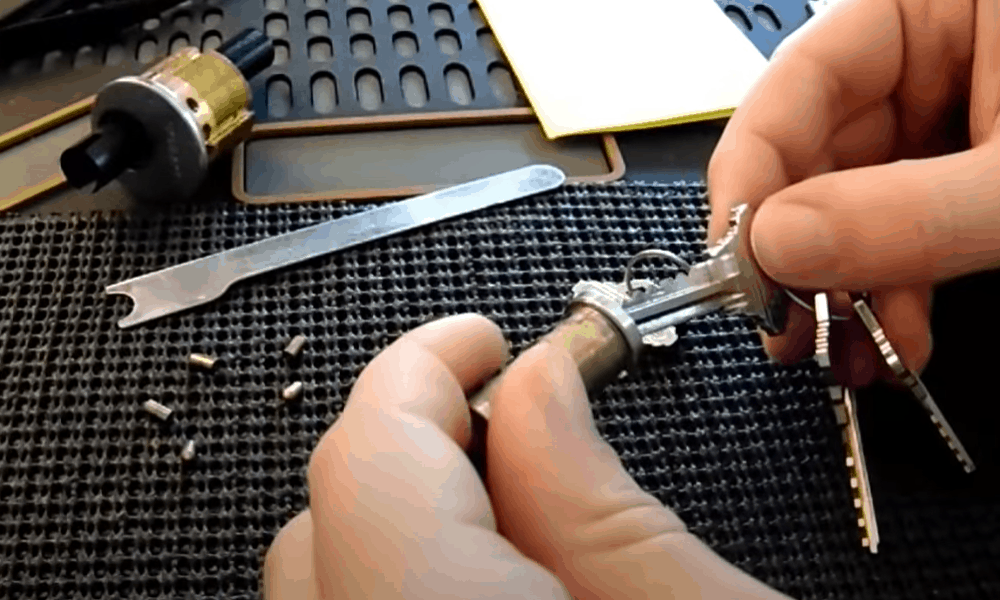
Inserting the new lock key will push the springs of the upper lock pins out of the way. That will make you feel like as if the key is turning too easily. Don’t worry if this happens as you’re still to add lock pins that will normalize the movement of the new key inside the door lock.
Step 8: Add the new pins into the lock
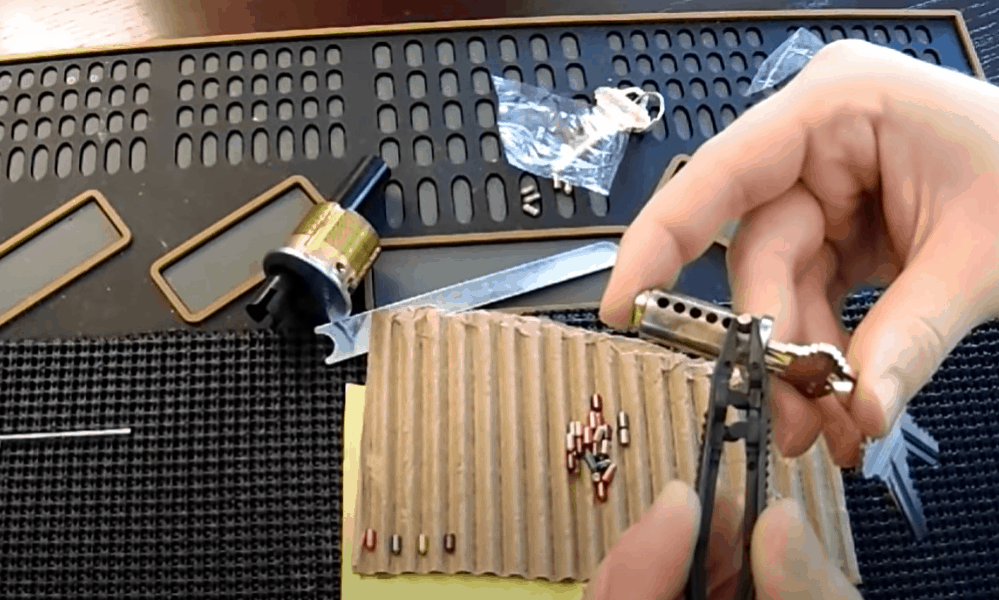
All the new pins will have a color coding. It will match with a chart (supplied alongside the pins) to tell you where each pins goes in the lock. You’ll be needed tweezers to pick up the pins and insert them into the lock. Make sure that the new pins align correctly with the new key.
Final Step: Reassemble the lock
After replacing the cylinder plug, retaining ring and the doorknob cylinder, reattach the lock to the door. Insert the new key into the lock to make sure it locks and unlocks the door with ease.
Conclusion
Even when you compare it with purchasing a new lock, rekeying the existing lock is an option that offers several benefits. It is extremely cost effective (you won’t have to spend more than $30), increases the security level of your home and is so easy that you can do it yourself.