Are you going to install a new door? It means that you already know how to cut door hinges. That’s because hinges are an essential part of the door as they attach it to the jamb. Unless you know how to cut them, there’s no way you could install that beautiful-looking door of yours.
There’s no need to worry even if you aren’t aware of the hinge-cutting procedure. It’s way easier than what it’s made to be. We’re going to give you proof of this statement by taking you through a step-by-step guide using which you can cut them on your own.
1. Method One: Using a chisel
Here’s how you can cut door hinges using a chisel:
What you’ll need?
- Mortise chisel
- Mallet or hammer
- Utility knife
- Pencil
Step-by-Step Guide for cutting door hinge with a chisel
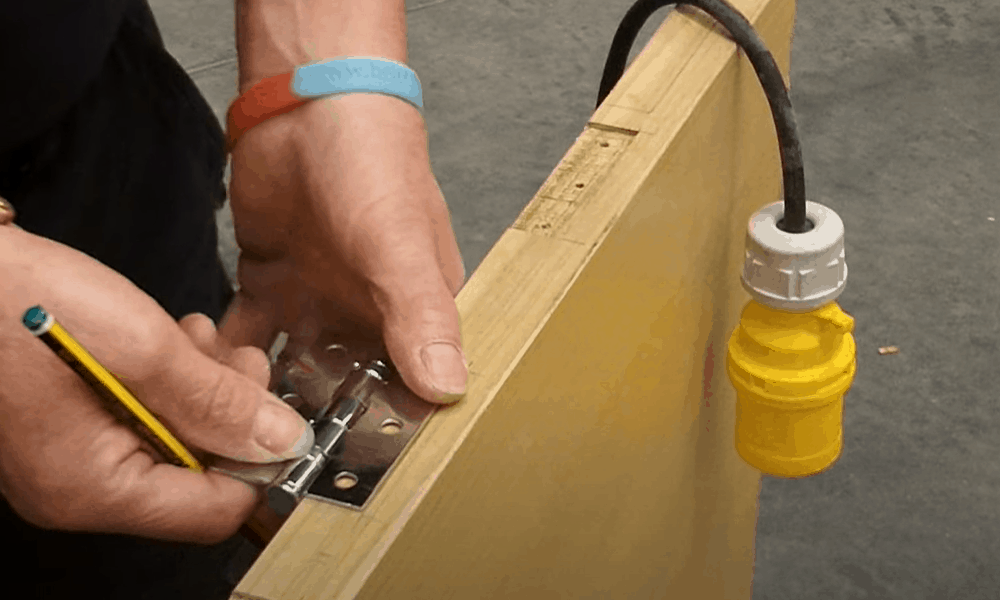
Step 1: Attach hinge against the door with your hand

You should position your door in such a way that its back edge is clearly visible. Place one end of the hinge where you are going to install it. Typically, bottom hinges go 11’’ above the bottom of the door, middle hinges rest in the exact center of the door, and top hinges rest 7’’ below the top.
Step 2: Outline the hinge

Place your hinge flat against the door. Make sure you have three ends of the hinge pressing against the door. Take a pencil and outline the three edges. These lines should be straight as you’re going to use them as a guide in the upcoming steps. Try to make them as thick and easy to see as possible.
Afterward, mark the depth of the mortise (the mortise spot) with the pencil. The mortise is that part of the hinge which is located on top of the fourth edge, bending downwards. Mark the line at the door at which it is ending. This line will usually be a few inches towards the side of the door.
Step 3: Create grooves on the outline with a utility knife
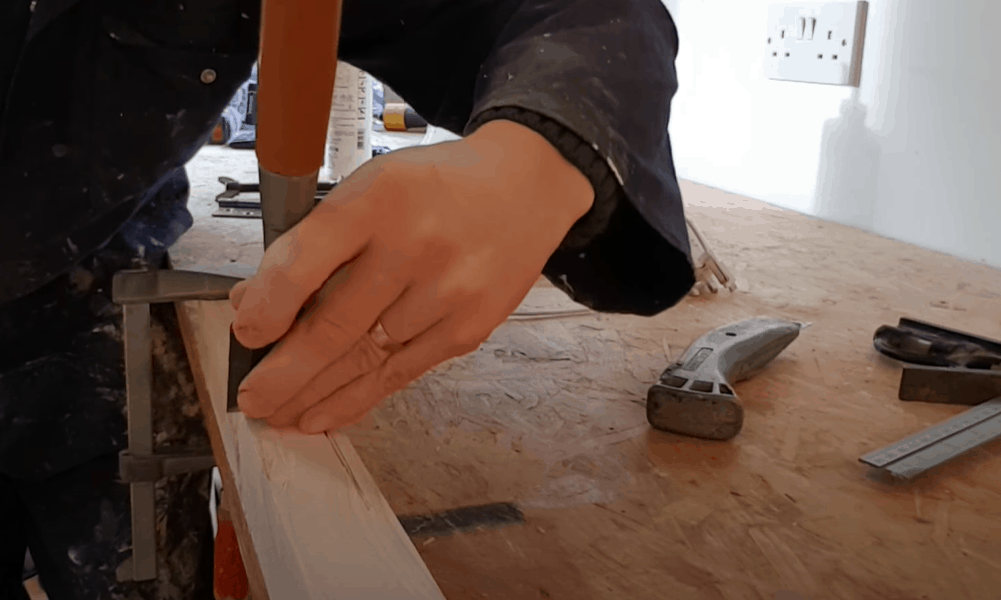
Once you have made sure that the outline is easy to read, remove the hinge. Grab a utility knife, extend its blade and drag it along the outline you’ve just drawn. This will create grooves on the surface of the door. Run the utility knife through the outline a few times for the cut to be easy to see. Cut the mortise spot using this method as well.
Step 4:Make the cut
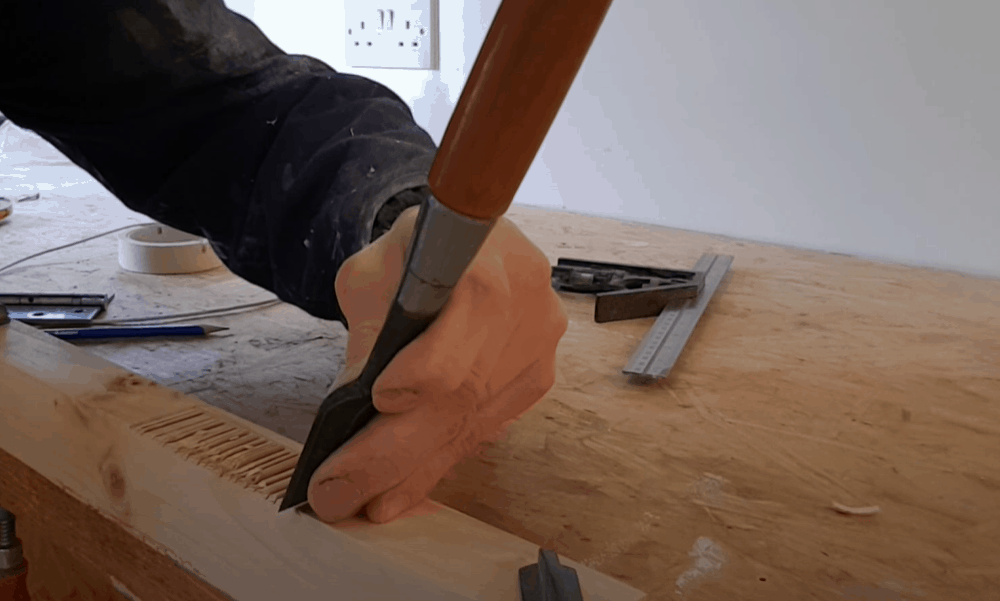
Place a chisel on top of the scored outline and start tapping its back with a mallet. Keep on delivering gentle blows until the depth of the groove matches that of your door hinge. Repeat the process along the four sides of the outline.
As you continue to do that, it won’t be long before the small wood shavings start coming out. You shouldn’t dirty your hands with the shavings until you have gotten rid of all the groves. Once you have done that, use your chisel to scrape the mortise and remove wood shavings.
2. Method Two: Using a router
Here’s how you can cut door hinges using a router:
What you’ll need?
- Electric router
- Tape measure
- Carpenter’s pencil
Step-by-Step Guide for cutting door hinge with a router
Step 1: Make the measurements
Attach the hinge against your door in the same way as described in the first step of the previous method. Use a pencil to draw an outline around the hinge, much in the same manner as we described above in the 2nd step mentioned above. Make sure that the pencil marks are thick and easily visible.
Step 2: Select the depth at which you want the router to cut
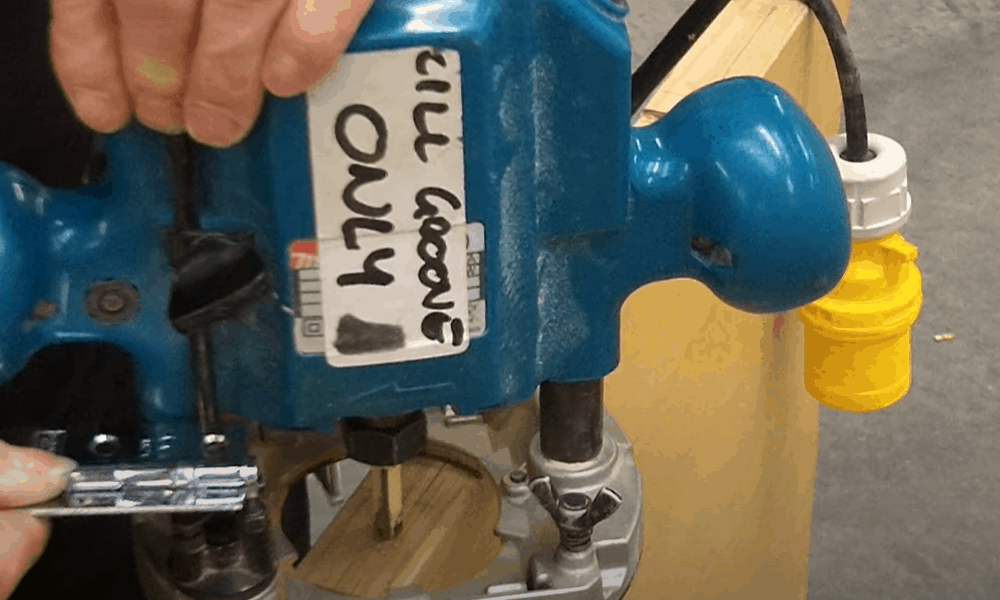
Every router comes with a depth setter to let you set the depth (in millimeters) at which you want it to cut. You can find its position on your model by consulting the instruction manual.
Once you have found where it is, loosen the depth setter by unscrewing it. This will allow you to take it up and down as needed. Then, place your hinge under the depth setter, move the depth setter down. After it has come in contact with the hinge, tighten its screws to mark the depth. Take the hinge out afterward.
Step 3: Make the cut
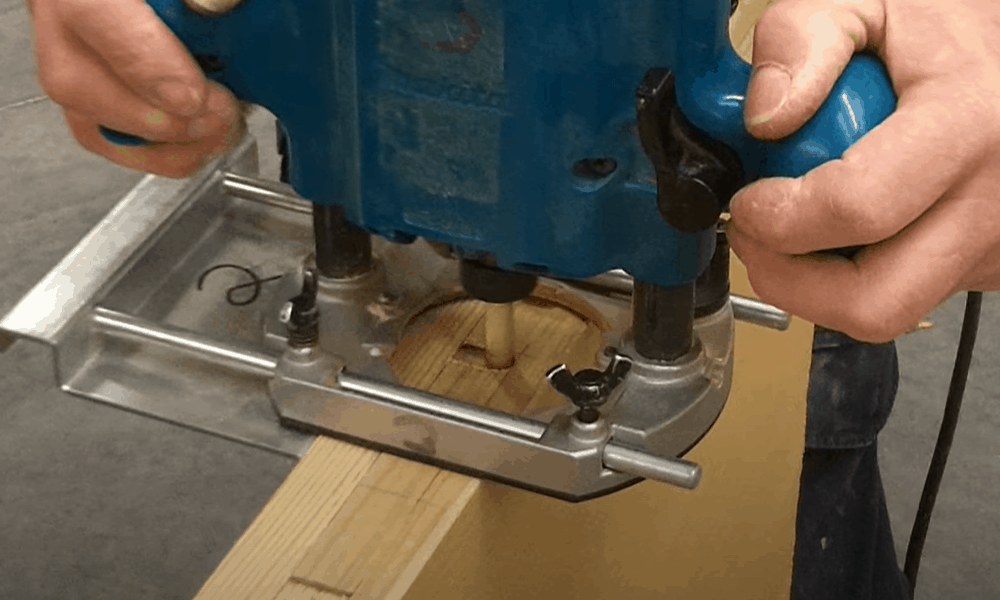
Place the router on the outline and turn it on. Plunge it in until it has cut the required depth. Cover all four sides of the outline in the same way. Then, you’d be left with multiple wood shavings that you can remove with your hands to clear the area.
3. Method Three: Using a Drill
Here’s how you can cut door hinges using a drill:
What you’ll need?
- Drill
- Forstner bit
- Measuring tape
- Carpenter’s pencil
- Sawhorses
- Chisel
Step-by-Step Guide for cutting door hinge with a Drill
Step 1: Make the measurements
As we have discussed in both the previous methods, the first step involves making measurements with a measuring tape and marking them with a pencil. Place your door on sawhorses after you have made and marked the measurements (with the hinge outline facing the roof).
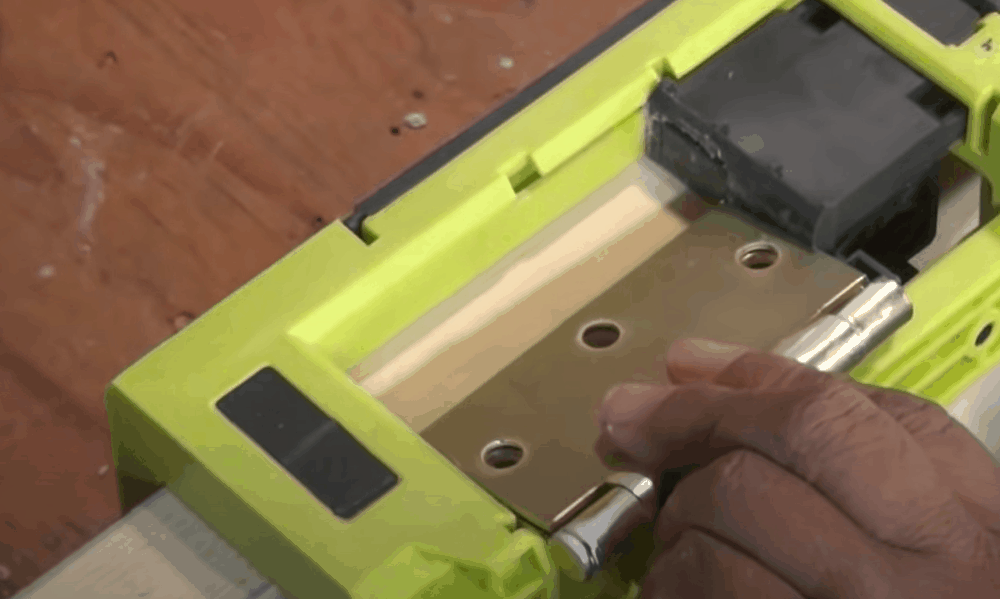
Step 2: Set the depth on the drill
Make sure that the depth on the drill matches that of your hinge. You don’t want to dig deeper than required.
Step 3: Make the cut

Turn on the drill and start making the cut along the outline. Go slowly and steadily. Start drilling from the start and move towards the edges. You’ll need less than a minute to make a mortise cut.
After making the cut, clean the rough edges with a chisel. You can also clean them with the drill but the chisel gives you more control over the process and makes everything more accurate.
Conclusion
The task of cutting door hinges might seem daunting to those who have never done any woodworking project before. But as this article has made clear, a good grasp of the procedure, as well as the right instructions, will help you finish it in no time.