Hurricane is a natural occurrence that can damage things inside your home. But to reduce the problem it could cause, using impact-resistant windows are the best measure to take, especially during big storms or hurricanes. But when yours is not a resistant type, then you need to board up your window.
Does the idea of boarding up the windows from the inside give you worries? If it does, I can assure you that boarding windows with plywood cost very little.
Want to know about the steps required for boarding up your home against a hurricane? This guide will direct you properly on the best ways to board up windows for hurricane.
Step By Step Approach to Boarding up Windows on Vinyl Sliding
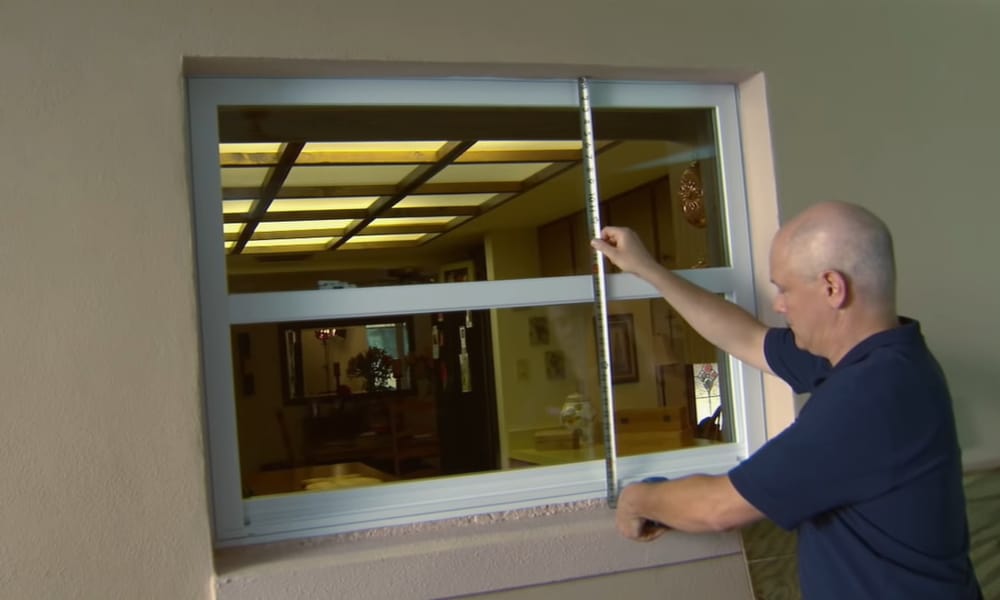
Step 1: Measure Correctly The Dimension Of The Window
A measuring tape is the best tool to get the dimension of a window. Run the tape around the window you want to board and take down the measurements. If the window has a frame, measure from the top of the frame down to its bottom.
Take measurements, both horizontally and vertically. The aim of taking measurements is to determine the dimension of boarding window plywood cost required for the task.
Step 2: Get the Size of Plywood You Need For the Window
Specifically, plywood usually comes in 4 by 8 feet or 1.2 by 2.4 m. Some windows surpass this size with a few dimensions. If your window is one of those, then I suggest you join two pieces of plywood together.
Joining two pieces of plywood is not a difficult task. What you need for the job is a two by 4″ brace, six screws (2.25in or 5.7cm), and a drill.
Bring the two pieces of plywood side by side, so that they touch. Place the two by 4″ brace along with the middle point of the two plywoods. Drill in the six screws (2 at the top, two at the middle, and two at the bottom). The screws ensure that the two pieces join perfectly.
Getting the amount of plywood that would effectively board up your house is tricky. This happens most times when you don’t know how much boarding a window with plywood costs. Hence to do this effectively, add 20cm (8″) to the measurements you got from your window. If you got 100cm by 60cm or 50″ by 35″, then you need to cut out 120cm by 80cm or 58″ by 43″ of plywood.
For a window with an extended frame, just add half of the above dimension. Add 10cm or 4″ to the window size before cutting the wood.
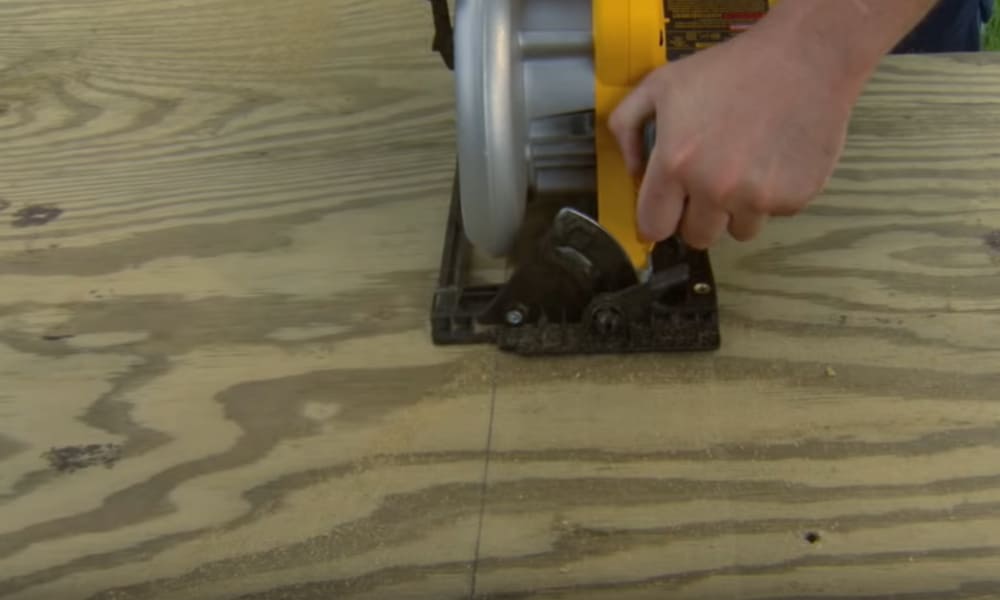
You could either cut the plywood by yourself using a saw or send the plywood and measurements down to a carpenter.
Step 3. Find the Point Of Attachment of the Window Frame and the Wall
Remember, your window frame is attached to the wall by some wooden protrusions from the frame. These protrusions are usually 10cm or 4″ in length and jut out from both sides of a window frame.
A useful tip: To find these protrusions or studs, find the nail head within the frame.
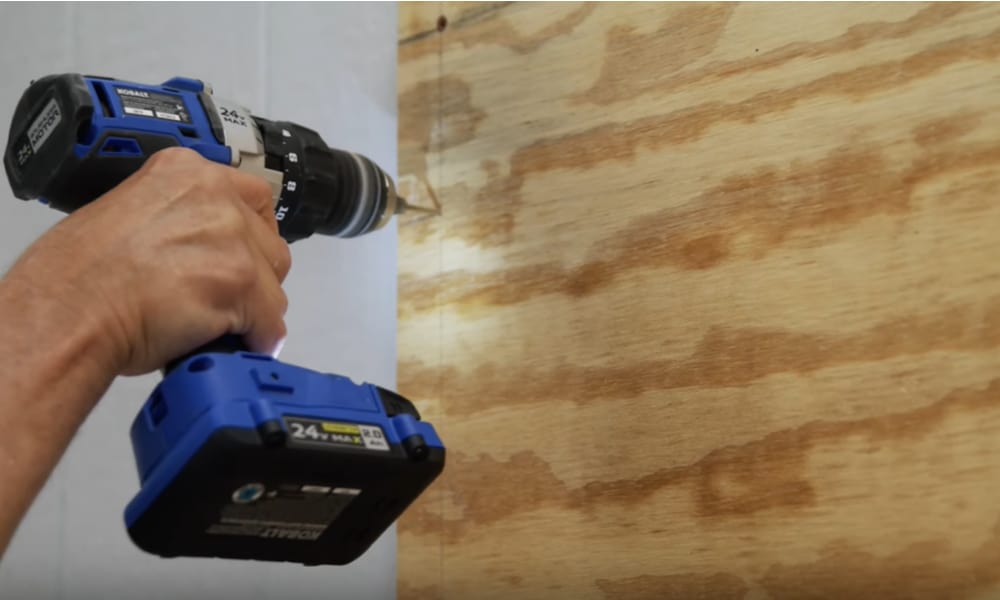
Drill holes into the plywood, but when doing this, take into consideration the studs/protrusions which attach the frame to the wall. Make sure that the holes align with the studs.
The ideal screw for this procedure is a quarter-inch or 0.64cm pan head or lag screws. On the four edges of the plywood, you have to make holes on them.
Ensure to drill these holes at a distance of 5.1cm or 2″ from the edge of the plywood and through it. Also, consider the size of the screw before you drill. Keep in mind that making a hole bigger or smaller than the screw would not give a better result.
You should make holes that run from top to bottom and left to right at 30cm or 12″ intervals. These holes should be on the same line with the holes already at the edges to make screwing easy. For windows with an extended bottom frame, you only need to drill holes at the top and sides.
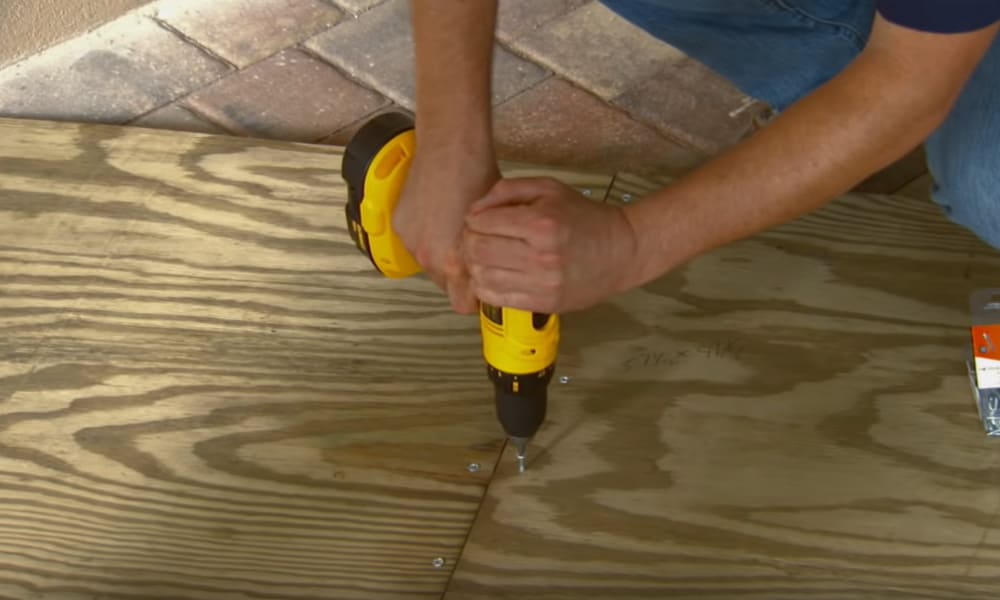
Step 4:Screw-In Plywood By Placing Over Window Frame
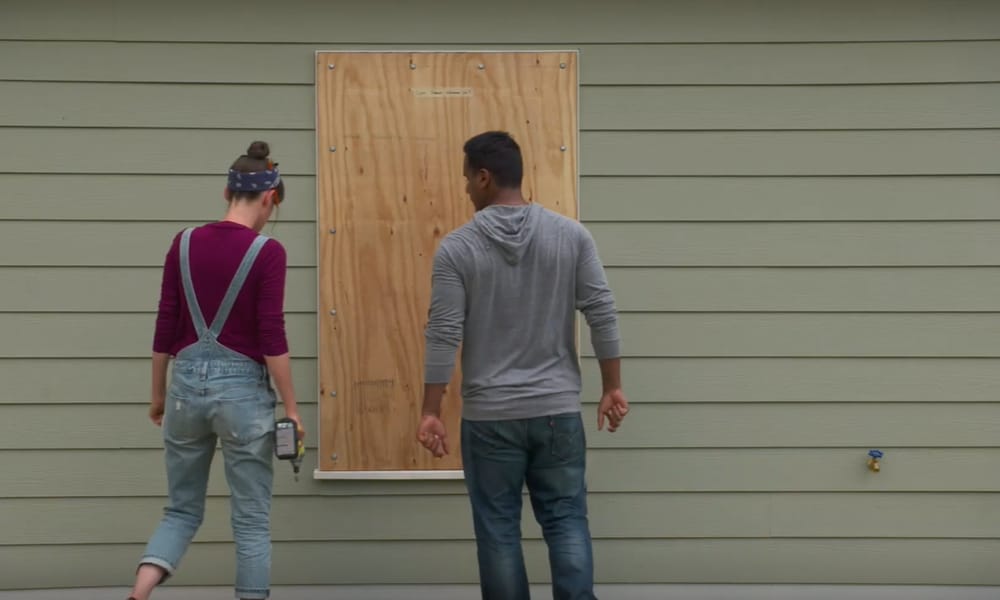
For this step, you need a pan head or lag screw and an assistant. Ensure to use ¼ or 0.64cm pan head or lag screws for this. This screw is ideal because their flat heads would not destroy your wood. The assistant is to help you hold it while you screw.
The screw should penetrate at least 2″ or 5.1cm to ensure the plywood fastens tight. Once you have done this, you surely created a strong window guard for your home against hurricane
Steps in Boarding up Windows on Masonry House
Step 1. Take Dimension of the Window
Using a measuring tape, take the correct dimension of the window to be boarded up. Since it is a masonry house, take your measurements from within the frame. Measure top to bottom and side to side. Write down your measurements.
Step 2. Shape Plywood to Equal the Dimension of Your Window
Cut the plywood to shape using the dimensions taken from your window. The measurement of the plywood should be the same as the window so that it fits perfectly into the frame.
For instance, measured window dimension 100cm by 60cm, the plywood dimension should also be 100cm by 60cm. Do not add or remove any inch or cm.
Plywood should be shaped to exact measurements using a saw. In a situation where you do not have a saw or uncomfortable using yours, visit a carpenter for help.
3. Join Two Pieces of Plywood
In cases where your window dimension is larger than the plywood standard dimension (4 by 8ft), attach two pieces of plywood.
For this procedure, you would need a two by a four-inch brace and six 2.25″ or 5.7cm screws. Place the brace at the midpoint between the two pieces of wood.
Screw-in the six screws (two at the top, two at the middle, and two at the bottom). This process is to ensure that the two pieces of wood would not pull apart.
4. Fasten Window Clips to the Sides of the Plywood
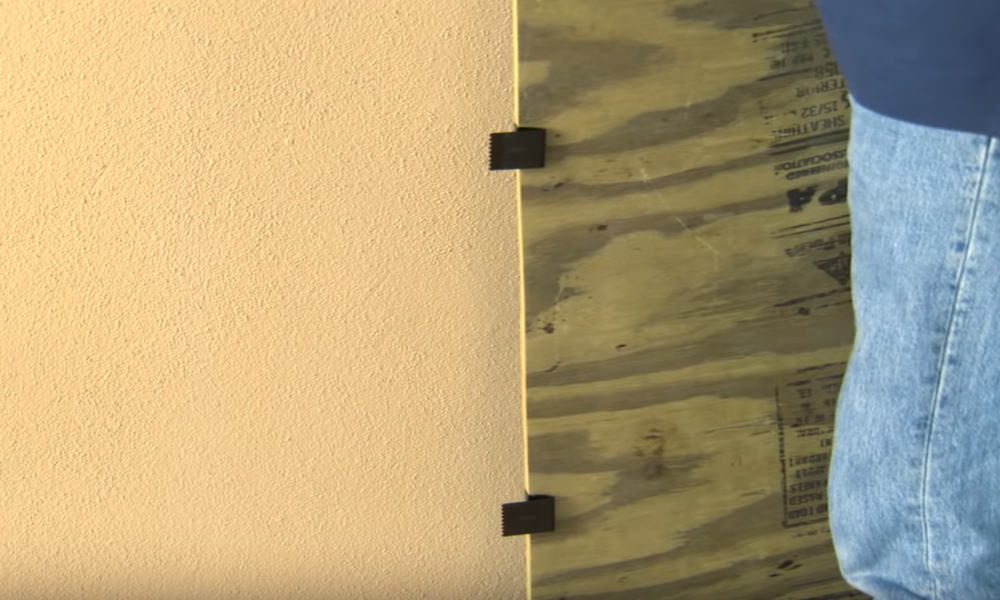
You will need two pairs of clips for this procedure. The clips on the same side should be set at 2ft or 0.61m apart. So now that they are facing you, attach the clips to the plywood by tapping with a hammer. Using a hammer might be optional, but it is necessary as it makes the clips connect firmly to the wood.
Also, make sure that the clips on both sides are spaced equally and facing each other for optimum performance.
5. Attach Plywood to Window Frame
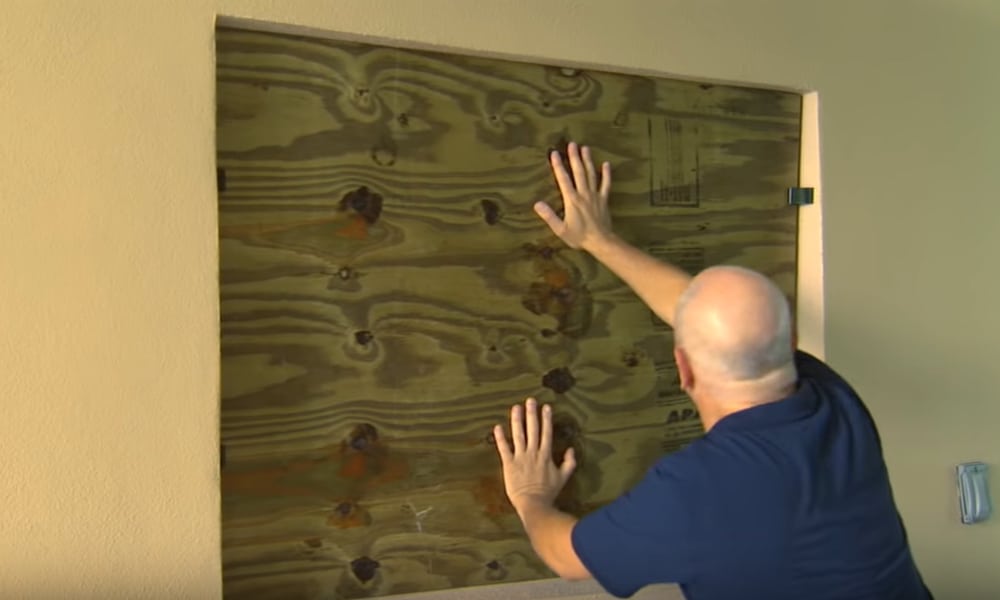
The tightness of the clip is to the plywood is a significant determiner of how secure your home would be during the hurricane. When attaching the frame, the best way hurricane clips work on windows is to ensure that it attach firmly to the frame.
To prevent your plywood from falling to storm or hurricane, ensure to attach the clip firmly to the frame. To detach the plywood at the end of the season, push down the board and pull up clips simultaneously.
Wrap Up
Protecting your home from hurricane shouldn’t be a daunting task for you. You can do it all by yourself with little if you know the best ways to board up windows for hurricane. Whether you are using a sliding window on any other types, to protect your home, follow the steps listed below.
To board up windows on a vinyl sliding you should:
- Measure the window
- Cut the plywood while adding 20cm or 8″ to the measurement gotten from the window
- Find the points that attach the window frame to the wall
- Drill the wood according to the distance between points of attachment
- Attach wood to the window by screwing in
But if you using a brick house, to board up windows on masonry walls require you to:
- Measure out the window
- Cut the plywood to the exact dimension of the window
That’s it. Have fun protecting your house from hurricane.