In hot weather, the sun can disturb the comfort of driving. With this in mind, placing a window tint on your vehicle can protect your car interior from UV rays. Also, window tint film reduces the heat that can damage your car seats.
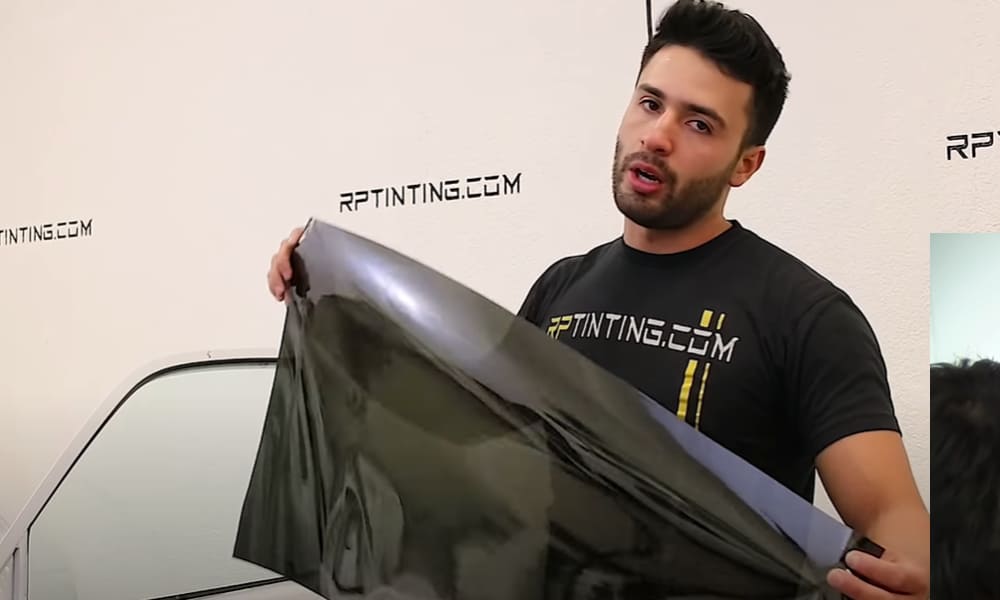
Apart from tackling the effects of heat, window treatments can enhance the look of your vehicle. However, many people do not know how to install window tint. Well, this task requires patience and an extra set of hands.
In this article, provide you a great guide on how to tint car windows yourself. But before you start, do some research on the tinting laws in your state. Now let’s get started with these tools needed for this project.
The Best Tools for Tinting Your Window
As a beginner, you might not have the tools needed to fix tint on your windscreen. If you don’t know the right window tint kit to buy, get the Gila Window Tint Application Kit. The package contains a razor blade, squeegee, window tint application fluid, and some cloth.
As expected, these kits will help you apply tint easily. For instance, the squeegee has a tip that removes moisture from tight corners. As for the fluid, it helps you fix the shade quickly.
But if you don’t want to get a kit, you can purchase each item separately. Here’s a list of products required, especially if you want to learn how to install window tint on a vehicle.
- Razor Blade: This item allows you to remove any debris from the surface. For this project, a new razor blade will help greatly.
- Utility knife: You will need a sharp knife to make neat cuts in the film.
- Squeegee: This product comes as an important tool to carry out the task on how to tint rear car windows or the ones at the front. You can use the squeegee to remove water on the glass or clean its surface. Since most stores sell this item in various sizes, pick the one that fits your vehicle.
- Hard Card: A hard card performs the same job as a squeegee. However, the card has a hard body than the other tool. Besides, it reaches tighter areas better than a squeegee.
- Spray bottle: Thanks to this useful tool, you can apply the cleaning liquid to every part of the film. Since the solution keeps the film oiled, you should not worry about any tears.
- Soapy Water: Prepare this solution by adding a little soap to ten pints of water. Before fixing the tint, clean the windows with this liquid. You can also use the soapy water to grease the shade.
- Lint-free or microfiber cloth: You can use these items to dry the windows. You need this item greatly to carry out the task on how to tint windows at home.
- Duct tape: As you fix the tint, the felt liner might get in the way. To avoid this problem, you can use this tape to hold down the felt.
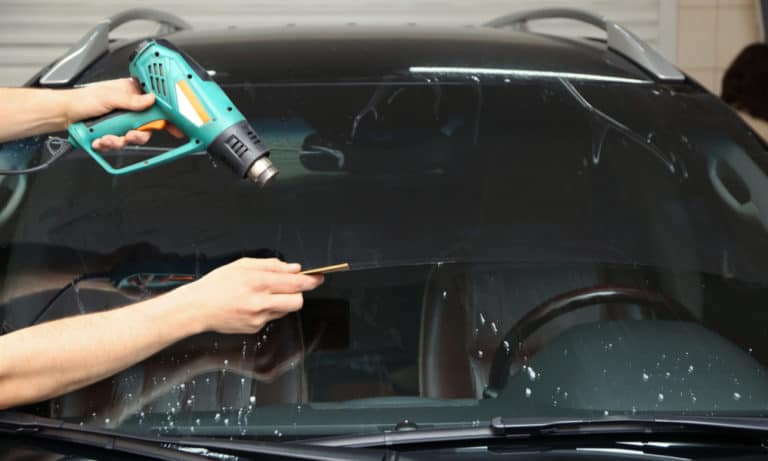
- Heat gun: If you want a tool that can make the film fit curved areas, this item should feature in your kit. You can also use it to smoothen out the surface of the material. However, you won’t need it for every tint job.
Step By Step Guide on How to Install Window Tint
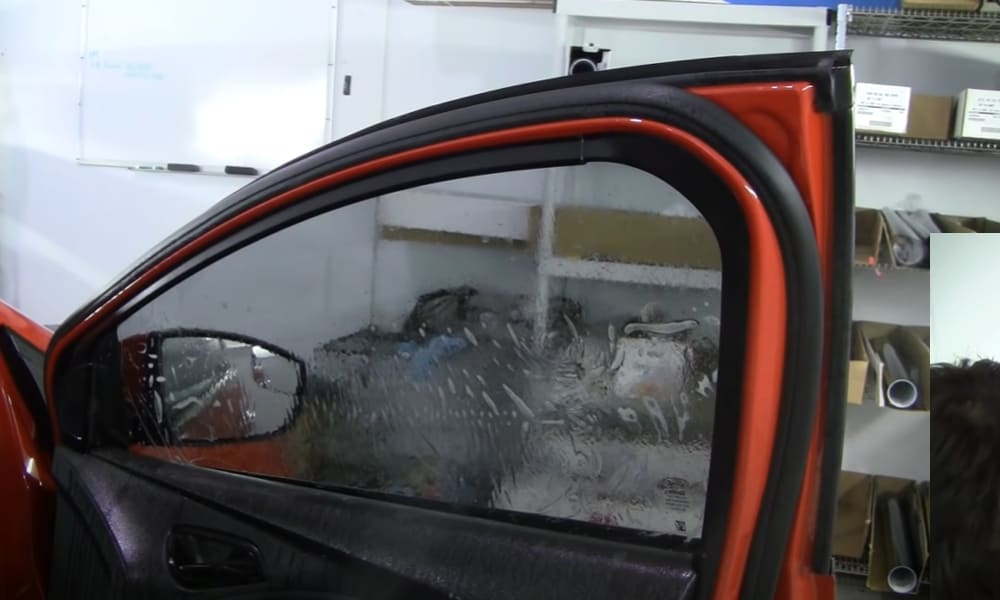
Step 1: Prepare the Windows for Tinting
Start by clearing out any item on the glass. You can achieve this task by getting the felt out of the way. For other vehicles, you might remove the brake light, side panel, or rear deck. Removing any of these parts will allow you to reach every part of the window easily.
At this stage, apply fresh soapy water on the window. Now, take the blade and scrape out any mess. Round up by drying the glasses with the microfiber towel and use the squeegee to check for wet surfaces.
Slightly, roll down the windows as this will help you work on every part of the glass. After cleaning this area, move it upwards. Now fill up the spray bottle with the soap water solution.
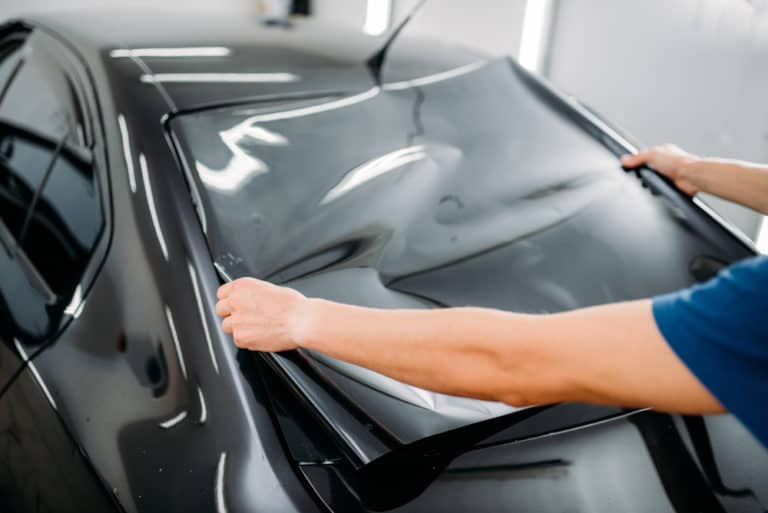
Step 2: Cut Out the Window Tint Film
For first-timers, it would help if you don’t use your window as a guide. Instead, whip out cardboard and cut out a template for the car window. By taking this step, you can produce a perfect window shape and avoid any wastage of film.
If you cut out the wrong shape, you can just make another template. Now, add three-quarters of an inch to the bottom of the seal. Then let the quarter of inch goes to the top and sides of the seals.
After completing the template, place it with the film on a sturdy surface. Then use a knife to cut the edges of the material so that it will have the same shape as the template.
At this point, you should have an outline that matches the window of the vehicle. However, confirm you have the right size by putting it on the glass.
Before trimming the film, ask someone to hold it for you. You should also cut through the edges as this will prevent any gaps between the rubber seal and edges.
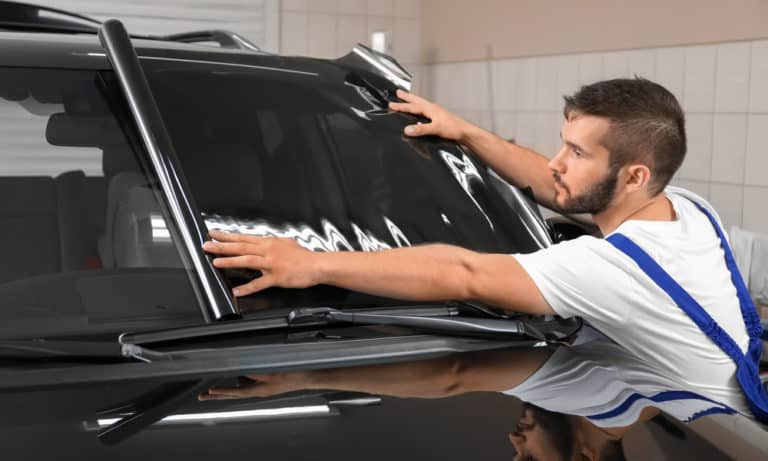
3. Fix the Film on the Glass
After getting the right film size for the window, use a squeegee or spray bottle to add some application fluid. Then, remove the outer layer of the film and place the liquid on the sticky end.
As the adhesive end of the film reacts to pressure, use less force, and stay away from creases and bubbles. By using excess pressure on the film, the film tends to cling to the glass. If you have this issue, you should start from the beginning.
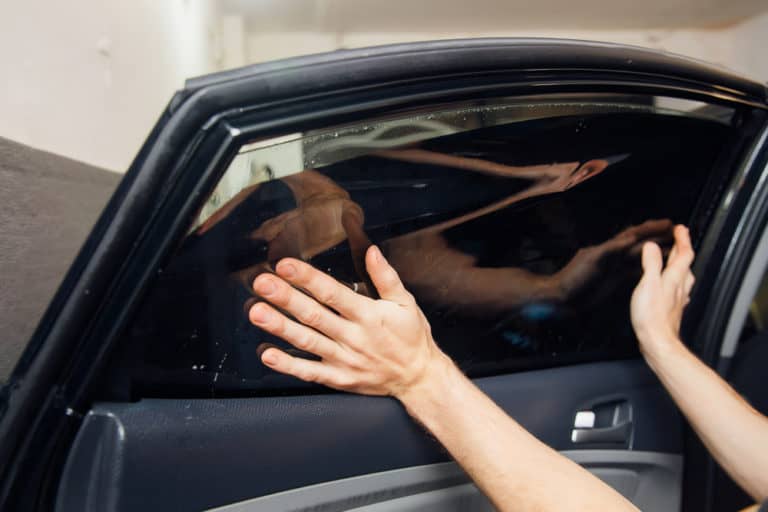
With the film in position, take the squeegee and push the tint on the glass. For this task, try going with even strokes that start from the center and move outwards. But before using the tool, lubricate with the soap solution.
Continue applying the soapy water while stroking the air bubbles and application liquid from the under the film. You should maintain minimum pressure and do not change the direction of the squeegee. As you remove the solution from the tint, the tint will bond with the window.
Do not forget the edges and corners of the windows. To reach these tight spots, cut a piece of another squeegee and make the film to conform to the corners and center.
As you push out the bubbles, increase the pressure gradually. As soon as the bubble and liquid leave the film, the tint will stick entirely with the glass. Besides, you won’t see any creases, bubbles, or spaces around the corners.
Head to the remaining windows and use the above steps. When completed, you should leave the film to bond totally with the glass. After 48 hours, you can wind down the glass or clean it.
Wrap Up
Knowing how to install window tint will help you save costs since you won’t need to call an expert. Also, installing window tint on your vehicle helps you change its look and offers protection from the sun.
Not only that, but it also extends the life of your car seats. But to fix any of the car window tinting types, you will require a partner and extra time. Get the right set tools for the task.
The guide above shows you how to install window tint on your own. In summary, you should
- Clear any felt or other items that cover the glass
- Cut out some cardboard which will serve as a template for cutting out the film
- Use a squeegee or spray bottle to apply the liquid on the glass
- Fix the film and remove bubbles with the squeegee
- Repeat the process on other windows and leave to bond with the glass
Please if you have any questions or ideas, you can leave them in the comment section.

Thanks for sharing this useful blog post on “3 Easy Steps To Install Window Tint”. The steps are well-explained, easy to understand, and follow. Great work! Keep sharing such content.