Several factors can cause a door to sag- these include loose screws, moisture on the woods, or foundation defect. When this happens, the door can no longer latch on with the plate properly or it allows the draft to blow through a sagging position.
Do you know how to fix a sagging door? The standard method is to take the door out from the frame, run sandpaper or plane through, fix, and repaint.
However, this procedure doesn’t only require more time and work but is also not reliable. The reason is that there is a possibility of excess filing or sawing, which could even create bigger spaces than the sagging.
Hence, before you think of loosening a hinge screw, ensure you know how to fix a sagging door frame. Here’s a step by step guide on how to fix a sagging door.
Easy ways on How to Fix a Sagging Door
1. Ascertain the Problem
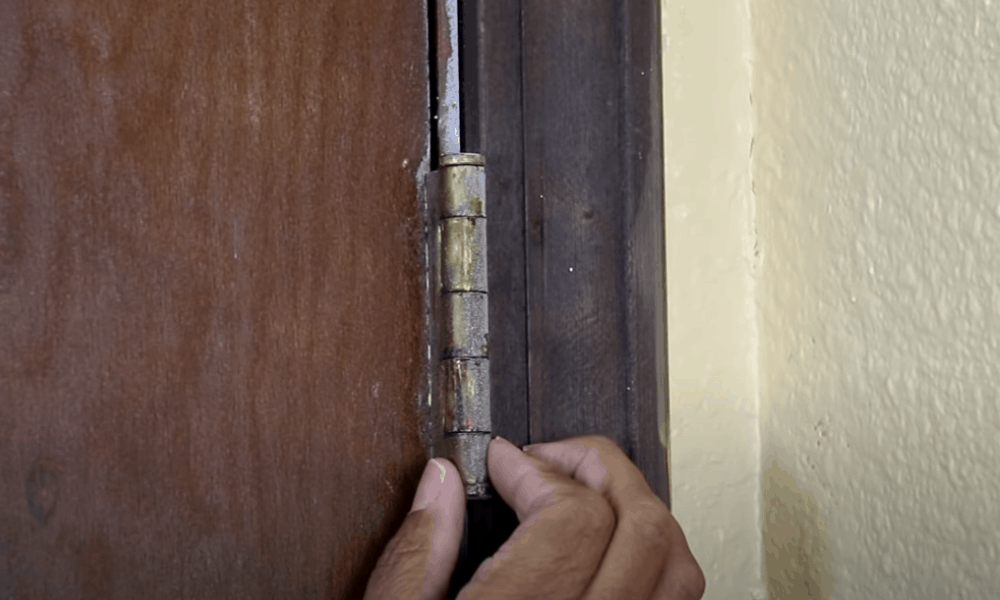
Examine the door from all angles of the hinges, both inside and outside. These measures will allow you to know the level and the cause of the sagging. Spot the places where the door has a gap or stay tight. Typically, the bottom hinge of sagging doors tends to be tighter on the jamb. The door side facing the sill might have space at the top so that it doesn’t touch it.
2. Inspect the Door and Frame
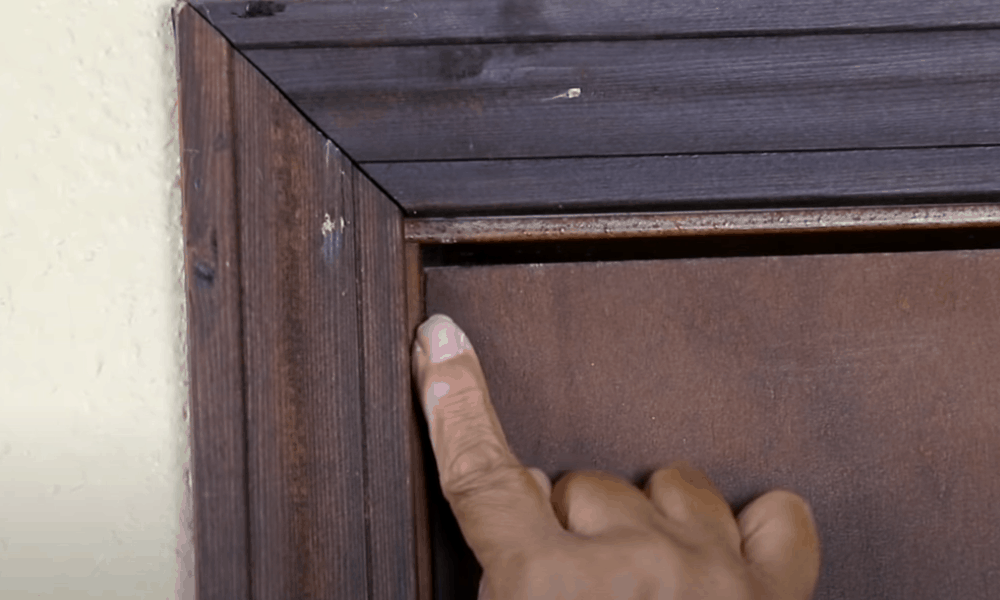
You should also check if the door and frame is level with the use of a Carpenter ‘s Square and bubble level. Place the bubble level over the left, right, and top sides of the jamb and then look if it rests between the viewer’s line.
Now check if all sides are plum using a steel square or if any of them deviated from 90-degrees. By your examination, you may discover that the door is level but not the frame. If the frame is off the square, you may want to look at the settling foundation or shifted wall.
3. Examine and Fasten the Hinge Screws
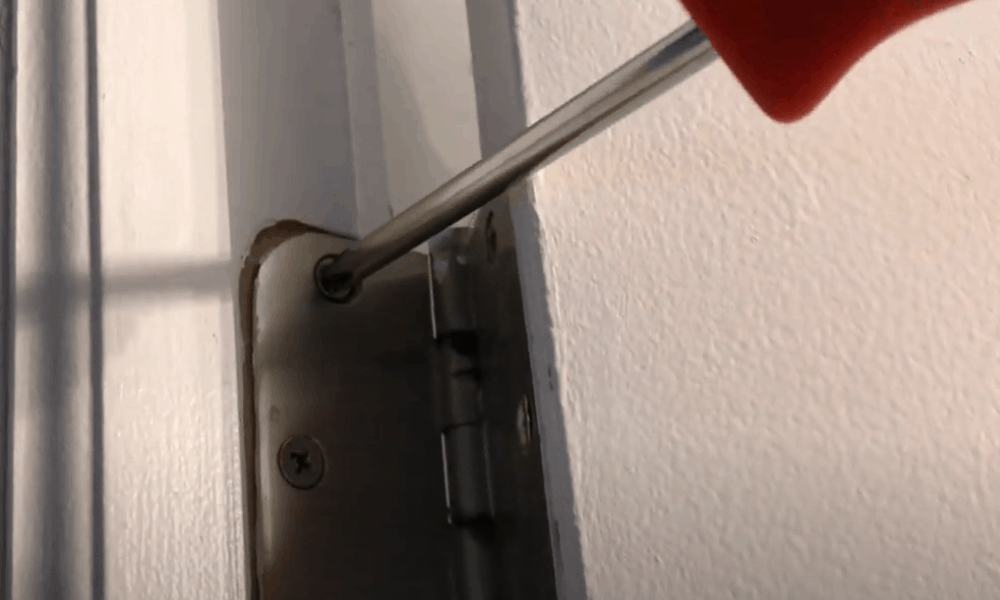
When you open the door, look out for loose hinge screws, and tighten them to the door and the frame. It’s best to use a screwdriver as a drill to make them too tight, which is not good.
Once you experience any resistance on the driver, you know that the hinge is tight in its position. Be careful of too much tightening as it can further pull it out of alignment. If the doors still sag, then try the next method.
4. Find and Fill Out Stripped Holes
In case you find stripped holes, support your door with a doorstop to carry the weight temporarily. Unscrew the hinges with stripped holes and take them out of the frame and doorpost.
Then close the holes with a suitable dowel size dipped in carpenters glue. You can get these materials quickly from any store. Allow the glue to dry up, drill a proper-sized screw hole on the jamb, and fasten back the hinge screws. You can use the next method if this one fails.
5. Put Longer Screws in Place of Short One’s

If after tightening the hinge screws and the door still sagged, then try using longer screws for your straps. First, unscrew the short bolts out of the upper hinge and check if it’s up to two and a half inches long. If it’s not, you may have to replace them with longer screws to get to the wall stud over the jamb.
Shorter screws can no longer support the weight of the door. So, take out the current screws and predrill a new hole into the jamb, then put in the longer screws. This method is one of the best steps on how to fix an uneven door.
6. Attach a Shim between the Door Jamb and Hinge
You can attach shims of cardboard, wood chips, or cards to the middle of the jamb and hinge to help align the door. This procedure remains one of the best methods on how to fix a misaligned door. Now, gently take out the correct hinge, mostly the upper one, and make a shape of it on the shim.
To successfully carry out this stop, you should know how to shim a door hinge. In this technique, you need to add thin materials to the mortise little by little until it becomes level. It may require you to fix the shims on other hinges carefully because it needs many technicalities.
Since there is no established number of shims required, you’d have to keep adding and taking it away until its plums.
7. Mortising the Hinge on the Door

Mortising the hinge on the door is an alternative method of fixing a sagging door. First, you should mark a spot on the location of the hook before taking it out. Then chisel out a new gap after you remove the hinge.
One of the most permanent solutions to door hinge problems is mortising the door hinge after removing them. But first, ensure to mark out the outlines on the hinge position, then carve out a fresh mark on the position with a knife.
Afterward, loosen out the hinges before chiseling along with the outlines you marked. Tap the chisel gently with a hammer to create a relief within the perimeter of the sketches. When you finish, make another carving along with one-eighth inch distance apart.
The depth of the mortise will depend on the extent of the door sagging. Finally, place the hinge to be level with the door, when you’re sure it’s flush enough, remove chippings and fix the hinge.
8. Planing and Sanding Door to Fix Sagging
You might have to resort to a plane and sandpaper if all the previous methods did not work. If you have fastened screws, or tried the process how to adjust door hinges, yet know the positive results, the planning and sanding is the last resort. This knowledge is one that involves scribing the door where the planing will stop.
First, mark the door at a spot ⅛-inch from the edge facing the jamb using a carpenter’s compass. Then, run a masking tape on the marked line to maintain visibility. There won’t be a need loosening the hinge screws from the door because you’re sanding the other edge.
Instead, take out the hook pins and move the door aside to an open location with a level surface. Now sand or plane the marked edge with a belt sander. Use 80-grit sandpaper for the first 1/16 inch, and then switch to a 150-grit sanding belt for the next phase.
For the smoothening and final phase, you need to use the 120-grit. Ensure you don’t get stuck on one spot to avoid creating a big hole. After smoothing, you can now repaint the edge.
Repaint the Smoothened Edge
After planing out the edge, you may want to refinish and repaint it. This step should be done when you finish sanding. Repainting the wood will not only bring uniformity with other edges but also prevent moisture attack and future sagging.
Wrap Up
There are many steps on how to fix a sagging door, but a few of them that you can do yourself. To fix your door hinge problems, you can go through our guide thoroughly to get this done. In summary, always ensure you try out other ways before sanding or planing. Moreover, you can also
- Use longer screws for short ones
- Tighten the screws
- Fill out the stripped holes and
- Attaching shims to the hinge and jamb
If there are thing you like to ask or add you can kindly drop your thoughts and questions in the comment section.