Custom garage doors have become increasingly popular in recent years as homeowners seek to add a touch of personalization and style to their homes. These unique doors go beyond the standard options available in the market, allowing homeowners to create a customized look that reflects their tastes and enhances the overall curb appeal of their property. With the growing interest in custom garage doors, it becomes crucial to understand the importance of proper installation to ensure their functional performance and aesthetic appeal.
Installing a garage door custom goes beyond the usual DIY projects around the house. It requires meticulous planning, precise measurements, and careful execution to ensure a seamless and secure fit. A well-installed custom garage door not only enhances the overall look of your home but also ensures optimal functionality and durability in the long run. Whether you are updating your garage door or installing a brand new one, this step-by-step guide will provide the necessary guidance to achieve a successful and rewarding installation. By the end of this guide, you will have the knowledge and confidence needed to transform your garage with a custom door that combines style and functionality.
Selecting The Right Custom Garage Door
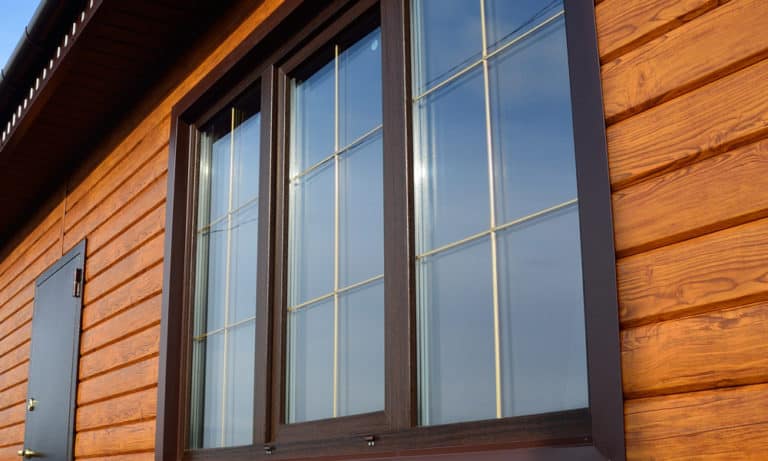
When selecting the right custom garage door for your home, several factors must be considered. One of the first decisions you’ll need to make is regarding the material of the door. Custom garage doors can be made from various materials, each with unique characteristics. Wood is popular for its natural beauty and ability to be customized with different finishes and paint colors. On the other hand, steel doors offer strength, durability, and low maintenance. Fiberglass doors are known for their resistance to moisture and warping, making them a great option for areas with extreme weather conditions.
Once you’ve decided on the material, consider the design of the door. Custom garage doors come in various styles, from modern and minimalist to traditional and carriage house designs. Think about the architectural style of your home and choose a design that complements it seamlessly. Additionally, consider the insulation and energy efficiency features of the door. Proper insulation helps regulate the temperature inside your garage and contributes to overall energy savings. Look for doors with high R-values and weather stripping to minimize heat transfer and prevent drafts.
Lastly, don’t overlook the importance of safety features. Custom garage doors should have safety measures such as automatic reverse systems, photo-eye sensors, and sturdy locking mechanisms. These features protect your family and belongings and ensure compliance with safety standards. When choosing your custom garage door, prioritize safety alongside aesthetics and functionality to make the most informed decision for your home.
Pre-Installation Preparations
Before diving into the installation process of your custom garage door, it’s crucial to ensure proper safety measures and have the necessary tools at hand. Safety should always be a top priority when undertaking any home improvement project. Before starting, gather the necessary safety gear, such as gloves, safety goggles, and closed-toe shoes, to protect yourself from any potential hazards.
Next, make sure you have the right tools for the job. Here are some essential tools you’ll need for a smooth installation process:
-
Measuring Tape
Accurate measurements are crucial for a proper fit. Measure the width and height of the door opening and the clearance on the sides and above the opening.
-
Level
A level is essential to install your custom garage door straight and even. This will prevent issues with the door’s operation in the long run.
-
Wrench Set
You’ll need a wrench set to tighten and loosen bolts, nuts, and other fasteners during installation.
-
Drill
A drill will be required to create pilot holes and secure screws or other fasteners.
-
Screwdrivers
Different sizes of screwdrivers, both flathead and Phillips, will be useful for various steps during the installation process.
-
Hammer
A hammer may be handy for adjusting and aligning parts or removing nails.
Once you have your safety gear and tools ready, taking accurate measurements is essential. Measure the size of the custom garage door accurately, ensuring it will fit within the dimensions of the available space. Additionally, measure the side room (space on each side of the opening) and the headroom (above the opening) to ensure proper clearance for the door’s operation.
Lastly, before starting the installation process, clear the area around the garage door. Remove any obstacles, tools, or furniture that might obstruct the installation or pose a safety hazard. To ensure a smooth and uninterrupted workflow, provide ample space to move around the area while installing the custom garage door.
Removing The Old Garage Door (if applicable)
Before installing your new custom garage door, you’ll need to remove the old door if there is one already in place. Here’s a step-by-step guide on how to do it:
-
Releasing The Tension On The Torsion Spring
Torsion springs are responsible for counterbalancing the weight of the garage door. To ensure safety, it’s crucial to release the tension in the torsion spring before attempting to remove the door panels. Following manufacturer instructions or seeking professional assistance is highly recommended, as releasing the tension on torsion springs can be dangerous.
-
Disconnecting The Door Opener
If your old garage door has an automatic opener, disconnect it from the door panels. This typically involves disconnecting the opener arm from the door brackets. Refer to the manufacturer’s instructions for your opener model to ensure proper disconnection.
-
Removing The Old Door Panels
Start by removing the top panel of the old garage door. Carefully disconnect any hinges or brackets holding it in place and set it aside. Continue similarly removing each panel until all the panels have been detached. It’s important to handle the panels carefully and avoid any damage during removal.
-
Removing Old Hardware (Tracks, Springs)
Once the door panels are removed, you can remove the old hardware. This includes tracks, springs, and other components attached to the garage frame. Use the necessary tools, such as wrenches or screwdrivers, to loosen and remove the hardware. Be cautious during this step, as some components may still have tension or under pressure even after removing the door panels. Refer to manufacturer instructions or seek professional assistance if needed.
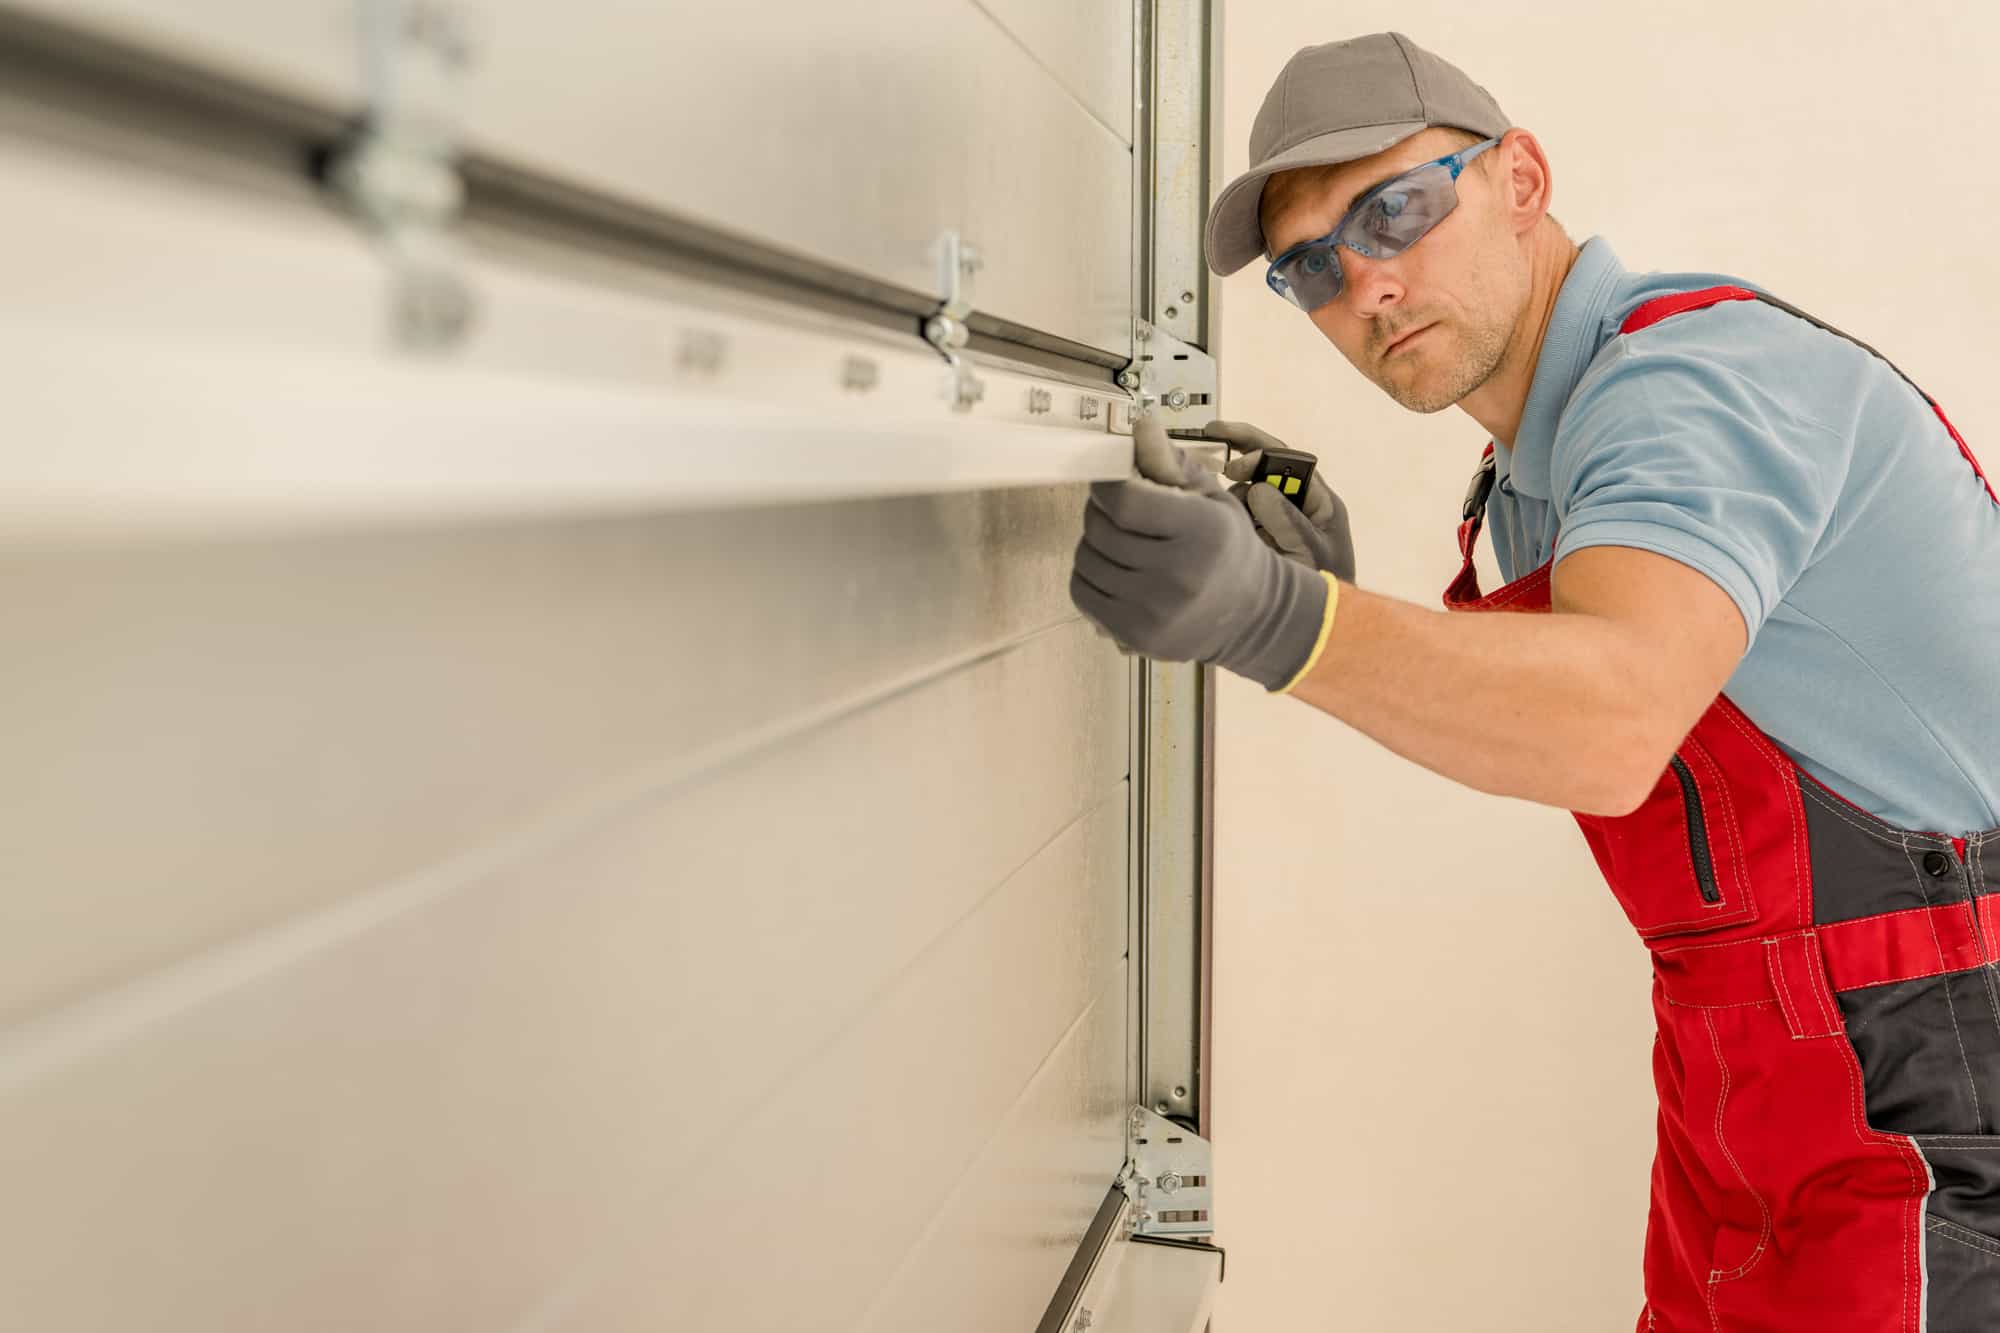
Installing The New Custom Garage Door
Now that you have removed the old garage door, it’s time to install your new custom garage door. Follow these step-by-step instructions to ensure a successful installation:
-
Setting Up Vertical Tracks
Start by installing the vertical tracks on both sides of the garage door opening. Use a level to ensure they are plumb and secure them in place using the provided fasteners.
-
Assembling And Setting Up Horizontal Tracks
Next, assemble the horizontal tracks according to the manufacturer’s instructions. Attach them to the vertical tracks, making sure they are level and parallel to each other. Use the provided fasteners to secure them in place.
-
Installing The Rollers And Hinges
Attach the rollers to each of the door panels using the provided hardware. Insert the rollers into the tracks, ensuring they glide smoothly. Install the hinges onto the door panels, following the manufacturer’s instructions for proper placement.
-
Assembling And Placing Door Panels
Assemble the door panels according to the manufacturer’s instructions. Lift the bottom panel into place, ensuring it is centered and level within the garage opening. Attach the subsequent panels, securing them with hinges, until all panels are in place.
-
Installing Torsion Springs And Pulleys
If your custom garage door utilizes torsion springs, carefully install them according to the manufacturer’s instructions. Place the pulleys in their designated positions, ensuring they align with the tracks.
-
Attaching The Cables
Connect the cables to the bottom bracket and wind them around the drums at the top of the vertical tracks. Make sure the cables are properly aligned and securely attached.
-
Adjusting Tension On The Springs
Carefully adjust the tension on the torsion springs following the manufacturer’s instructions. This step is critical to ensure the proper functioning and balance of the garage door. Seek professional assistance if you are unsure how to adjust the tension on the springs.
-
Installing And Configuring The Garage Door Opener
If such a case where you have a garage door opener, follow the manufacturer’s instructions to properly install and configure it. This typically involves attaching the opener rail to the motor, connecting the drive mechanism to the door, and setting the limits and force settings.
-
Aligning The Infrared Safety Sensors
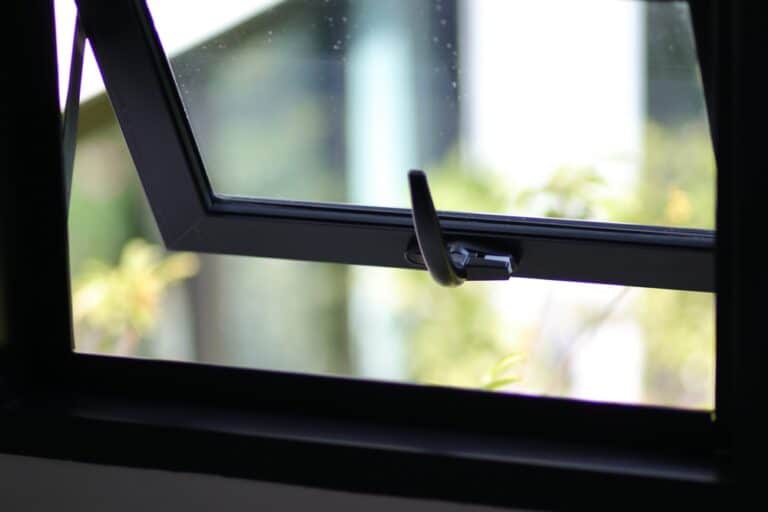
Install and align the infrared safety sensors near the bottom of the vertical tracks. Ensure they face each other and are properly aligned. Test the sensors by obstructing the beam, ensuring the door reverses when the beam is interrupted.
Finishing Touches
After successfully installing your new custom garage door, there are a few final steps to complete the installation and enhance your door’s overall look and functionality. Follow these finishing touches for a polished and well-protected garage door:
-
Installing Weatherstripping
Weatherstripping helps seal gaps between the door and the garage opening, offering insulation and preventing elements like dust, drafts, and moisture from entering your garage. Measure and cut weatherstripping to fit along the bottom of the door and the sides. Attach it securely using adhesive or screws, as recommended by the manufacturer.
-
Adding Decorative Hardware Or Elements (If Any)
Custom garage doors often provide the opportunity to add decorative hardware or elements, such as handles, hinges, or decorative inserts. These elements can enhance your garage door’s appearance and complement your home’s overall style. Follow the manufacturer’s instructions to properly attach and secure the decorative elements.
-
Painting Or Staining For Protection And Aesthetics
If your custom garage door requires painting or staining, now is the time. Ensure that you choose a high-quality exterior paint or stain suitable for the material of your garage door. Prepare the surface by cleaning it thoroughly and removing any debris or dust. Apply the paint or stain evenly, following the manufacturer’s instructions, and allow it to fully dry before using the door. Painting or staining provides an appealing aesthetic, protects the door from weathering, and extends its lifespan.
Conclusion
Installing a custom garage door can bring immense satisfaction as it enhances your home’s functionality and aesthetic appeal. Following a step-by-step installation guide, you can ensure a successful installation and enjoy the benefits of a personalized and stylish garage door. However, it’s essential to remember that regular maintenance is key to maintaining the door’s performance and longevity. Conducting monthly inspections, lubricating moving parts, and addressing worn-out components are crucial for your garage door’s smooth operation and safety. By prioritizing regular maintenance, you can continue to enjoy the convenience, security, and curb appeal that a well-installed custom garage door provides for years to come.