Most shower door consists of mounting tracks that surround sheets of glass. At some point, glass on this door might crack, the frame showing signs of gap, or other defects will make want to change this shower fixture. Asides damages and broken glasses, you might want to replace the shower door for a bathroom upgrade.
Whatever the reasons that make you want to change it, if you don’t have a great knowledge of shower door replacement, you might find it difficult to carry out this task.
Well, if you don’t have any DIY experience, this article will show you how to replace a shower door. But before you carry out this task, ensure you have a proper shower door replacement kit.
Step-By-Step Guide on How to Replace a Shower Door
Step 1: Take off the Panels
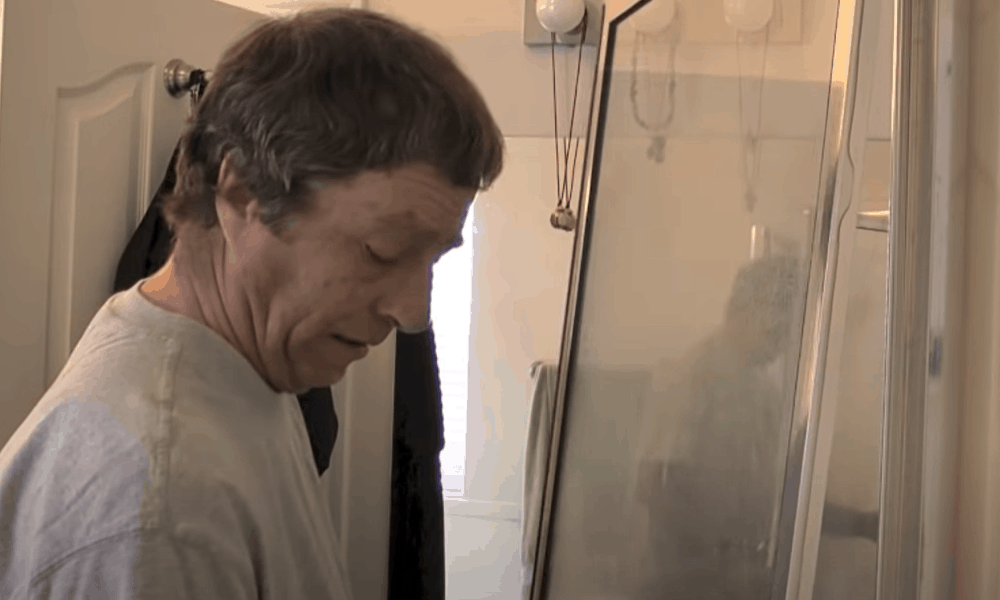
If you plan to fix a new door’s side and bottom jambs, you will need to remove the old shower door. Perform this task gently as any mistake can damage the surrounding area, thus slowing down your work.
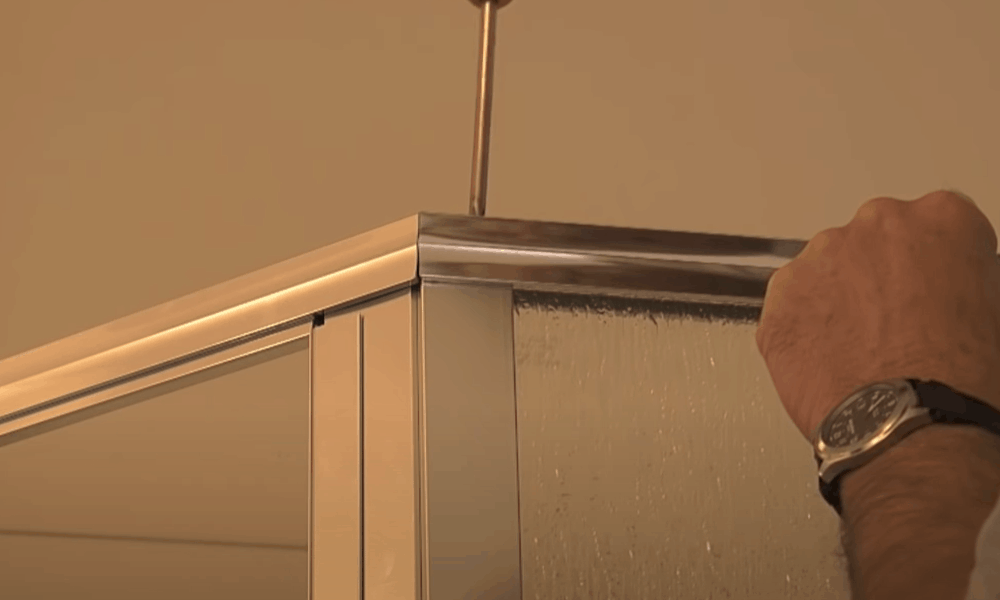
Now, the first step on how to replace a shower door is to raise and take out the exterior door panel. Next, remove the inner and the upper track.
Step 2: Unscrew the Jambs and Take Out the Bottom Track

Place a drop cloth in your tub. Then, use a claw hammer and screwdriver to loosen the screws that hold the side jamb to the wall. After taking out the screws, head to the jamb’s outer part and cut the caulk with a utility knife. Complete this stage by also cutting the inner part of the jamb that faces the shower.
Start by sticking the edge of a putty knife into the cut. Next, loosen the caulk by hitting the knife’s end with a hammer. As soon as the bond breaks, take out the jamb from the wall.
Use the steps mentioned above to work on the other jambs.
Head to the bottom track and use the earlier mentioned steps to cut and loosen the caulk’s jamb. To work on the side jambs, create two cuts on the track, which is the one on the interior and another at the outer part.
Remove the caulk with the putty knife. You should also take out the bottom track and keep it in a safe place.
Scrape out the remaining caulk on the sidewalls and ledge of the tub. At this point, you should use rubber gloves and ensure that the area is well-cleaned.
Step 3: Work on the Bottom Track
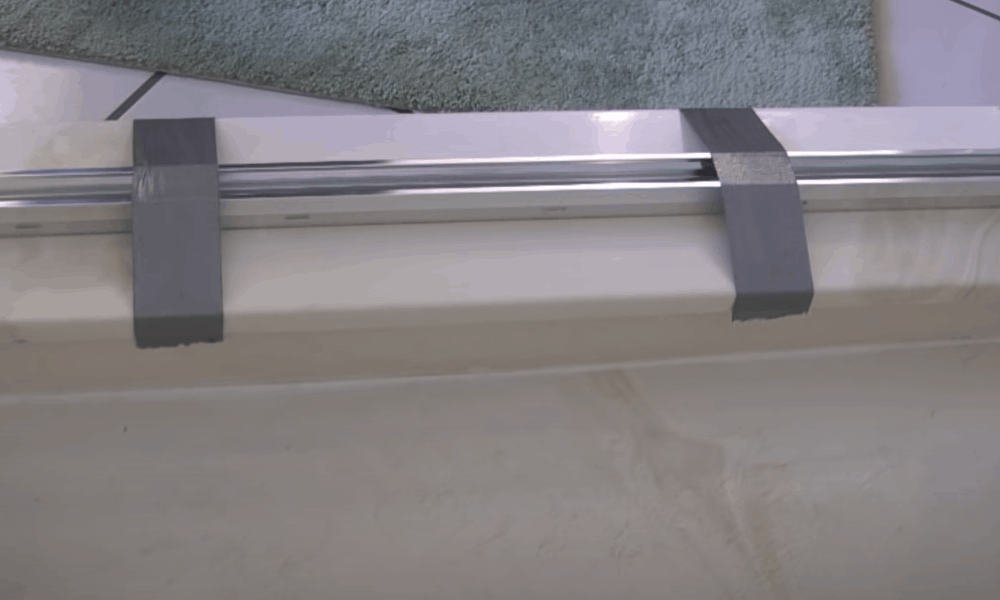
Carry the bottom track and face the outer lip from the inner part of the shower. Then place the track at the ledge of the tub.
Try to leave a 3/4″ space between the edge of all shower walls and the bottom track that will accommodate the side jamb. Use some painter’s tape to keep the track steady temporarily. Take a pencil and mark the track’s position.
Step 4: Fix the Side Tracks and Jamb
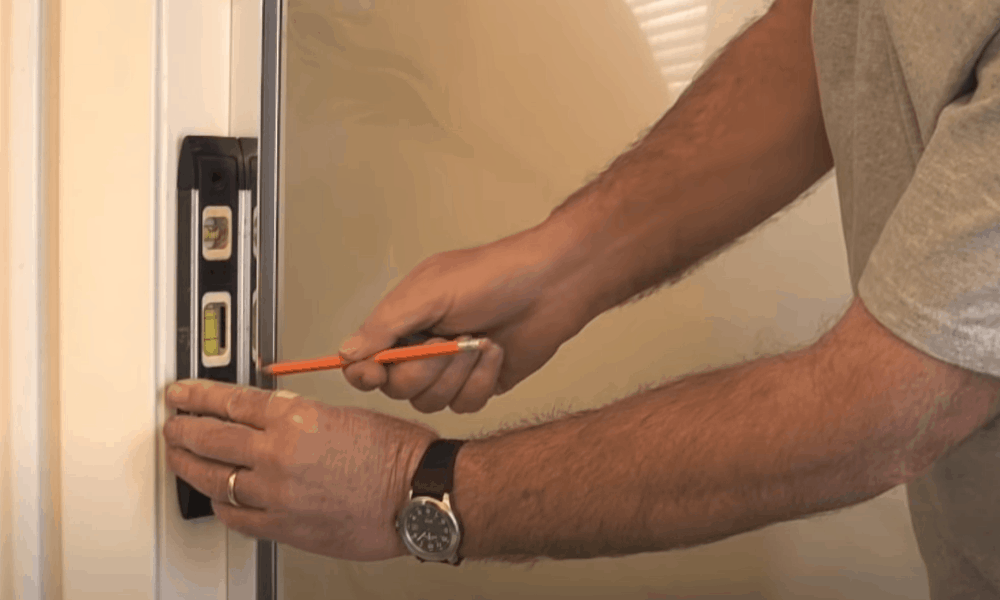
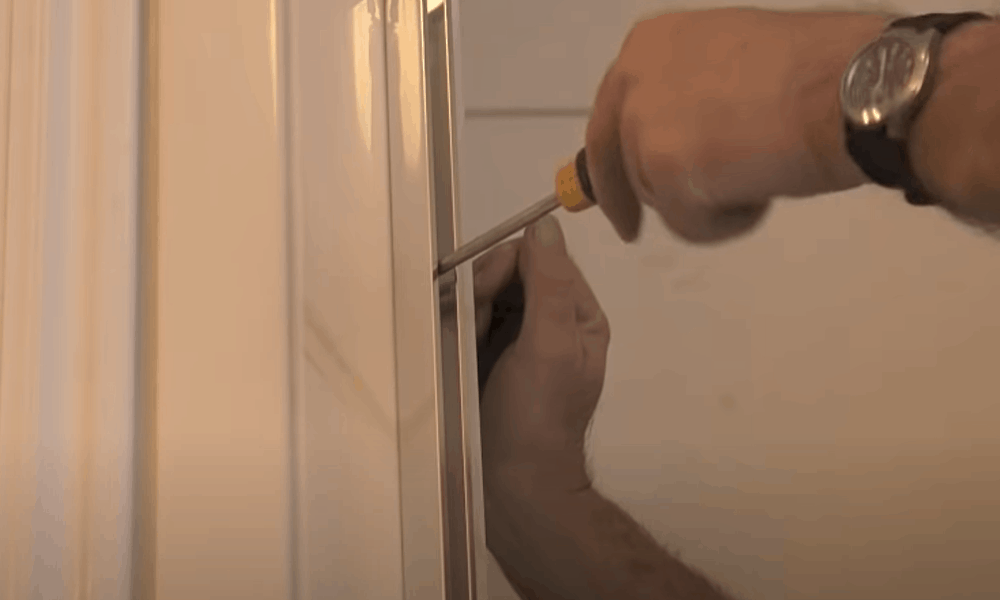
Take the side tracks from the top and secure it by pushing down. Ensure to level the side tracks or else you could end up having a faulty shower door installation. To do this, set a level against the track, ensuring the bubble is at the middle.
Keep the jamb flat on the wall and check if it stays level. With some painter’s tape, keep the track in position. Then repeat the same process on the adjacent sidewall.
Keep the side jamb in place and drill in pilot holes with a 1/8″ masonry bit for some screws. You will need these screws to secure the jamb to the side walls. After making the screw holes, take out both side jambs and bottom rack by ripping off the painter’s tape.
Step 5: Prepare the Holes for the Panels
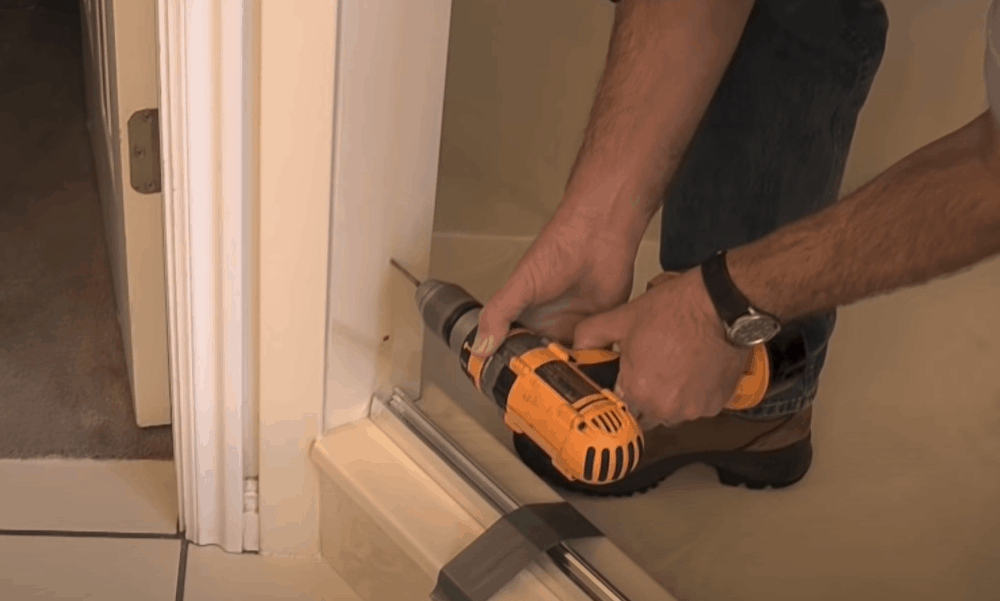
After removing the framework, pick up a 3/16″ masonry bit and increase the screw holes. When the holes become more prominent, push in some plastic screw anchors into each hole.
On the jamb that lies closest to the storage column, attach three screws. As for the adjoining side jamb, fix the upper and lower holes. When you reach the center hole, insert a screw – that comes with a bumper insert – and tighten.
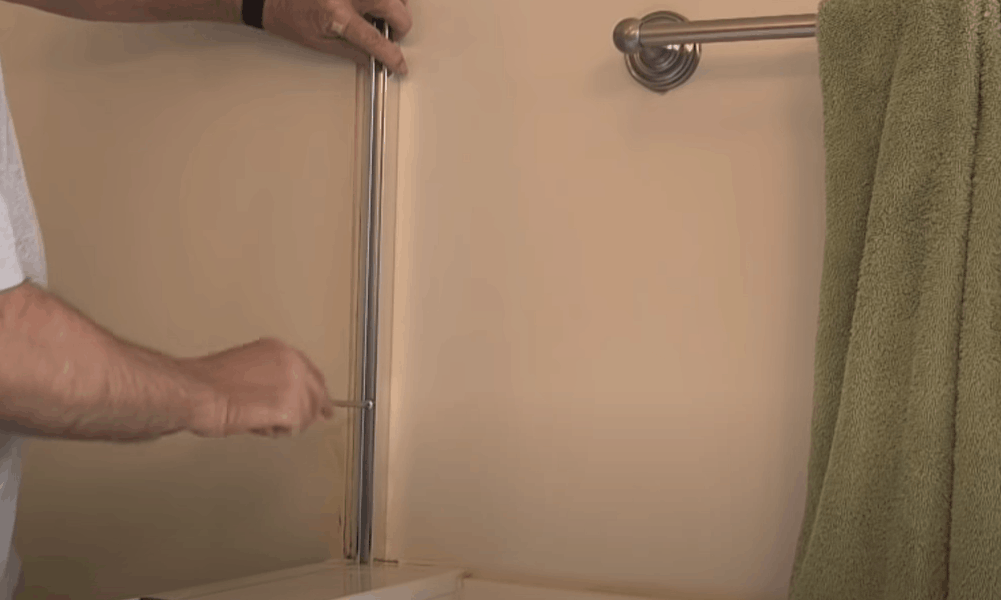
Step 6: Fix the Bottom Track and Storage Column
Raise the side tracks and snap the bottom one into position. As you place it, ensure that the bottom track stays at the ledge of the tub. For this part, the track should line with the pencil mark. Besides, you should hide the gap beneath the tower.
Next, pick up an extension piece and move it to the exterior track. You can confirm if you are in the right spot to install a shelving tower by taking this step.
At this point, you will also need some tape to serve as a guide. With the bottom track on the tub’s ledge, place the storage column above the extension piece and fix it into a selected wall jamb. Use self-drilling screws to keep both items together.
Step 7: Attach the Jamb to the Column
Set the middle jamb on one end of the storage column and secure the connection with some screws. You should also insert a bumper into the center jamb. Also, try to lock the side and bottom tracks into position.
Step 8: Fix the Top Track and Shelving Unit
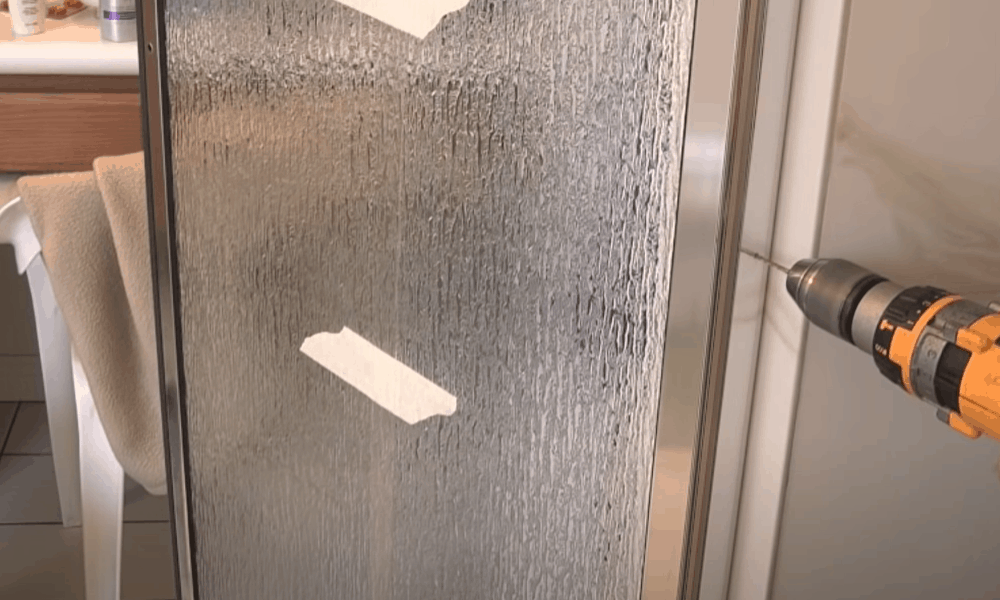
At this stage of replacing a shower door, prepare to cut and fasten the top track. Begin by correctly measuring the length between the two shower walls facing each other. Then, make a mark on the top track for the part to cut.
A miter is an excellent tool for making cuts on a top track. Use the miter to slice the track and smoothen the edges with a file. If you want a wider look, place the top track on top of the wall jamb and press downwards.
For the shelving units, you can install them according to the way you like. insert the bumpers into the center screw on the jamb that faces the center jamb and shower column. You shouldn’t forget to hide the screws’ heads with some covers.
Step 9: Seal the Frames
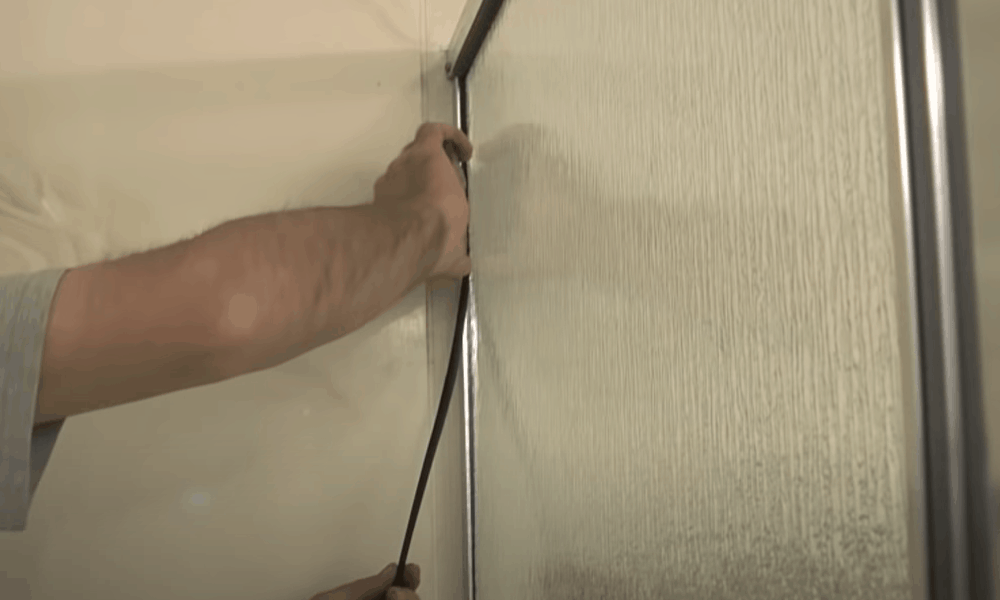
Since caulk defaces glass, you should caulk the frame before hanging the door. If you want to start caulking, aim for the bottom track’s outer edges and inner corner. Then you continue the procedure on the inner corner of the side tracks.
To caulk the frame, place a drop of silicone caulk to the bottom track’s exterior corner for the tub’s exterior. You should also apply the same amount of caulk where the center and side jamb touch the bottom track. For a perfect job, use your finger to level out the edges.
Inside the shower, place another drop at the point where the walls and side jambs touch.
Step 10: Install the Doors
Now you have gotten to the final part of knowing how to replace a shower door. Stay at the tub’s exterior and raise the inner panel while the rollers face the shower and hook up the top track’s inner rail.
You should repeat this step on the outer panel with the rollers facing the shower. At this point, the door will stay hooked to the exterior trail of the top track. Move the shower doors with a push, get into the tub, and make sure the panel guides’ slot meets the bottom track’s hole. With slots and holes aligned, secure the installation by screwing in two pan head screws.
Conclusion
Replacing a shower door can be quite a challenging task. But with the right guides and tools, you can put up any framed shower door with ease. As you carry out this project, remember the following steps.
- Uninstall the old outer door panel, jambs, and bottom track.
- Install new side tracks and jamb
- Make fresh holes for the new panel
- Setup the bottom track, storage column, jamb, shelving unit, and top track
- Caulk the frames and hang the doors
- Install your shower glass door
We hope this guide on how to replace a shower door. If you have any questions, you can drop them in the comment box below.


WOW, This is a really great tips. I like this idea. Actually I need to change my shower door. I know how to replace shower door but your tip is really helping me. Thank you for share such a helpful post.
This was a great video! Thank you.
Hi! I really have to thank you for showing us that removing a glass door carefully is something we should just let an expert to handle for obvious safety reasons. The one in my bathroom has this large crack (I don’t know how that happened) and I’m worried it could get even bigger. Alright, I’ll use your advise and call a professional to make the right removal and replacement in no time.