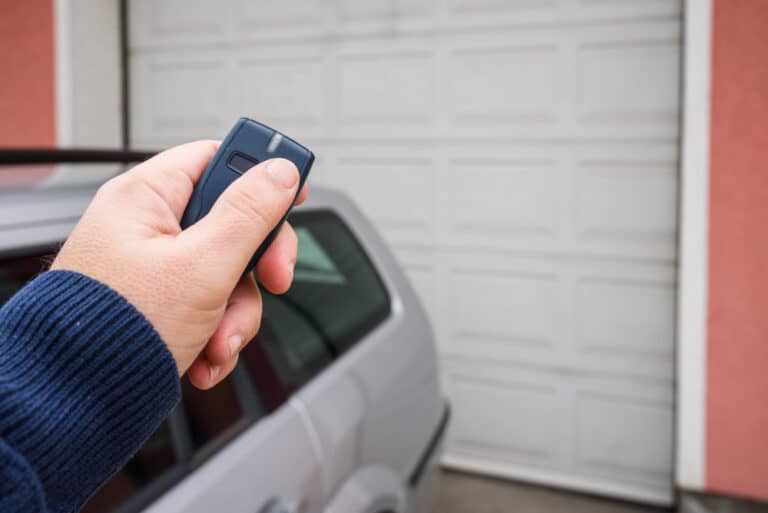
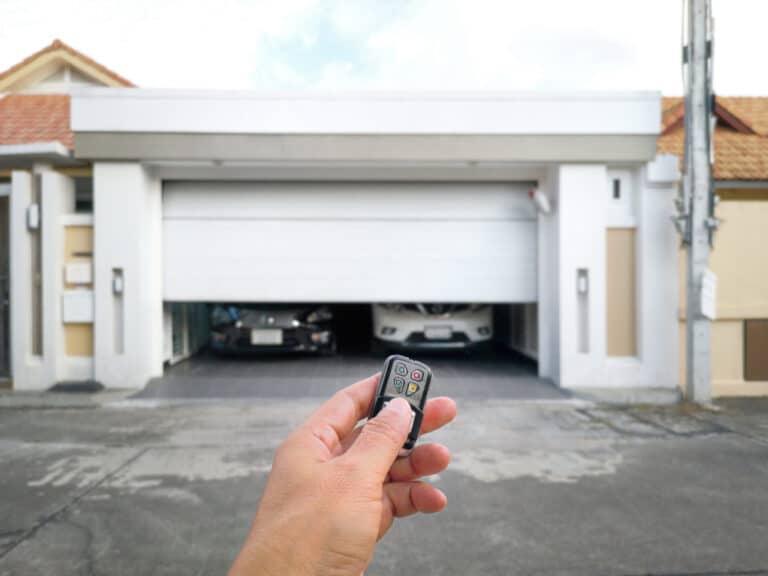
If you have an electric garage door, it’s almost certainly controlled by a remote. However, if you lose your remote or you move house, you will probably need to reprogram it. This will allow you to connect a new remote to your garage door opener or cancel old ones.
Since there are so many different models, in the first part of this post, we will explain the basic concepts that should apply to just about any garage door opener. In the second part, we will include a collection of videos we found on the topic of how to program a garage door opener.
That way, you will be able to find the video that is relevant to the garage door system you have in your home for precise details.
The Basics on How to Program a Garage Door Opener
Step 1. Cancel all old codes
If you move home or you have lost your old remote, you might want to cancel all the codes that are stored in the garage door opener’s memory.
This will prevent anyone who finds your garage door remote from opening your garage door with the old remote. At the same time, it will also cancel any remotes that previous homeowners may have kept and that are still connected to your garage door opener.
The process for doing this is generally the same, regardless of the brand you have. However, there may be some variations, so if you can check your user’s manual, you will be able to find details of how exactly it is done on the model you own.
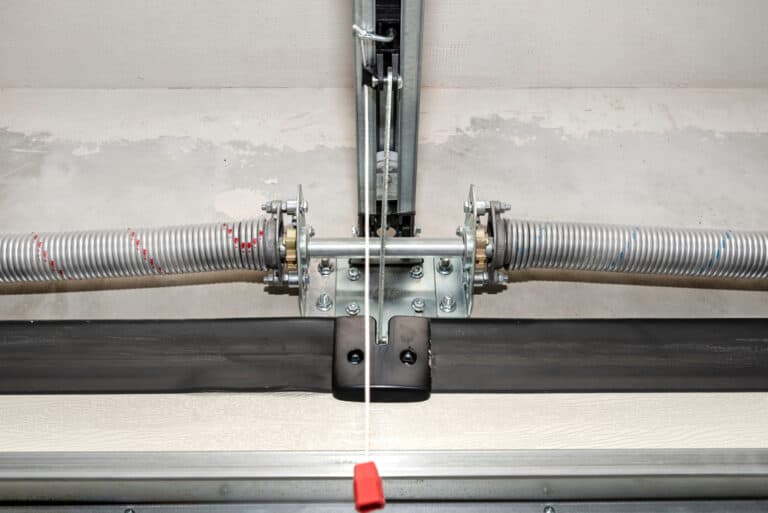
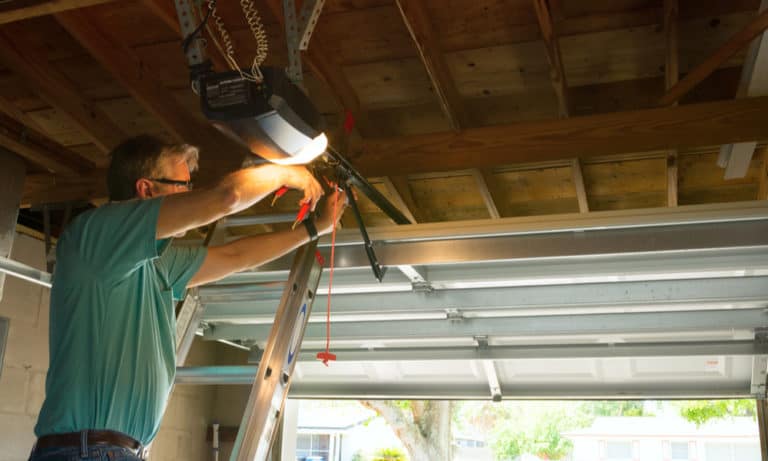
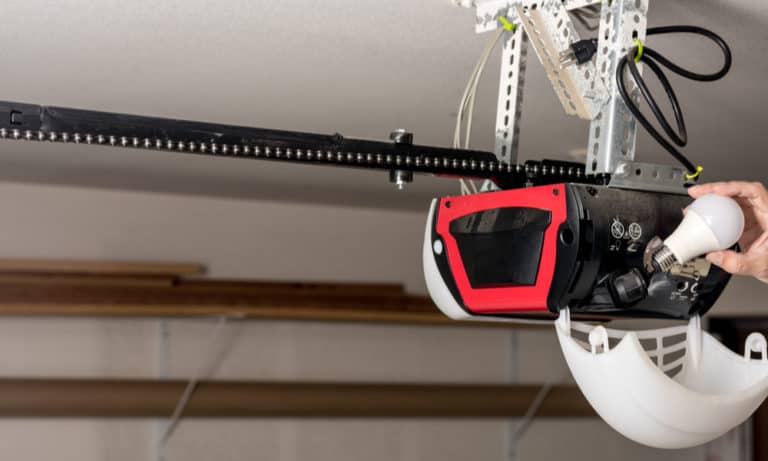
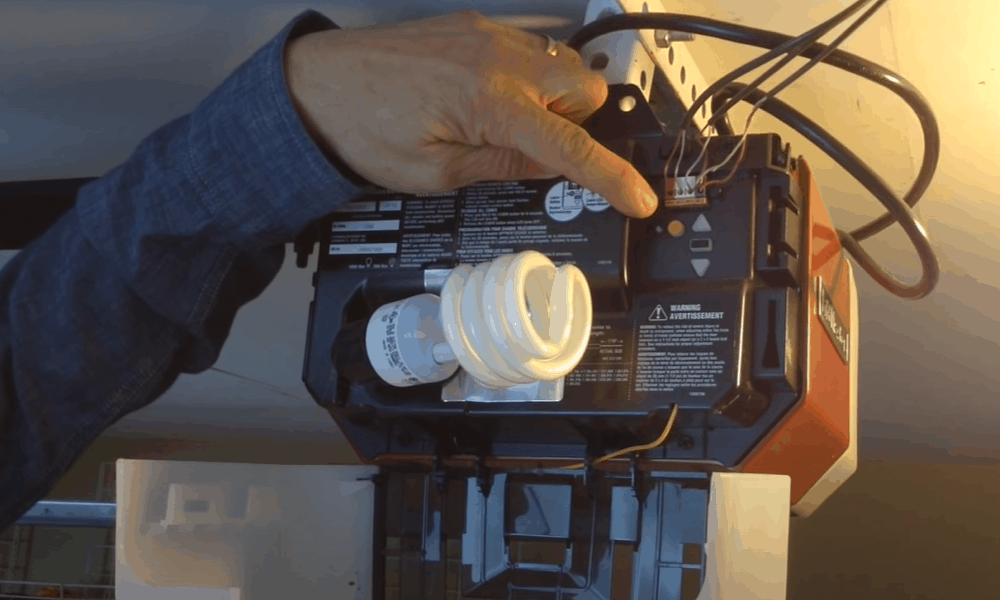
You will probably need a stepladder to reach the garage door opener. Behind the machine, you will find a panel with a button. On most models, this is called the “learn” button.
All you need to do is hold this button down for a certain amount of time for it to erase all the old codes that were stored in the garage door opener’s memory.
The amount of time may vary, but it’s usually between 15 and 30 seconds. If you can’t find your user’s guide and are not sure, hold it down for at least 30 seconds.
Once you have held it down for at least 30 seconds, the memory will be cleared and all the remotes that were associated with the opener will now be canceled.
Alternatively, some models will have LEDs on them, and when you hold the “learn” button, they will go off, indicating that the memory has been wiped.
Step 2. Connect a new remote
When you have canceled the memory and disconnected all remotes that were previously associated with the opener, you will then want to add new ones.
Alternatively, even if you don’t want to cancel the old one, you may wish to add additional remotes to the memory.
In general, the process is as follows – but if you have it, check your user’s manual for specific details.
If you no longer have the user’s manual, check the videos below for the one with information relevant to your door opener.
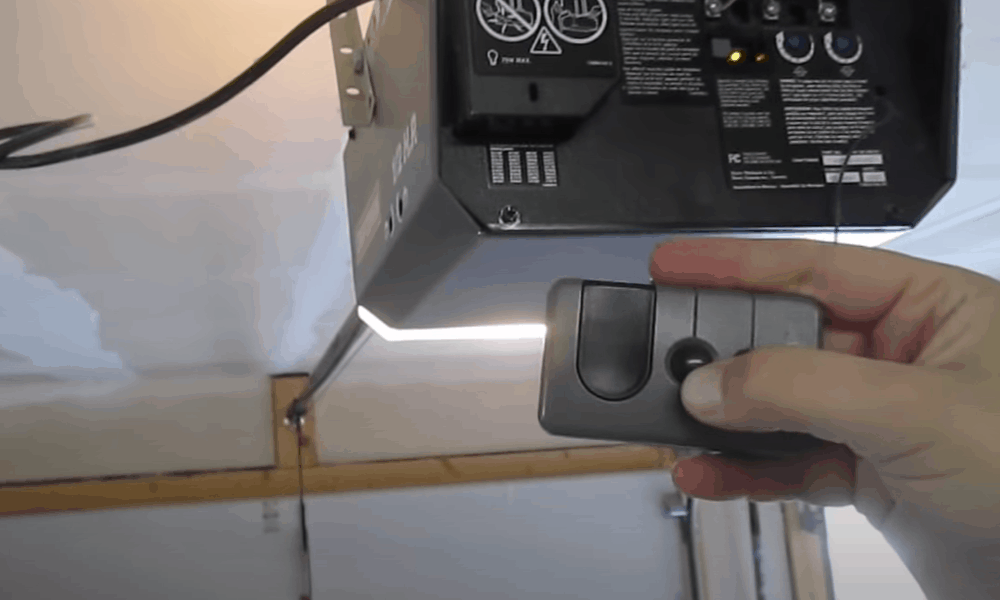
Locate the “learn” button on your device. It should be the same button you used to cancel the old memories from the garage door opener.
Press it once and release. This time, you shouldn’t hold it in. If you only want to add new remotes and don’t want to cancel the ones that are already stored, it is important that you don’t hold it in or you will end up erasing previous remotes by mistake.
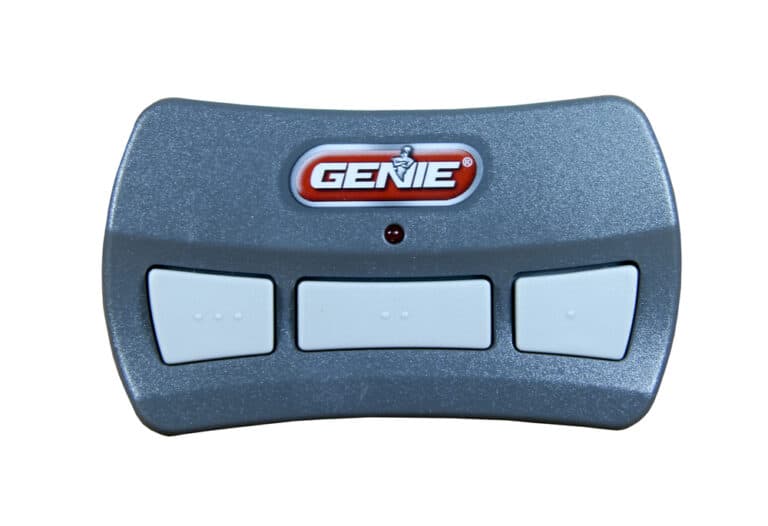
After you have pressed the “learn” button on the door opening machine, all you need to do is press the button on the remote that you want to pair with the machine.
If you then want to add additional remotes, you simply follow the same steps, taking care not to hold the “learn” button down too long and erasing all the previously saved remotes.
Videos showing how to program garage door openers
1. Basic garage door programming steps
Here’s a short and simple video we found that shows the steps we have described above for programming a new remote.
As you can see in the video, he locates the “learn” button and hits it once to allow him to connect the remote. He doesn’t hold the button in because he doesn’t want to erase any previously saved remotes.
As he reminds you, don’t forget to take the remote with you when you climb up on the ladder because you only have around 30 seconds to press the button on the remote to pair it.
2. HomeLink garage door opener in Toyota, Ford, Chevy, Dodge, Hyundai and Jeep
Here’s a video showing you how to program the HomeLink garage door opener in a Toyota, Ford, Chevy, Dodge, Hyundai, Jeep or other vehicles.
The steps are broadly similar to the ones we have described above, and the main difference is that to delete a code, you have to hold the two buttons down until a dot appears next to the car icon.
Otherwise, the system is very easy to understand and intuitive to operate, so if you have one of these systems in your vehicle, this video will show you how to operate it.
3. Connecting a car to a garage door opener – general video
As the presenter in this video explains, although he is demonstrating this in a 2016 Kia Sedona, the steps you need to follow are fairly similar in most vehicles, so by trying something like this in your car, you will probably find you can get it to work.
As in video #2, you need to hold the two buttons for 15-20 seconds, but this time, instead of a dot appearing next to the car icon, you are waiting for a red light to start flashing.
The specific details are not important, however, and by following the steps in this video, you will be able to go through this process with most garage door opening systems.
4. HomeLink official video
Here’s a useful video that most people will find interesting. It’s the official instructional video made by HomeLink, the company responsible for many of the garage door opening systems commonly found in cars today.
What we like about this video is that is so clearly explained, with lots of useful images that show you where everything is and what you should be doing.
For example, as it explains at the beginning, you might find the controls in the sun visor, in the rear-view mirror or embedded in the windshield. This means that whichever variation you have in your car, you will be able to learn how to program it with this video.
5. How to program a LiftMaster garage door opener
In this video, you can see how to do program a LiftMaster garage door opener. This video is quite similar to video #1, highlighting how the process is almost the same, regardless of the model you own.
Even if you can’t find a video that demonstrates the exact model you have in your home, after watching just a few of these videos, you should be able to understand the basic method for programming a garage door opener and adapt it to the equipment you own.
In this video, he also shows you how to change the batteries, which is also a useful extra.
6. Troubleshooting a LiftMaster
Again, in this video, we are dealing with a LiftMaster, but as he explains, this same process is applicable to almost any garage door opening system made after 1993.
This is another useful instructional video that shows you how to program the garage door opener as well as how to troubleshoot it if it isn’t working correctly.
7. How to program a Clicker Universal garage door opener
In this video, we have another type of remote, this time a Clicker Universal model.
This is a very simple device that will run out of battery every few years, wiping the memory. When this happens, you simply need to reprogram it, and as you can see here, the procedure is extremely simple.
Here, the remote is also paired with a LiftMaster garage door opener, and as with all the others, it’s extremely easy to pair.
8. How to reset a keypad PIN
Some people have a garage door opener that works with a keypad and PIN. If you have something like this and want to change the PIN, this video shows you how to do it.
Again, the exact process depends on your model, but the general idea will always be similar, so this video should give you a good idea about what you need to do.
Many models – but always a similar procedure
As you can see, there are quite a few variations of garage door openers available on the market today. However, in most cases, the steps for programming them are largely the same.
For this reason, we thought the best way to help you work out how to program yours would be to collect a few videos that demonstrate how to do it.
That way, even if you can’t find a video for the exact model you own, by watching a few and understanding the basic principles, you should be able to work out how to do yours too.