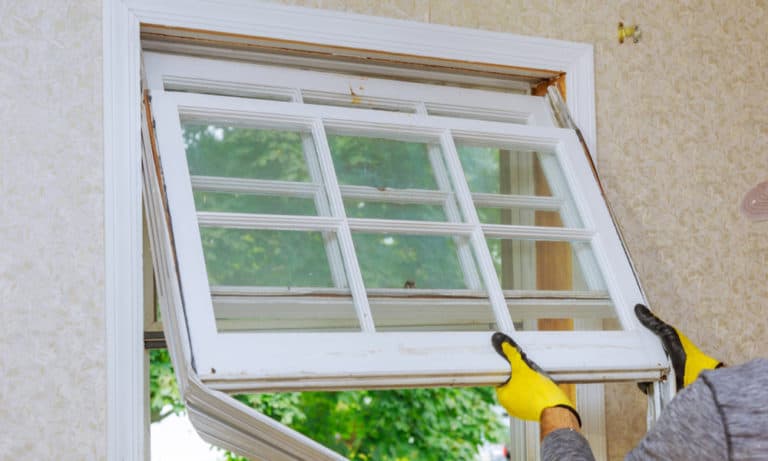
If you are installing new windows in your home, you will also need to think about the kind of trim you will use. While traditional wood trim looks great, nowadays, due to the extra convenience and durability, using PVC trim is becoming increasingly popular.
Working with PVC is slightly different from working with wood, so if you are thinking of using PVC in your home, here are our top 15 tips for installing PVC window trim.
If you want to have a look at some of the things we’re going to be talking about – and get a few extra tips too – you can also check out this video before reading on.
Tips for Installing PVC Window Trim
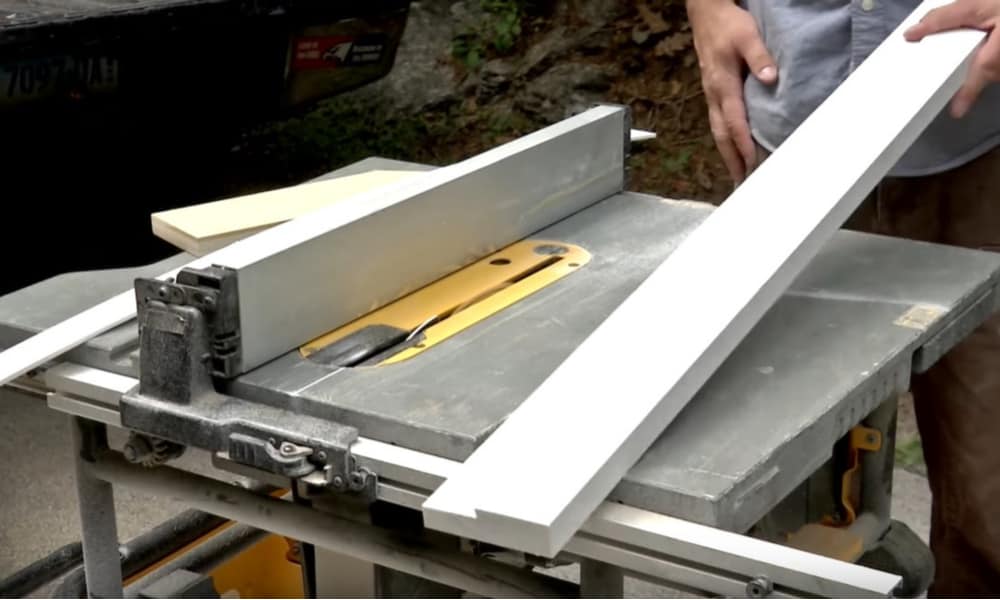
1. Work PVC like wood
One of the best things about using PVC for window trims is the fact that you can work it in almost the same way as you would with wood.
This means, for the most part, you can use the same tools and techniques to work PVC as you would when working with wood.
When cutting it, you should use carbide-tipped saws since regular steel blades will become dulled too quickly. For the best results, choose blades with more teeth to make smoother cuts.
2. Use the correct sandpaper
With PVC window trim, you may need to use sandpaper to achieve smooth edges on exposed surfaces. If you do, you should use 150- or 220-grit sandpaper to achieve the best results.
3. Where possible, hide cut edges
If you need to cut PVC, even if you use sandpaper on it to smooth the edges, it will still be difficult to achieve edges that look as perfect as the edges from the factory.
For this reason, where possible, try to use the factory edges for parts that will be visible – and try to hide the edges you cut yourself from view.
4. Understand what other tricks you can do
One of the advantages of working with PVC is that although you can work it in a very similar way to wood, it also allows you to use additional techniques that would be impossible with wood.
For example, if you heat it, you can bend it into all kinds of different shapes, allowing you to adapt it to the job you are working on and even to try some more creative applications.
To bend and manipulate PVC, you need to heat it to around 320°F. Professionals use heat blankets for this, but pro-grade ones are expensive.
Alternatively, if you want to save yourself a little bit of cash, you can easily make a DIY version that will do the same job for occasional use.
5. Understand how it is different from wood
If you want to use PVC successfully, the key is understanding how it is different from wood, and the most important aspect is its capacity to expand.
The main thing to note is that while wood expands with humidity – and tends to do so across the grain – PVC expands lengthwise, meaning you have to allow for this expansion when installing it.
In fact, when working with PVC trim, your major concern during installation is making sure it has the necessary space to expand.
6. Leave gaps for expansion at the ends
Since PVC expands along its length, you need to leave a small gap for it to expand into when installing it – and the gap you leave will depend on the ambient temperature where you are working.
If you are working in warmer conditions, the PVC will already have expanded slightly, so you don’t need to leave as much of a gap and should make it smaller.
Conversely, if you are installing the PVC in colder conditions, it will not have expanded, so you need to leave more room for it to expand into when the temperature rises.
As a general guideline, 18ft of PVC trim will need an expansion gap of 1/8” at the end. If you are working in colder temperatures, make it a little bigger, or in warmer temperatures, make it slightly smaller.
Also, if you are installing shorter lengths of trim, you won’t need such a large gap, so you can also make it slightly smaller.
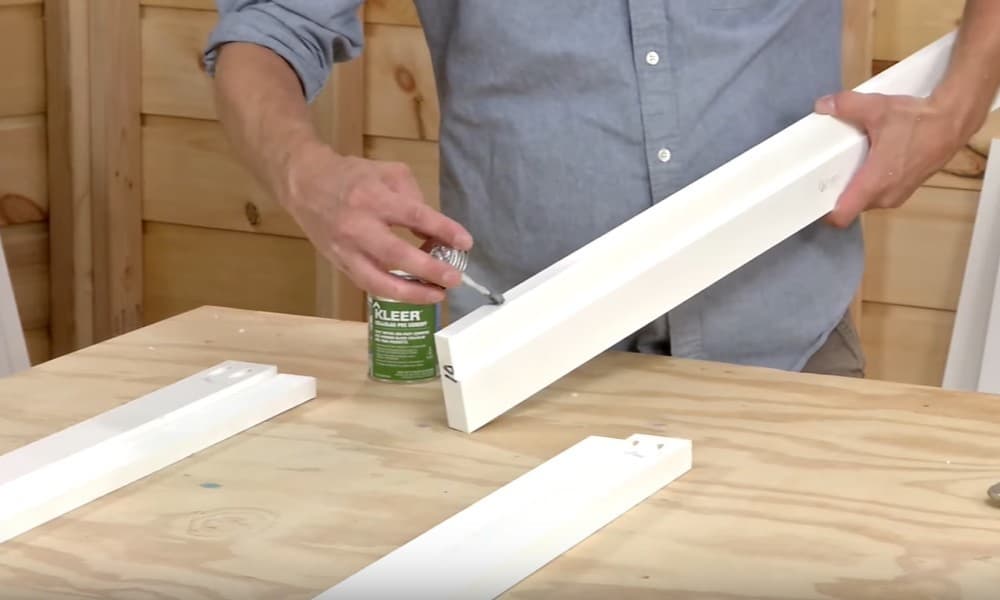
7. Use solvent-based adhesives
When bonding PVC trim, you should choose solvent-based adhesives. This is because solvents cause the PVC to break down slightly, which has the effect of “welding” the pieces together. For this kind of application, solvent-based PVC pipe glue is a good choice.
8. Use a scarf joint to join PVC boards
When attaching two sections of PVC trim, use a scarf joint, just like you would when working with wood. This is done by cutting two opposing miters into the PVC and fixing them together.
As we just mentioned in #7 above, you should use a solvent-based adhesive to attach the pieces.
9. Use solvent-based sealants
As with adhesives, you should use sealants that are solvent-based. These products will attach most securely to the PVC, giving you the best seal.
10. Avoid using silicone-based products
When working with PVC, you should avoid using silicone-based products. This is because silicone doesn’t adhere well to PVC and won’t produce good results.
11. Use stainless-steel nails as fasteners
One of the advantages that PVC has over wood is its longevity. It doesn’t crack or split easily like wood, and if you look after it properly, it should last a very long time.
However, if you use sub-quality fasteners, the fasteners themselves are likely to deteriorate before the PVC.
To prevent this, if you are nailing the PVC in place, you should choose stainless-steel nails. This way, the nails won’t be susceptible to rusting, weathering or any other type of corrosion and will last as long as the PVC.
12. Consider using screws and plugs
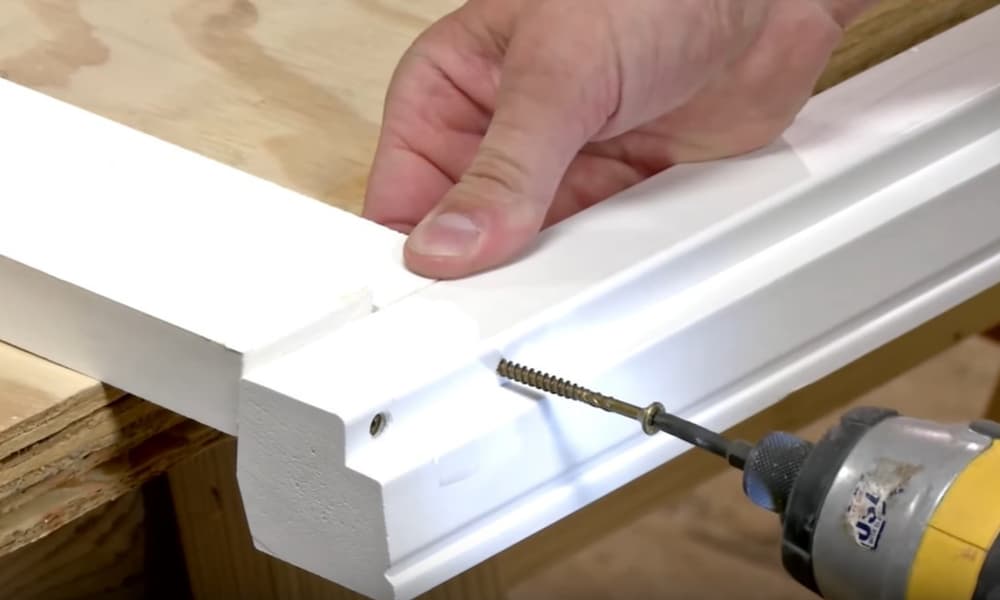
Perhaps an even better way of fasting the trim in place is using screws or screws with plugs. Plugs are available to match all types of PVC and give a cleaner, less noticeable finish.
Again, as with using nails, you should always choose high-quality stainless-steel screws to ensure they last a long time.
13. Space nails or screws correctly
Measure the spacing for nails or screws carefully. A good guideline to follow is to use one nail or screw 2” from the top and one 2” from the bottom of the trim at regular intervals. However, if you are using narrower trim where this isn’t practical, you might have to adjust this.
The space between nails or screws along the trim should be about 18”, and you should also place nails or screws at each end next to the wall to hold it firmly in place.
14. Preassemble window trim before fitting in place

A good pro tip is to pre-assemble the whole window trim and then to fit it to the window as one unit rather than fitting the trim piece by piece.
This might take a bit longer initially, but you will end up with superior results because you can work more accurately. This is because working on a bench to fit the trim together is much easier than trying to fit it all in place while half-way up a ladder.
When you do this, if you use a solvent-based adhesive, you can work with or without nails or screws because the solvent will “weld” the pieces together, creating extremely strong joints, as we have already explained.
However, if you decide to work with screws or nails while assembling the trim before fitting it in place, this can also work well.
The key to getting it right is taking accurate measurements from the window because if you make a mistake, you will find the trim doesn’t fit properly when you try to put it in place.
Remembering the old carpenter’s adage to “measure twice, cut once” here will stand you in good stead. Also, if you haven’t done so yet, check out the video at the top of the page for some extra tips.
15. To paint or not to paint?
PVC trim is made to be installed without being painted. Many include a “faux-wood” finish and look great when installed just the way they are.
However, if you prefer, you can also paint your PVC window trim. In this case, you should choose a PVC-friendly paint that won’t warp or peel with the constant expansion and retraction that PVC trim undergoes as the temperature changes.
Also, if there are any holes in the trim from the fastenings, make sure you fill them before you paint. If you use a paintable caulk and then paint over it, this will do a great job of concealing the holes, making the whole thing look much more professional.
Many advantages and easy to work with
Using PVC window trim has many advantages over traditional wood trim. It is easy to work with, is much more durable and, since it’s waterproof, it will also help protect your house from the elements.
The main thing to understand it that PVC expands as the temperature rises, meaning you have to account for this when installing it. As long as you understand this – and you follow the other tips in our guide – installing your own PVC window trim should not be a difficult task.