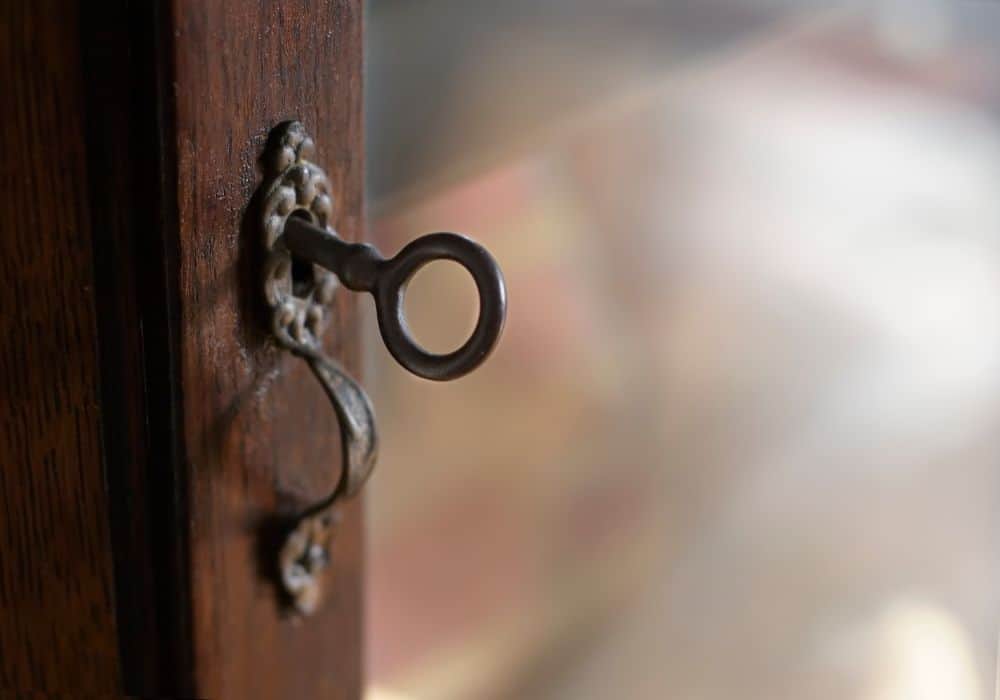
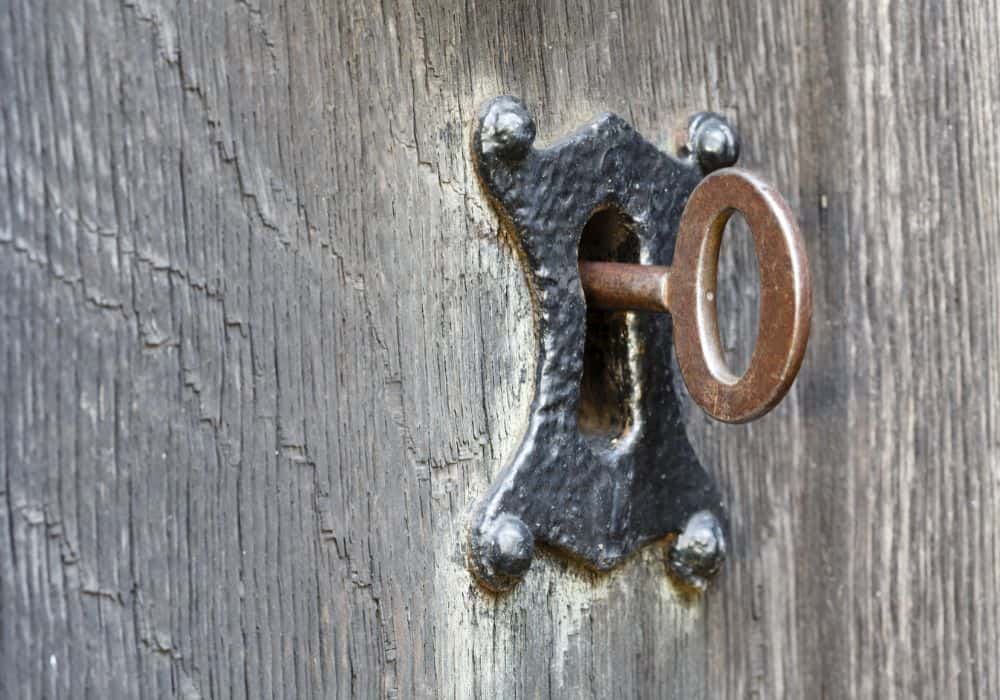
If you came across an antique house or room, you would be curious to see what mysteries it hides after so many years. Yet one thing stops you in your tracks: an old skeleton lock with no key in sight. How do you even start to unlock a skeleton key door?
Thankfully, these locks are old enough that you don’t always need to call a locksmith to unlock the door. With a few tools that are readily available in your house, you can force open a skeleton door, and we’ll teach you how to do it in 1500 words or even less!
Tools That You Will Need
To pick a skeleton key door, you technically only need one tool, but you can have a few alternatives in case you don’t have the others. You just need at least two of them. Your choices are as follows:
- Allen wrench
- Durable paper clip
- Coat hanger
- Bobby pins
The Allen wrench is the most recommended tool since it has been shaped into the perfect 90-degree angle needed to succeed in this lockpicking endeavor. However, the rest of the tools are just as capable as the wrench, although you do need some bending to get it to work.
Additionally, you might also want to prepare a lubricant, a pair of gloves, and some pliers. These antique locks may have their inner mechanisms rusted, and a lubricant would help them get their gears working well again. A pair of gloves would help your clammy hands in gripping the tools, while pliers are only useful if you don’t have an Allen wrench.
How to Pick a Skeleton Key Door
Step 1: Prepare your tools
If you have an Allen wrench, you just need to make sure that your wrench is the perfect size for picking the lock that you want to open. The wrench comes in a variety of sizes, from 1/16’’ to ¾’’. 3/32’’ Allen wrenches would be enough for most locks, but keep the other sizes on hand in case you find them to be too small.
However, if you don’t have an Allen wrench, you can grab your alternatives and try to bend them into the shape of an Allen wrench. You can manually do this with your hands if you have the strength to do it. If not, pull out your pliers and get to bending those tools to a 90-degree angle.
It’s important to note that although your alternative tools do not have to be as sturdy as the Allen wrench, they should still be strong enough that they won’t bend once you try picking the lock. Also, you will need two of them, one to engage the lever and another to unlock the deadbolt (we’ll tell you what those things do later).
Step 2: Apply lubricant (optional)
If you feel like the skeleton door has been left to rust for quite a long while, you might find that twisting and turning its gears is harder, if not almost impossible to do.
You can apply liberal amounts of lubricant, such as a WD-40, to the lock before you start picking on it. In fact, we recommend that you do this even if you don’t think the rust has damaged the inside mechanisms.
If you don’t have a lubricant readily available, oil is a great alternative. It does the same things as a lubricant, although it makes the keyhole prone to more wear and tear, so it needs you to finish the job fast.
Step 3: Find the lever
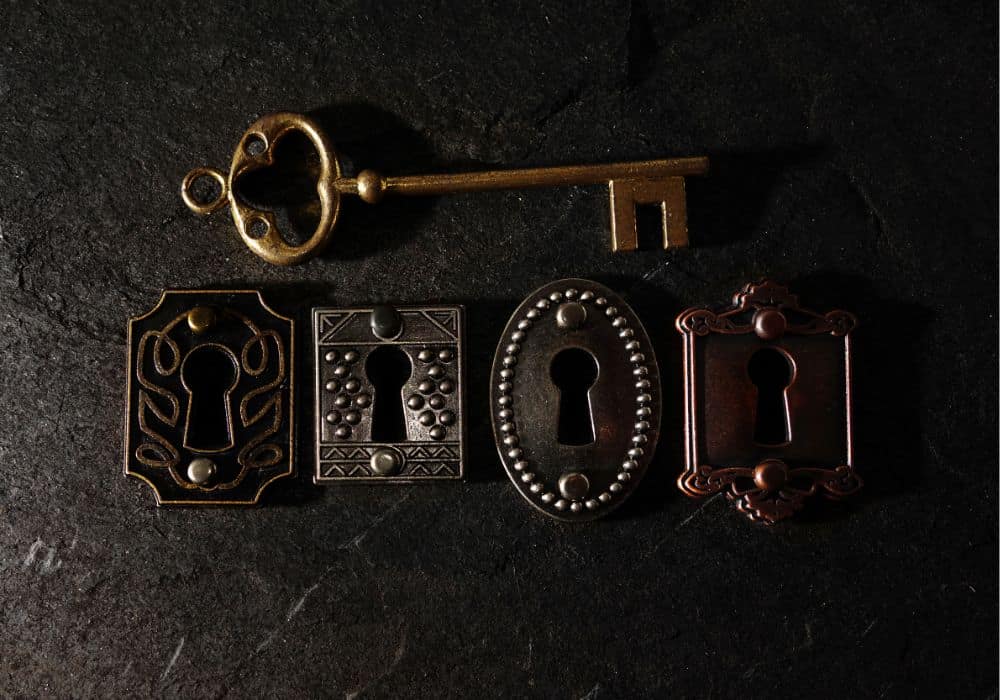
There are two main components of a skeleton lock mechanism that you have to move: the lever and the deadbolt. A normal skeleton key is shaped specifically so that it fits into the lock, engages both parts, and unlocks the door. We are going to simulate this process with your tools, hence the need for two to make a makeshift key.
First, we need to fit the tool into the lock, and wiggle around to find the lever. Insert the tip of the tool then push it upward. You should be able to feel a moving lever if you continue to move the tool up and down.
At this point, you might find it helpful to wear a pair of non-slip gloves, especially if you have clammy hands or you might have gotten some lubricant on your hands from the previous point.
If you don’t feel any resistance when you push around the lock, there’s a great chance that the internal spring for the lever is broken. There is not a lot you can do when this happens, so your journey of lockpicking ends here and you’ll have to call a professional locksmith to do the work for you.
Step 4: Engage the lever (and hold)
If you can confirm that the lever is still working and that you have found where it is, then maybe there is still some hope for your lockpicking. This time around, you need to keep the lever engaged. This means that you have to push your tool up and keep your position there, usually by holding the tool with your less dominant hand.
This might take some time as you try to figure out the best position that you can hold for a while. Make sure that you can maintain the engaged position using only one hand since the other will be used for the next step. Of course, you can also call for some help who can do the next step.
When relaxed, the lever keeps the deadbolt from moving away from its current position (either locked or unlocked). By keeping it engaged, we can now be free to move the deadbolt, which we will be doing in the next step.
Step 5: Unlock the deadbolt
We didn’t forget our second tool, because this is its time to shine. Keeping your engaged lever position, slide the second tool into the lock and then begin turning it in a clockwise direction. The first challenge here would be to find the deadbolt, but you’ll usually find it behind or in front of the lever.
If you feel some resistance, that means that you have found the deadbolt. You might need to push up a bit to hook the tool into some notch in the deadbolt, then a strong clockwise turn should move it into the unlocked position.
Step 6: Open the door
Remove the tools that are inside the keyhole and try opening the door. If you were able to do so, then congratulations! You have just picked a skeleton key door.
However, if the door remains stubborn and doesn’t even budge, then you might be out of luck. The inner mechanisms must have been damaged such that even the actual skeleton key won’t be able to open it. Your best bet is to call a locksmith and let them do the hard work.
After unlocking the door, you might want to find a replacement skeleton key to save yourself the trouble of flicking around a second Allen wrench just to gain access to an old home. These keys are not very complex, and you might be able to get reproductions online.
Unlocking a Skeleton Key Lock
You might find that these steps apply to a specific skeleton key lock, called a lever lock. These steps are not just limited to doors. You’ll find that any antiquated item that had a lock, such as a jewelry box, can be picked with this method, too. You simply need to scale down the size of your tools to the size of the keyhole.
Warded Lock
There is another type of skeleton key lock, called the warded lock. The warded lock has specifically shaped wards that allow only an appropriate warded key would fit as it turns to unlock the door.
In the case of a warded lock, the skeleton key is actually a master key of some sort. The wards of a warded lock are actually simply obstructions to the unlocking mechanism. Commonly, only the wards at the top and bottom tip actually engage the mechanisms.
The skeleton key bypasses these obstructions by simply removing the wards from a warded key and going straight to the deadbolt mechanism. Hence why these keys are called “skeleton” keys: they are the bare minimum wards required to unlock the lock.
To pick these kinds of locks, skeleton keys are readily available online. They often come in sets, matching all possible wards that actually engage the lock. If you are trying to unlock an antique house that uses warded locks, you’ll find that these keys will be able to unlock all rooms of the house.
Conclusion
Now that you know how to pick a skeleton key door, you will now have access to the mysteries that the antique house hides. After doing this exercise, you’ll also realize why these locks have phased out of popularity. Being less secure and easy to pick, you will rarely find these locks in modern houses.
However, these were highly popular before, and most old houses you find are bound to use this lock. Therefore, you don’t have to despair about not having the key for them, since you have this article now!