Have you recently replaced your garage remote control? Or is the controller not working as it should? A simple solution might be to program it to work with your garage door opener.
This also works if you have a new opener or want to link the opener to your HomeLink system. How you go about it entirely depends on the brand of the opener and the controller. Here, we’ll show you how to program a Liftmaster garage door opener and link it to your remote in a few easy steps.
Tools for Liftmaster garage door opener programming
To get the job done, all you need is your remote control in hand. Other helpful tools include:
- Step ladder
Step-By-Step Guide for Liftmaster remote programming
Follow the steps below to program your Liftmaster remote control and opener.
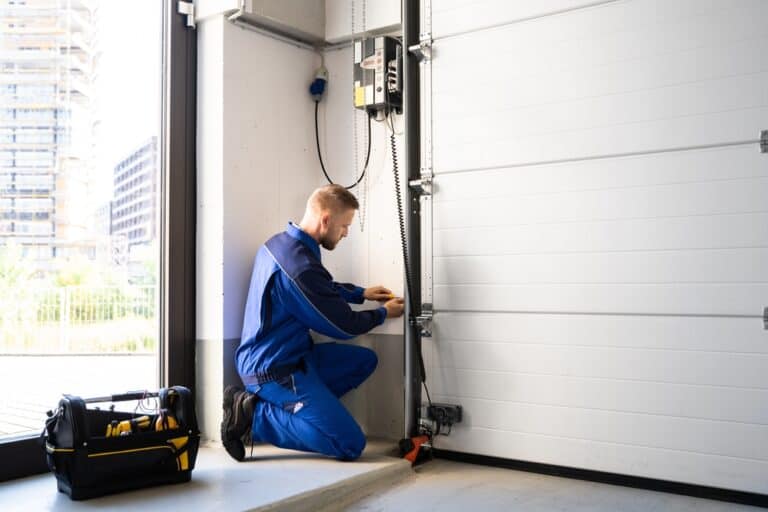
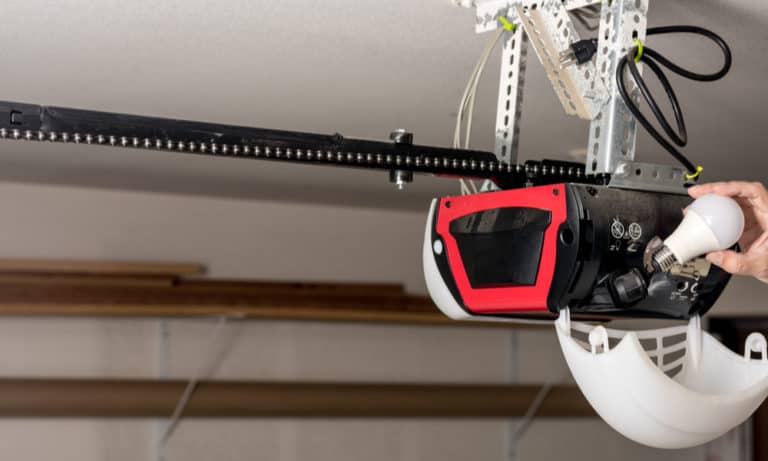
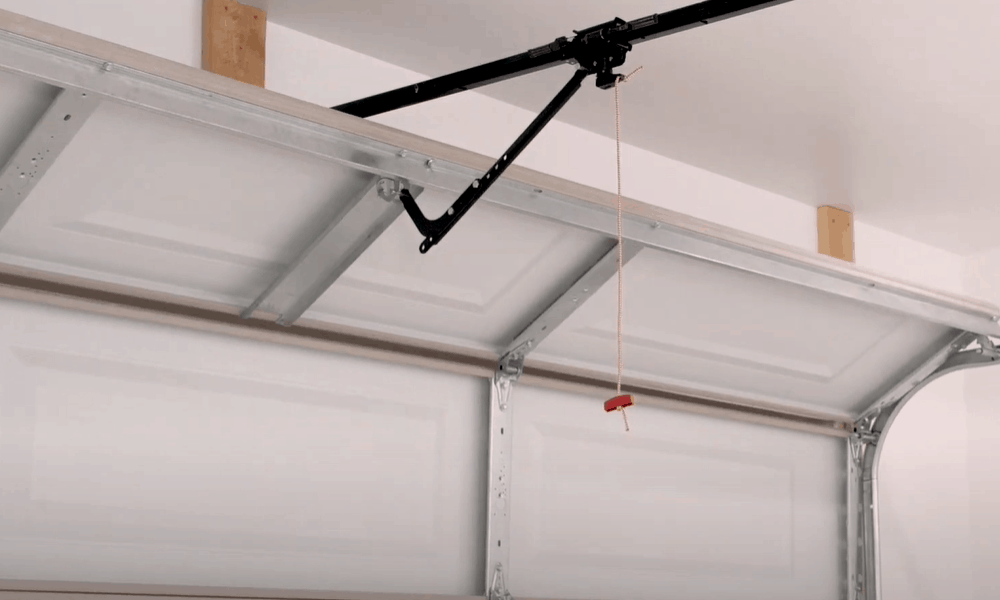
Step 1. Open the panel on the garage door opener unit
The garage door opener unit is a box mounted toward the roof of your garage. You will need a steady ladder to access the unit.
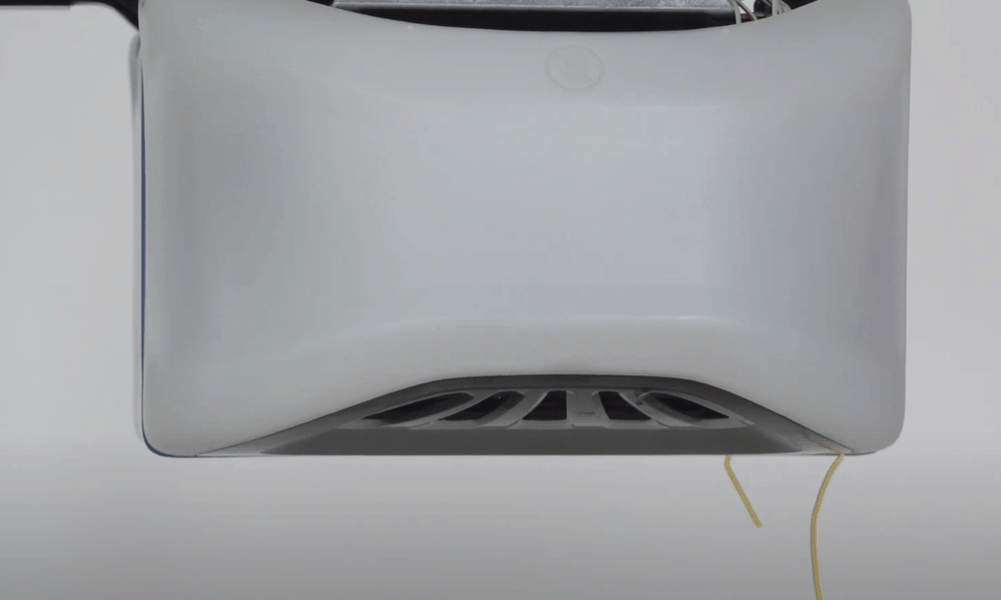
- Locate the placement of the panel on the unit. Some Liftmaster garage door openers have a side panel while others come with one at the back of the unit.
- Pull the panel open to access the inside of the motor unit. The panel is attached to the unit by hinges and will swing down when opened.
Pro tip: Before you begin the programming process, ensure that the garage door is safely closed.
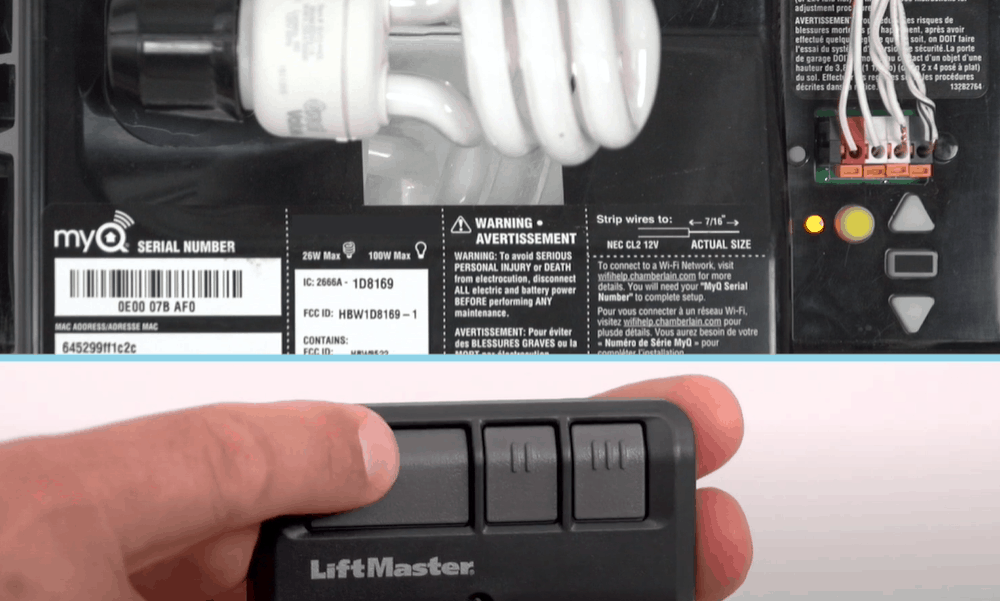
Step 2. Locate the ‘LEARN’ button on the motor unit
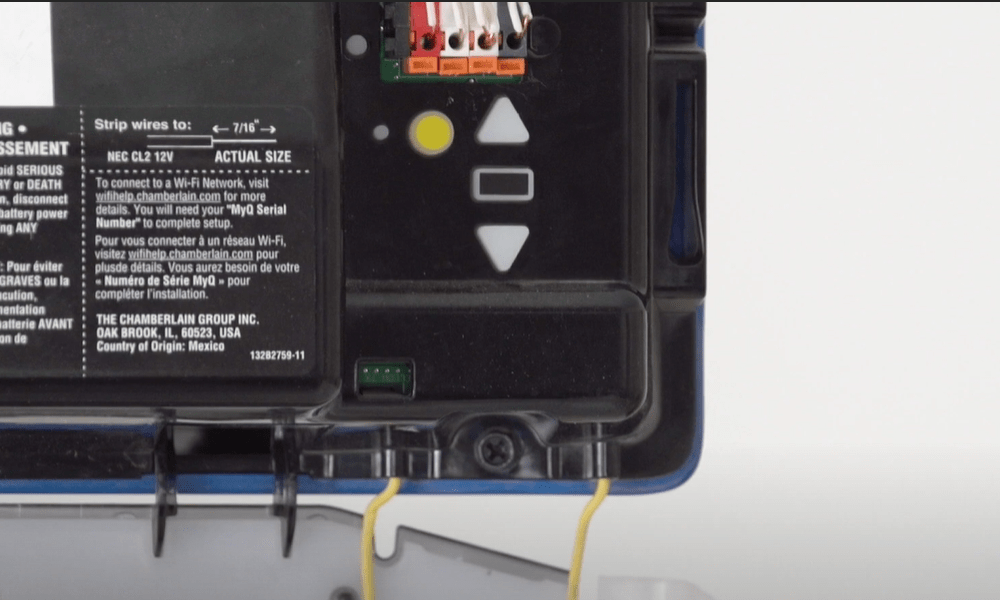
The ‘LEARN’ button plays a crucial role in programming your garage opener. Inside the motor unit, there is a light bulb and a control panel.
- On the control panel, locate a tiny circular or square button labeled ‘LEARN’. The button may be yellow, orange-red, purple, or green depending on your garage opener model. The color of the unit’s antenna wire matches the color of the button so if the wire is yellow, the button will be yellow.
- Take note of the small LED adjacent to the button. The LED lights up the same color as the button.
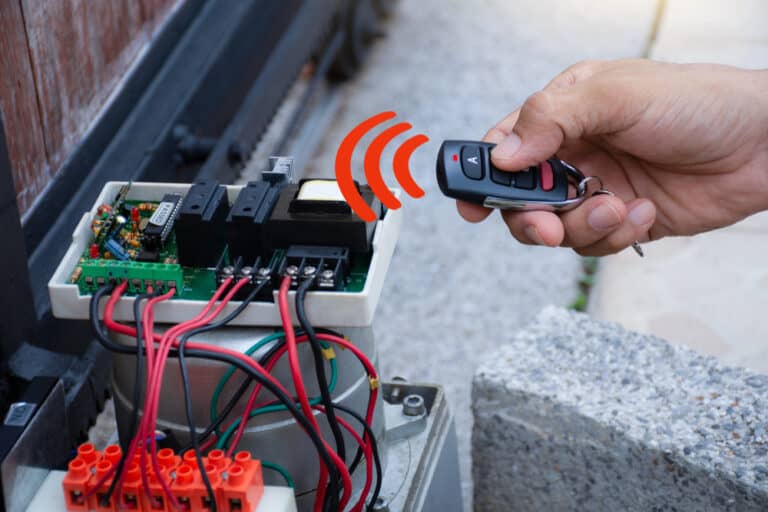
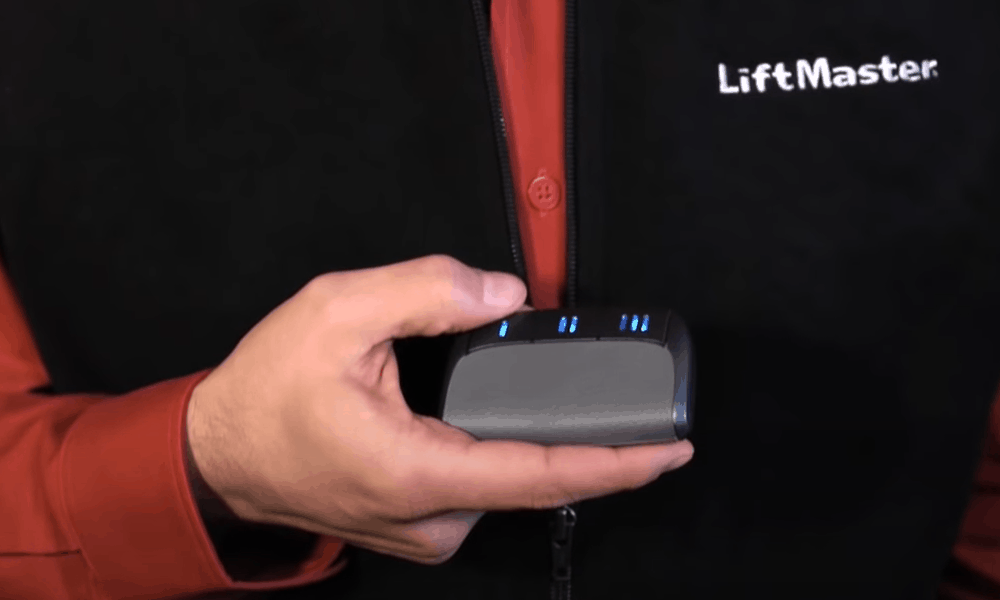
Step 3. Turn on the program button on your remote control
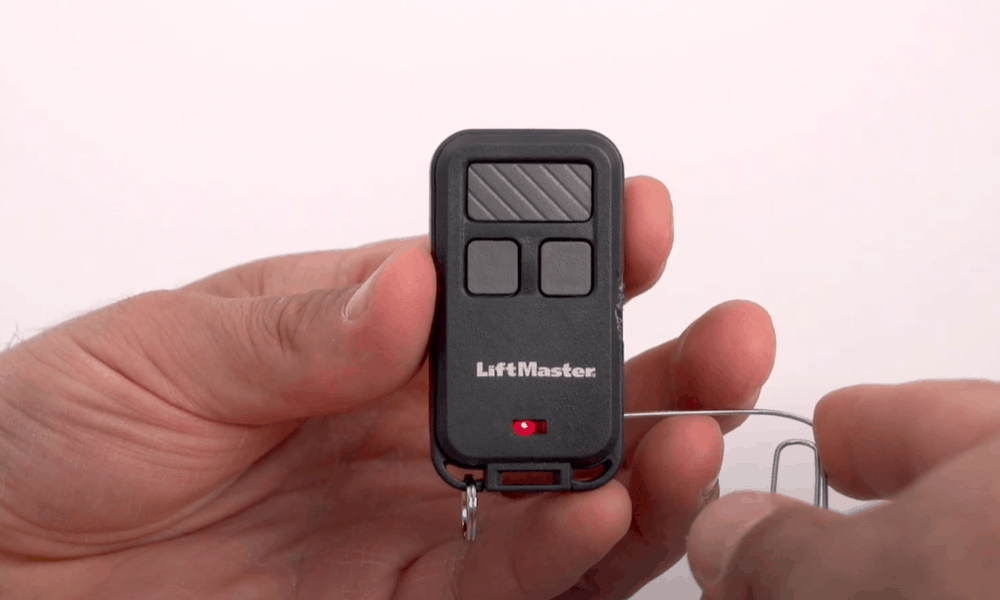
Each style of Liftmaster MAX remote controls has the program button located in a different place.
- If yours is an 890MAX and 895MAX, insert a paper pin in a hole on the side of the controller. Push the pin inside to turn on the LED on the front of the controller.
- For 893MAX, pull out the visor clip and use it to press the program slot at the back of the remote until the LED lights up.
- If you have a keyless remote control, press the * and # buttons at the same time until the keypad light lights up steadily.
Pro tip: The Liftmaster MAX remote controllers generally come with three buttons. You will have to program each button at a time.
Step 4. Pick a button to program
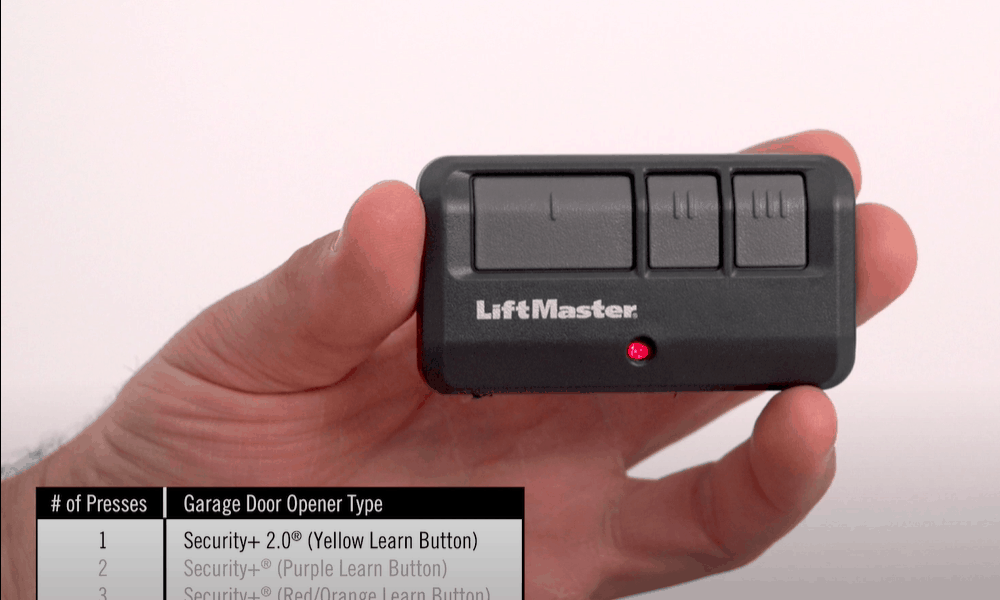
- Refer to your garage door opener manual to find out the number of times you should press the button you wish to program on the remote. The number of times the button should be pressed will correspond with the color of the ‘LEARN’ button on your garage door opener unit.
- On the manual, you will see that for a yellow ‘LEARN’ button, you only need to press and release the button on the remote control once.
- For a purple ‘LEARN’ button, press and release the button on the remote you wish to program twice.
- For an orange-red ‘LEARN’ button, press and release the button you wish to program three times and four times for a purple ‘LEARN’ button.
Step 5. Program your selected button
- After pressing the button on the remote you wish to program the required number of times, press and release any one of the other two buttons on the remote.
- Now, press the ‘LEARN’ button on the garage door opener unit once and release it. This will turn on the LED next to the button.
- In less than 30 seconds, press and hold the button you chose to program on the remote control until the opener clicks twice and the light bulb in the unit flashes.
Pro tip: Do not hold the LEARN button as this will delink all the remotes from the memory of the door opener unit.
Step 6. Test the remote control
Press and hold the programmed button. If programming is successful, the garage door will open. Follow these same steps to program the other buttons.
Resetting A Garage Door Opener
Resetting a garage door opener is slightly different from programming it. When you reset, you erase the remote from the opener’s memory. Resetting might be useful if you have moved into a new house or lost your remote control. Follow these easy steps to reset your opener:
- Locate the LEARN button on the garage door opener
- Press the LEARN but for about 6 seconds or until the adjacent LED light goes off
- Your remote is now delinked from the opener
Pro tip: Unplugging the garage door opener from the power source will not reset or reprogram the remote control or opener.
How to Program A Garage Door Opener With a Control Panel
Does your garage door opener come with a separate control panel? Some openers feature a control panel that makes it possible to program your remote control without you needing to climb up to the opener unit. Common styles include multi-functional control panels, motion-detecting control panels, smart control panels with an LCD screen, and doorbell style control panels.
Step 1. Set up your control panel
- Multi-functional and motion-detecting control panels generally feature a labeled ‘LEARN’ button. Press this button twice. The adjacent LED will light up.
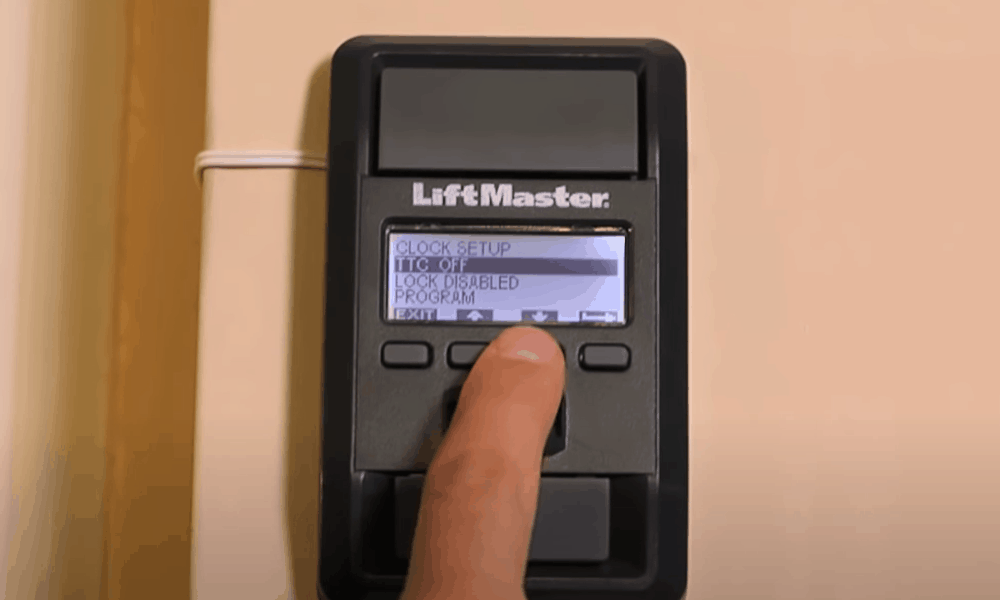
- For the smart control panel with an LCD screen press MENU, press the down arrow to navigate to PROGRAM then press the side arrow to select. Press the down arrow to navigate to REMOTE then press the side arrow to select.
- For a doorbell control panel, press and hold down the side button then press the front button until the light stays on steadily.
Step 2. Program a specific button on your remote control
- Press and release the button on the remote control that you wish to program.
- Listen out for two clicks to indicate that the opener has been programmed. Alternatively, the garage door opener lights will flash upon the successful programming of the remote control.
Step 3. Test the remote control
- Press the programmed button on the remote control. If you have programmed the control correctly, the garage door will open.
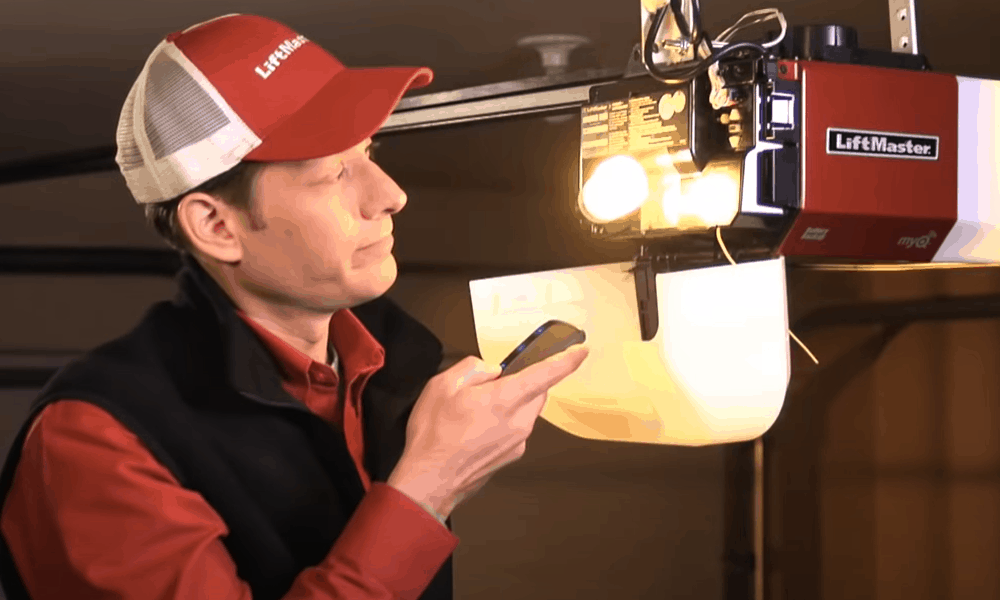
The above steps show you how to link a handheld remote control to your garage opener. If your car has a HomeLink system you can program it to your opener, eliminating the need for a handheld controller. You can do this from your driver’s seat in just a few simple steps.
- Turn on your car ignition. Be sure to have the handbrake on.
- If programming the HomeLink system for the first time, erase all preinstalled codes. To do this, press the two outer buttons of the HomeLink for about 20 seconds or until the LED starts to flash.
- Point your handheld remote control in front of the HomeLink transmitter. Simultaneously, hold the HomeLink button you wish to program and the Open button on your remote control.
- Release both buttons when the LED starts to blink fast.
- To complete programming, hold the Training button on the HomeLink transmitter until the LED stops blinking.
Extended Tips
Want to get the most out of your garage door remote control? Here are some handy recommendations:
Before programming the remote control, check for possible faults: Resetting and programming can help to ‘reboot’ a remote that won’t work. But, dead batteries, faulty contacts, or a dusty lens might also keep the control from working properly. There are a few things you can do solve these problems:
- Try changing the batteries. Be sure to replace them with high-quality batteries that perform better and last longer.
- Clean and polish discolored/rusty battery contacts. Wipe them out with a clean cloth and use sandpaper to remove any rust.
- Regularly wipe the lens on the remote. A layer of dust covering the lens is enough to keep the remote from transmitting signals to the garage opener.
Inspect garage opener battery: If the remote is in good working condition but it still will not open the garage door after programming, the opener itself might be faulty.
- Unplug the opener from its power source and use the remote to open the door. If the door doesn’t open, you will need to replace the backup battery in the opener.
- Unscrew the cover of the opener to access the battery. Remove and replace the battery.
Easy, safe, and convenient access to your garage
As you can see, you do not have to be tech-savvy to program a Liftmaster garage door opener. Whether you want to link the opener to your handheld remote or car’s HomeLink system, you should be able to complete the process in just a few minutes. That being said, always prioritize safety when dealing with garage doors—keep the door in sight as you perform the programming process.
Have you tried to program your door opener? Leave your questions or comments below—we’d love to hear from you!