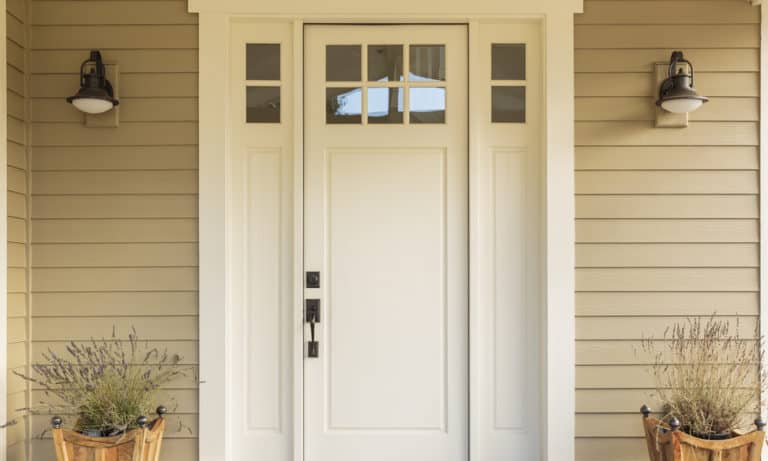
Are you tired of being met by a drab-looking door every time you come home? A fresh coat of paint can give your entryway a new lease on life.
The best part is that you do not have to break the bank to complete this quick but extremely rewarding project. So, gather your tools and put your best foot forward—we’ll show you how to paint a front door like a pro.
Tools & Materials for painting front door
To paint your door, you will need basic supplies that you can easily find at your local store or favorite home improvement online shopping site. Here’s what you will need:
- 2 or 2 ½ inches angled sash brush
- Mini roller
- Sandpaper
- Paint
- Primer
- Painter’s tape
- Drop cloth
Step-By-Step Guide on how to paint a front door
Follow these steps to paint your exterior door. We recommend that you check out the extended tips below for excellent ideas on things like picking the right paint for your type of door, selecting a suitable primer and paint combo, and choosing paint with the correct light reflectance value.
Step 1. Remove the hardware
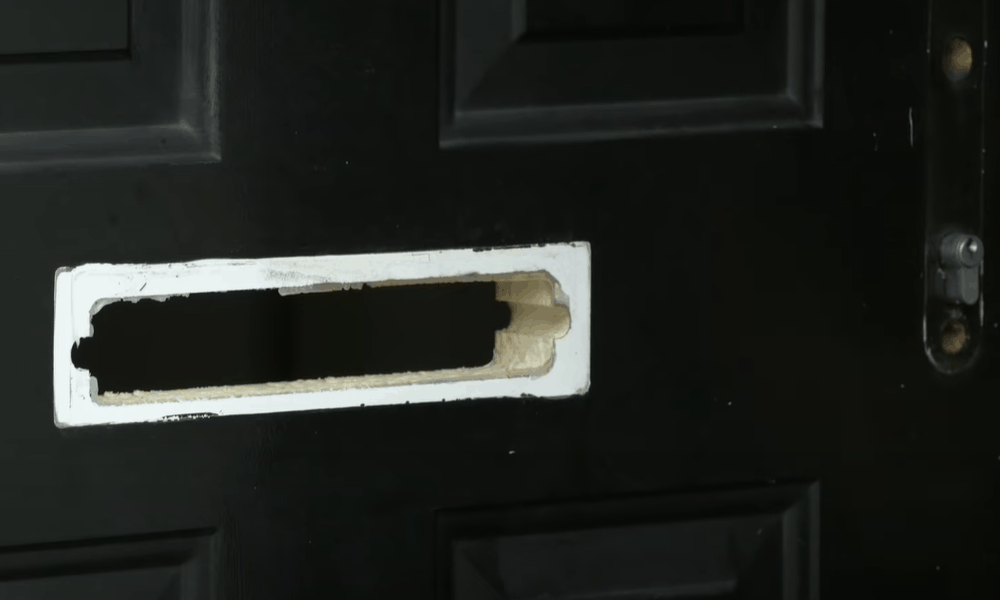
Take off decorative trinkets on the door such as locks, knobs, handles, mail slot covers, and the likes. If you are not planning to replace these pieces, now is a good time to give them a nice polish before reinstalling them once the door dries.
Pro tip: You do not need to take out the entire door to do a good paint job. As long as the weather is great, the paint will dry with the door intact.
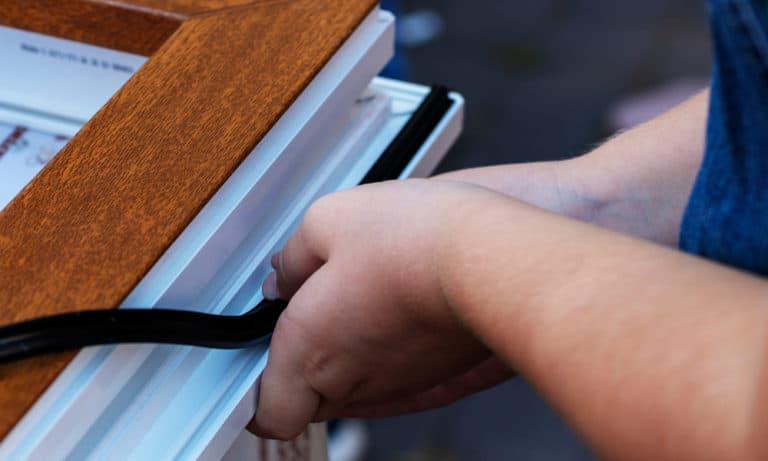
Step 2. Protect built-in hardware

It might not be possible to remove window inserts, peepholes, and other types of accessories built into the door. This is where good quality painter’s tape comes in handy. Use the tape to cover inbuilt parts to keep them from getting paint. Choose a tape that provides clean lines with no bleeding.
Step 3. Sand out old paint
A major mistake when painting a door or any kind of surface is applying fresh paint on top of old paint. This might seem like a nice way to save time but the result will be an unsightly finish, making your entryway look worse than it was before.
- For the perfect finish, use a 120-grit sanding paper to remove the thin upper layer of the old paint then move on to a super fine 320-grit sandpaper to smoothen the surface.
- Slight sanding also helps the paint to adhere to the surface, leaving your door looking new for many years to come. Be sure to sand the entire door, including the panels and frame.
Pro tip: Always wear goggles and a dust mask when sanding.
Step 4. Complete minor repairs
Before painting, check for small cracks especially on older doors. Using a putty knife, fill in a little bit of caulk into these crevices. Allow to dry then sand the filled in spots to blend with the rest of the door slab.
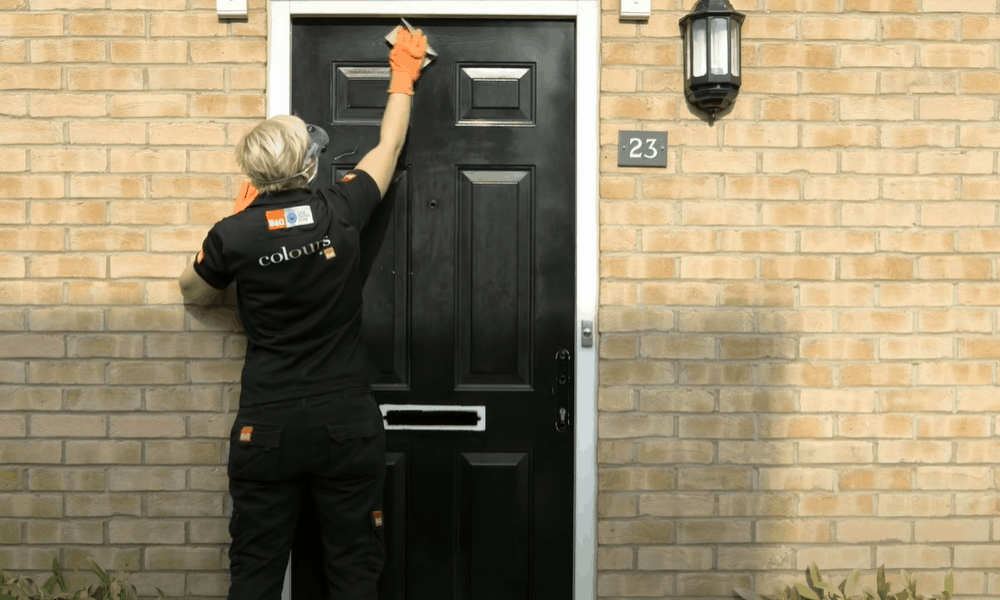
Step 5. Clean the door
Use a damp cloth to wipe down the door. Remove debris from all parts of the door to ensure a smooth finish after painting. Let it dry completely before applying a coat of primer.
Step 6. Apply primer
Primer improves the texture of wood and acts as a barrier against moisture, which can cause mildew or mold. Some paints come with mixed-in primer but some situations call for using a separate primer and paint. For example, if the old paint was oil-based and you want to apply a fresh coat of water-based painted, you are swapping a darker color for a lighter one, or the wooden door is stained, a separate primer is your best bet.
- If you are unsure whether the old paint is oil or water-based, spray a small amount of rubbing alcohol on a cotton ball and rub it over the door. If the cotton comes up with some paint on it, it is a water-based paint and if it doesn’t wipe off it is an oil-based paint.
- Use a wide paintbrush to apply primer on the entire door including the panels, edges, and frames. Be sure to apply just a thin amount of primer. In most cases, a single application is often enough to get the job done. Repeat this process on the other side of the door, then allow to dry according to the manufacturer’s instructions.
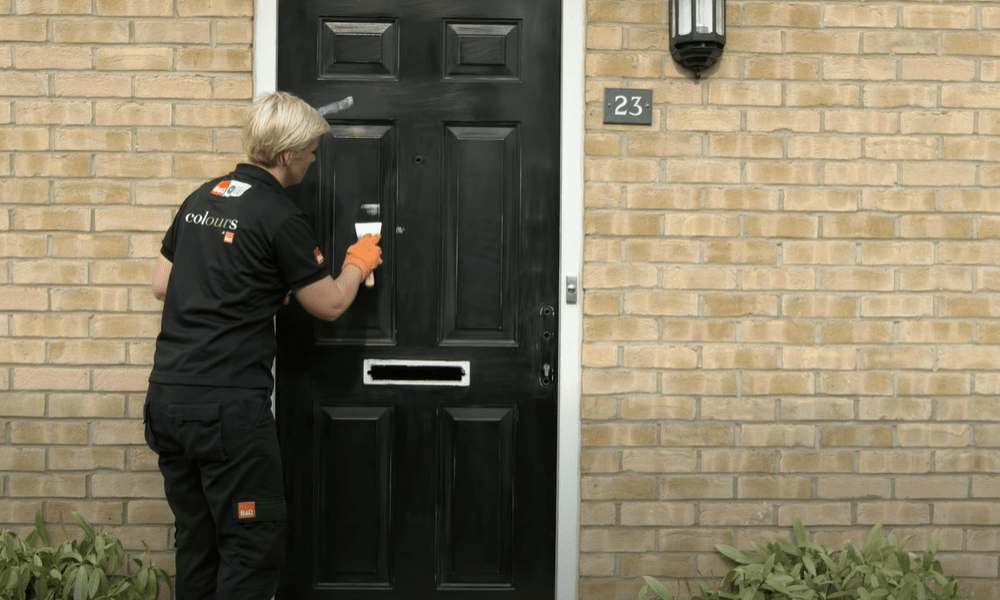
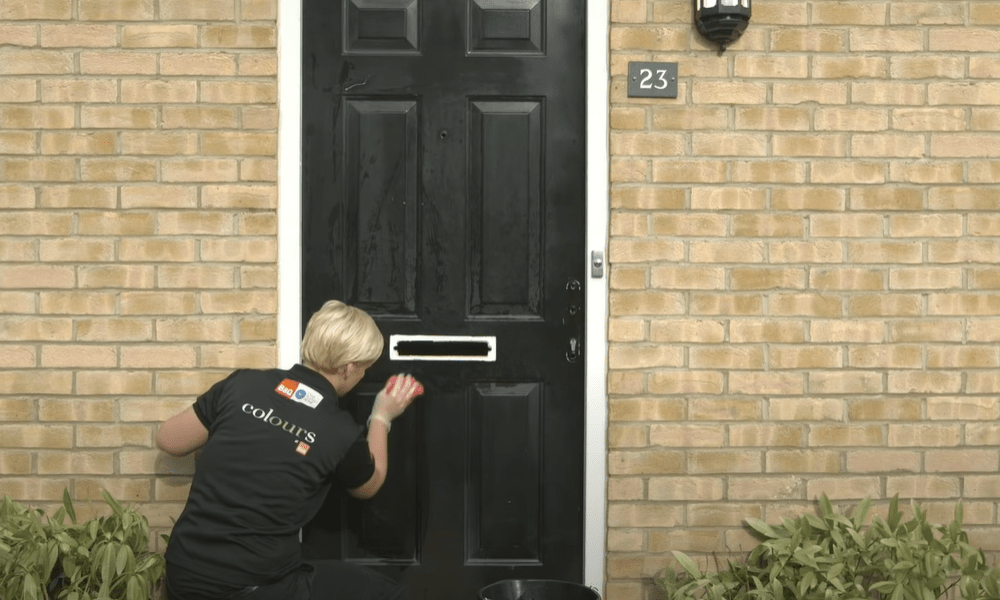
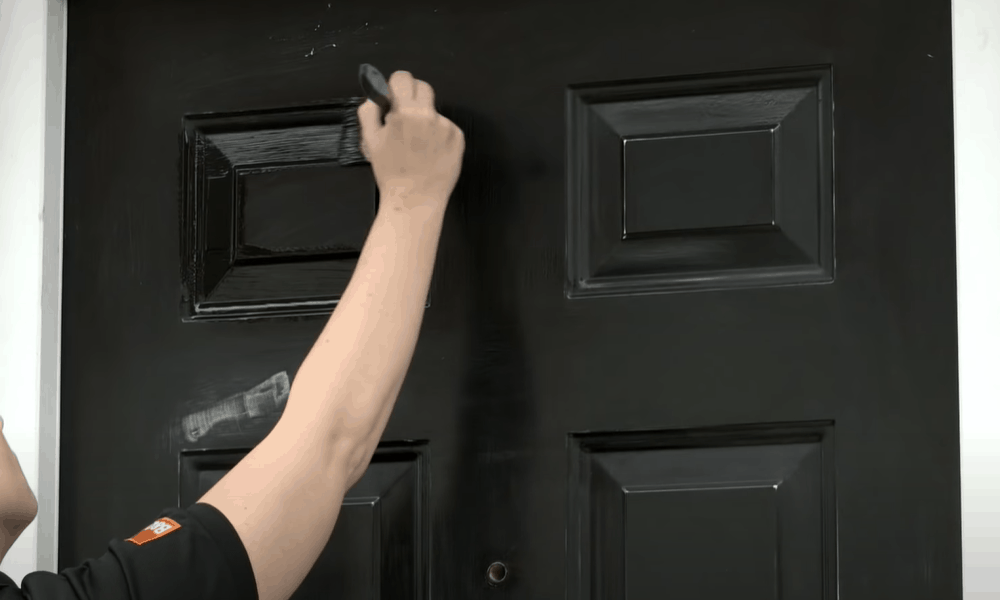
Step 7. Apply the new paint
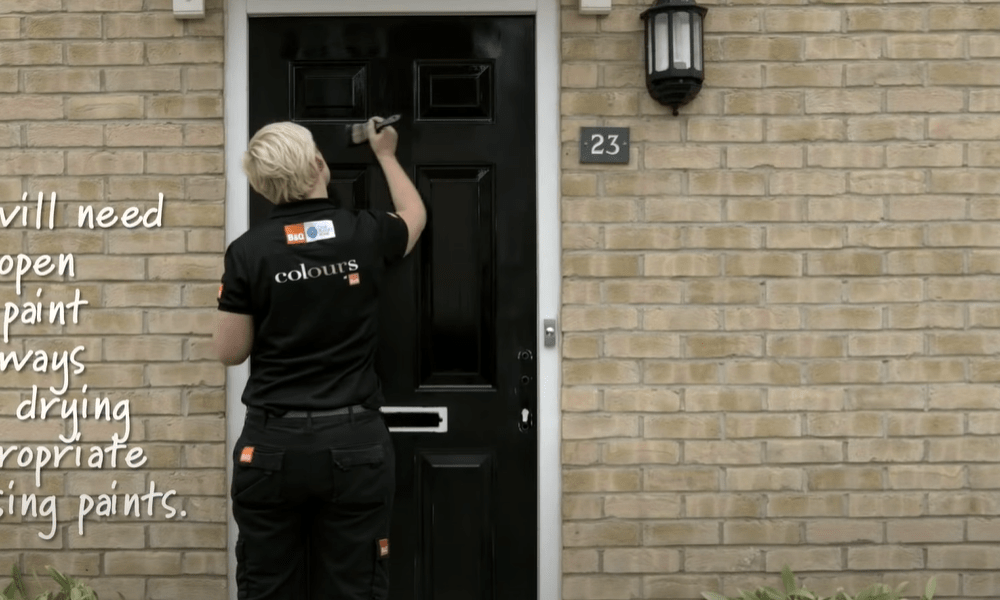
- Spread out a drop cloth to protect the floor from paint stains. Now grab your tab of paint and apply the color starting from the top working your way down. For best results, start with the bevels then proceed to the flat panels, middle stile, rails, and lastly, the stiles along the edges of the door.
- Use a mini roller to paint the flat panels, rails, and stiles and an angled brush to reach the bevels and tight angles. Applying long strokes gives a smoother finish and lets you complete the work faster. Wipe off any wayward paint immediately before it gets a chance to dry on the surface.
- Apply two or three coats for a richer finish. Repeat this process on the other side of the door and allow it to dry according to the manufacturer’s instructions.
Pro tip: In addition to painting the door slab, consider applying a fresh coat of paint to the trim as well. To add visual effect, paint the trim a different but complementary color. Generally, a darker color on the door will go well with a lighter colored trim.
Step 8. Reinstall the hardware
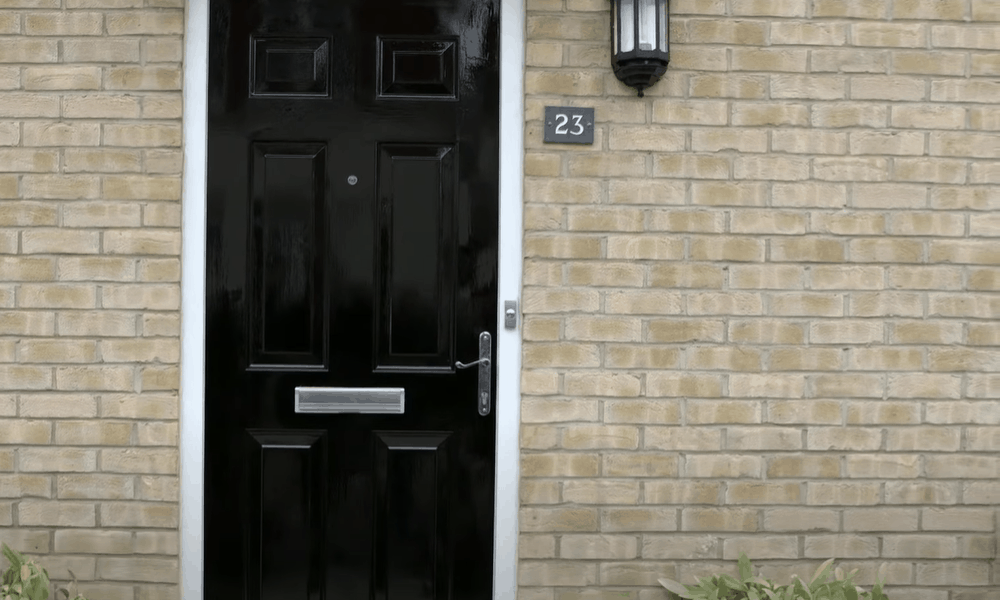
Once the paint is completely dry, reinstall the hardware pieces in their respective locations. Carefully remove the painter’s tape covering the other hardware that you had left intact.
Extended Tips
Here are some extra tips for the perfect paint job:
- Choose paint that is specially formulated for exterior doors: When shopping for paint, look out for those that are specifically labeled ‘exterior’ or ‘interior/exterior.’ These paints are thicker and can withstand wear and tear and inclement weather better than interior paints. The primer should also be for exterior use.
- Select the right light reflectance value: Light reflectance value refers to the amount of light a color reflects. These values range from 0 to 100. Colors with a high reflectance value reflect more light and are therefore more fade-resistant. Opt for paints with a reflectance value of at least 50—these tend to be lighter colors such as corals and pastels.
- Consider the condition of your door: This will help you determine whether you need separate paint and primer or if a paint-primer combo is suitable.
If you are painting a stained wooden door, want to change from an oil-based to water-based paint, or are swapping a darker color for a lighter one, a separate paint and primer will do.
A primer-paint combo might be best if you are painting a door for the first time, swapping a lighter color for a darker one, or are applying the same color.
- Match the primer color to the paint color: For example, a white door should be paired with a white primer.
- Carefully choose between water-based or oil-based paint: For doors made out of wood that doesn’t bleed, for example, pine, opt for fast-drying water-based paint. For woods that bleed, for example, cypress, go for oil-based paint as it is resistant to the wood bleed. Oil-based paint is also a great option for metal doors while fiberglass doors do well with water-based paints.
- Consider local weather conditions: Weather elements can have a huge impact on the longevity of the paint on exterior doors. If you live in an area that regularly receives a lot of rain and snow, opt for an exterior paint that is clearly labeled ‘mold-resistant.’ These paints contain chemicals that are specifically formulated to keep mold and mildew at bay for years to come.
- Opt for the semi-gloss paints: These are easy to clean given that front doors are high traffic areas prone to dirt and dust.
- Invest in high-quality paint: You might have to shell out a few extra dollars but it will pay for itself with a smoother, longer-lasting finish.
A quick job you can complete in a weekend
Applying a fresh coat of paint to your front door is one of the least expensive projects but one that can provide big returns, especially if you are preparing to sell your house. Even if you are not selling, a freshly painted entryway makes your house or apartment feel a lot more welcoming.
Want to do a paint job that you will be proud of? Invest in the right paint and tools, and use the correct painting techniques. In summary, painting a front door involves these steps:
- Removing and protecting door hardware
- Sanding the door
- Applying a primer that complements your choice of paint
- Applying paint starting from the top to the bottom using wide and long motions
Do you have any questions or comments about painting exterior doors or doors in general? Let us know below—we’d love to hear from you!