Want to avoid unsightly brush marks on your freshly painted door? With the right tools, correct technique, and a little patience your door can appear and feel silky-smooth. Below are sure-fire tips to paint a door without brush marks.
Tools
You will need the following tools to get the job done:
- Paint roller
- 2 ½ inch paintbrush
- A vacuum cleaner with a brush attachment
- Orbital sander
- Sawhorses
Materials
- Light, medium, and coarse gritted sandpaper
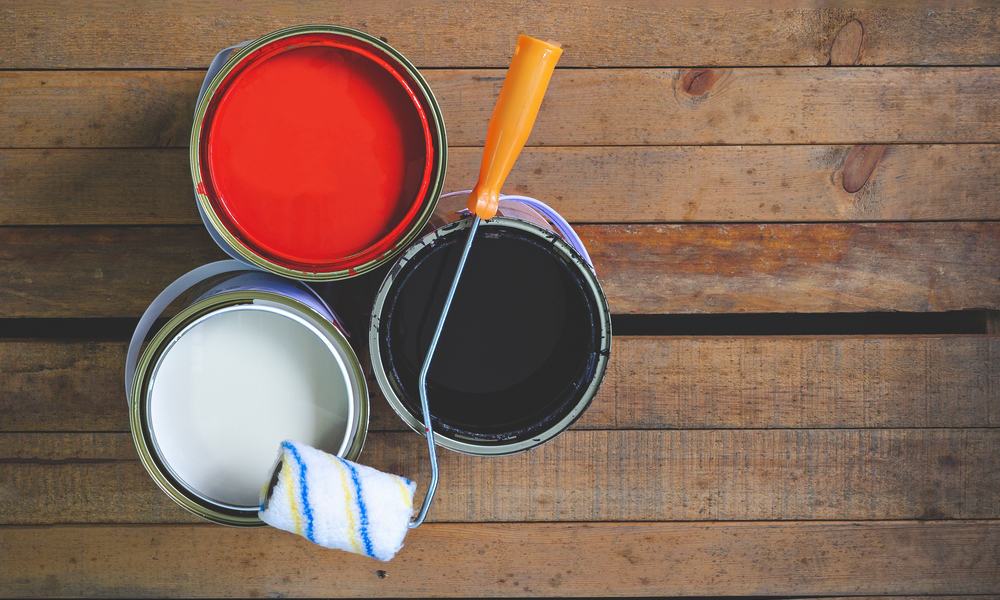
- Paint
- Primer
- Paint conditioner
How To Paint A Door Without Brush Marks
Use these simple recommendations to paint a door without leaving brush marks on it.
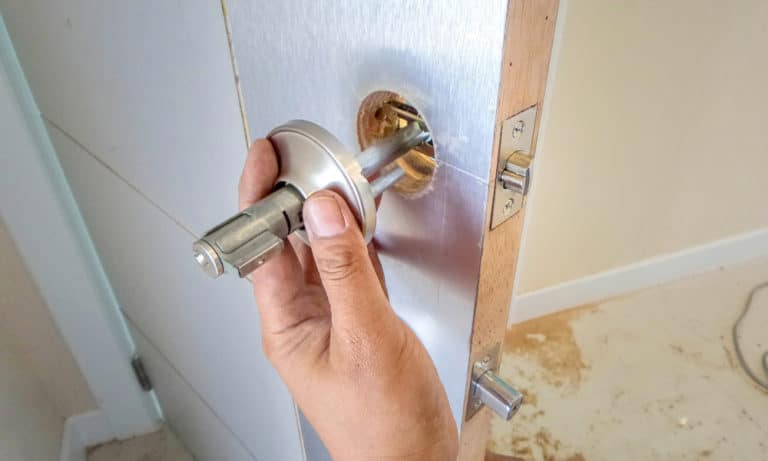
1. Take the door off its hinges
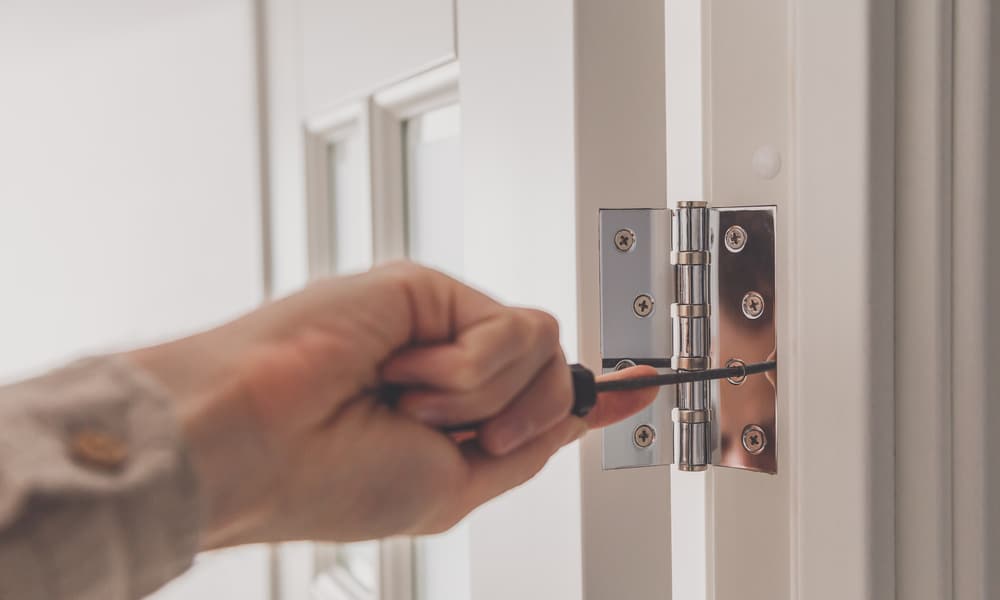
You can still paint the door without removing it. But, we recommend taking it off its hinges and placing it on a horizontal workbench to avoid the mess caused by running paint.
With the door laying in a horizontal position, the paint will have more time to level off, therefore giving you a smooth finish.
2. Choose the right paint
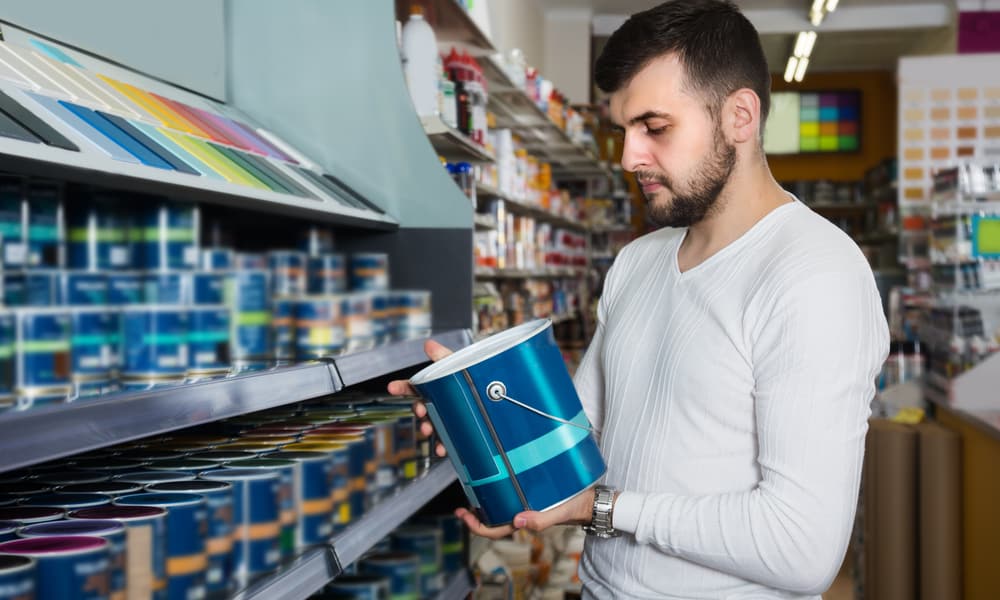
The type of paint you use makes all the difference.
- Opt for paints labeled ‘enamel’ or water-based acrylic alkyd paints used by professional painters. These paints are slightly costlier but they adhere well to surfaces, dry slowly, and level out evenly to cover brush marks, giving you bang for your buck.
3. Sand down the door to remove old brush marks and blemishes
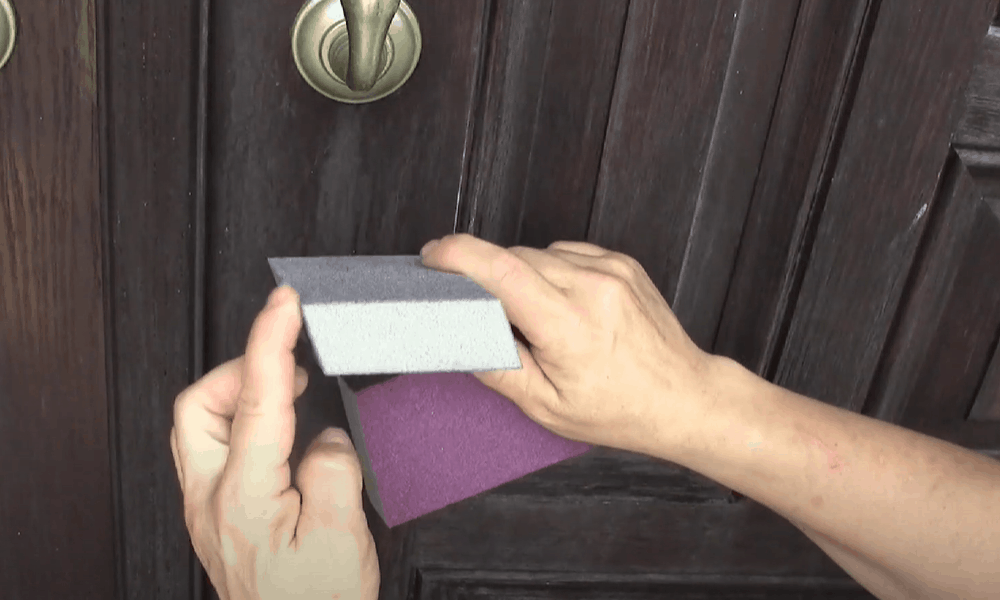
If previous paint jobs left brush marks, you will need to sand the door to remove these imperfections. Sanding also helps the primer to adhere well.
- Start with a slightly coarse 100-grit sandpaper to remove chipped paint, running paint, and brush strokes on the flat panels of the door. Use a random orbital sander to get the job done fast. Use sanding pads to remove blemishes on the door’s grooved profiles.
- Switch to a light sandpaper 120-150-grit to smoothen out the door before painting. Use a vacuum to sweep out the sanding dust from the door, then wipe thoroughly with a damp cloth. Allow to dry before painting.
Pro tip: Use very little force when sanding to avoid wearing off the door and creating dings that can be problematic to paint over.
4. Sand after every coat
- To achieve a completely smooth top-coat finish, sand after every coat of primer and paint.
- Use medium-grit sandpaper to sand the door before applying the first coat of primer. Allow the primer to dry before lightly sanding and applying the second coat. For a smooth finish, apply at least two coats of primer.
5. Prepare your workspace for optimal painting conditions
Anything from dust, too much heat or cold, excessive air, to poor lighting can result in a bad paint job. These elements might force you to try brushing or rolling over dried paint in an attempt to eliminate blemishes but this will only result in unsightly roller or brush marks.
For optimal working conditions:
- Thoroughly clean your workspace after sanding in preparation for priming and painting. Dust is a contaminant and it will interfere with the quality of the paint, resulting in poor coverage and brush marks.
- Close doors and windows and turn off the HVAC system in your workshop. This will slow down the drying process and allow the paint to level better.
- Turn off overhead lighting and instead use a work light that you can position close to the door. This way, you can easily see any blemishes, runs, and lap marks before the paint dries.
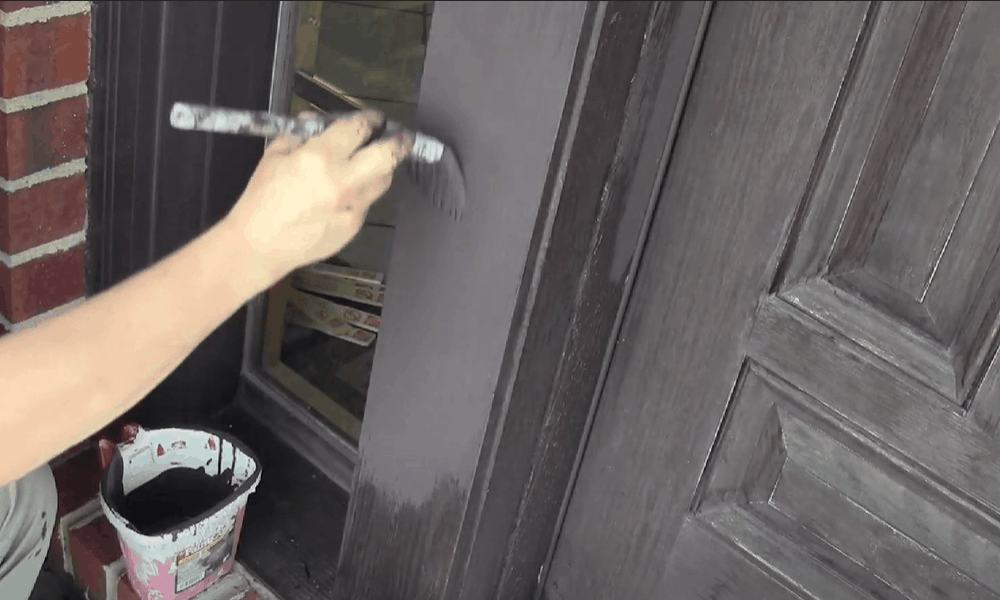
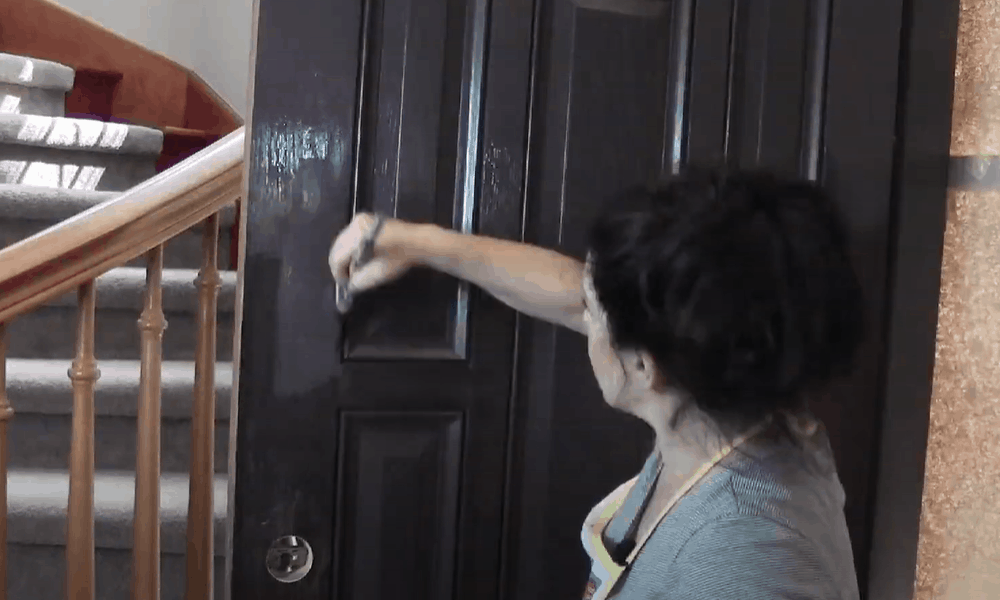
6. Avoid brushes altogether
Professional painters avoid brush strokes by using high-quality rollers instead of brushes. For the best paint job, opt for foam rollers. These rollers have rounded ends, allowing you to paint flat panels and grooves without leaving overlap paint marks. Rollers also spread a longer and thinner coat of paint which minimizes marks and bumps.
7. Follow the grain direction
One of the best ways to avoid brush marks is to use the correct painting technique.
- Roll paint in the direction of the door’s grain.
- Each part of the door slab will have a different grain direction; follow the changing grain patterns for a professional paint job. Avoid rolling or brushing perpendicularly to the grain—this is a sure way to get unsightly brush marks.
- Apply a light coat of primer and/or paint each time. A thick coat has longer coverage but is more likely to run and leave pronounced brush marks.
8. Level out paint using conditioner
A common cause of brush marks on doors is poor leveling of paint. When paint does not dry to a smooth finish, leveling issues will occur. There are several steps you can take to improve paint leveling:
- Add a conditioner instead of water, to thin down paint. Thin paint has longer coverage and goes on smoothly and evenly. Conditioner also allows the paint to dry slowly, which enables proper leveling. If using water-based paint, add Floetrol. Add Penetrol if using oil-based paints.
- Avoid painting when temperatures are over 90 0F or when there is too little humidity. These conditions cause the paint to dry too fast leaving no time for proper leveling.
- Opt for high-quality paint specifically created to provide proper leveling and a smooth finish.
Pro tip: Instead of working from outside, consider painting the door in the garage or basement where you can control the temperature.
Extended Tips
Use roller covers for a sprayed-like finish
Consider dressing your roller with a cover, preferably one made of velour. The smooth texture of the velour delivers a super smooth finish.
Save time by making the door flippable
Timing makes a big difference when you are handling paint. You have to work fast enough to keep the paint from becoming too sticky that it gets difficult to lay on without leaving brush strokes.
A trick that can help you work fast is to make the door flippable by hanging it on the sawhorses using screws on both ends of the door. Simply insert a screw on one end of the door and two on the other end.
Once you coat one side, flip the door to coat the other side. This way, you will not have to wait for one side to dry first before painting the other side.
Spruce up your doors with a professional paint job
A fresh coat of paint can do wonders to an otherwise drab-looking door. But, unsightly brush marks are a common problem most DIYers face. By painting under favorable conditions, opting for good quality rollers and paints, and painting along the grain, it is possible to achieve a silky smooth finish just like the pros.
Have you tried painting a door before? How’d it go? Let us know in the comments!

I have found a treasure of information here. To follow the guidelines suggested would be fantastic if one had the means & room! A saw horse is not an option for me!
Well you need is two chairs.
What is the ideal nap size for painting a door in a level position with a mohair roller to get a smooth (no stipple) finish. Thanks
Thin roller thin paint fast thin coats. Sanding between coats
I’m on my 5 or 6th coat of paint trying to paint my f exterior door fiberglass – so unhappy. Tried on my own – I painted several interior doors no problem- so discouraged- can I fix it?
That is too many coats, it won’t be smooth. Two coats is ideal, maybe 3 but any more is going to just make it worse.
Hey, You explained so well. Now, painting a door is so easy for me to start working !