Garage door sensors are valuable safety features, stopping doors from closing if there’s something in the way. But what happens when they stop working and your door is stuck permanently open?
You can try disconnecting the sensors, but that’s likely to mean your door stops working altogether. A better option is to bypass them until they’re fixed. And we’re here to show you how to bypass garage door sensors without breaking a sweat!
Just follow our step by step guide, and your sensors won’t annoy you anymore. Let’s start by taking a look at what tools you’ll need…
Tools for bypassing garage door sensor
- Microfiber cloth
- Screwdriver
If your garage door is stuck open, you’ll also need:
- Measuring tape
- Hammer
- Two pieces of 2×4 timber the same height as the position of your door above the ground
- Someone to help
How to bypass garage door sensors
Step 1: Clean up

Before disabling your sensors, it’s a good idea to see if you can get them working properly again.
Start by making sure there’s nothing in the way of your door opening and closing. Clutter can easily be picked up by the sensors. They’ll then decide that it’s not safe to operate the door.
Clear away any objects from near the door and check whether it will now move.
If it won’t, take your microfiber cloth and clean the lenses of your sensors. If dirt or dust is preventing them from working properly, this will sort out the problem. And unlike cotton or wool, a microfiber cloth won’t risk scratching the delicate components.
Now test the door again. Still not moving? Move on to step 2.
Step 2: Check the sensors are positioned properly
If your sensors are misaligned, they won’t work properly – so check whether that’s the case before bypassing them.
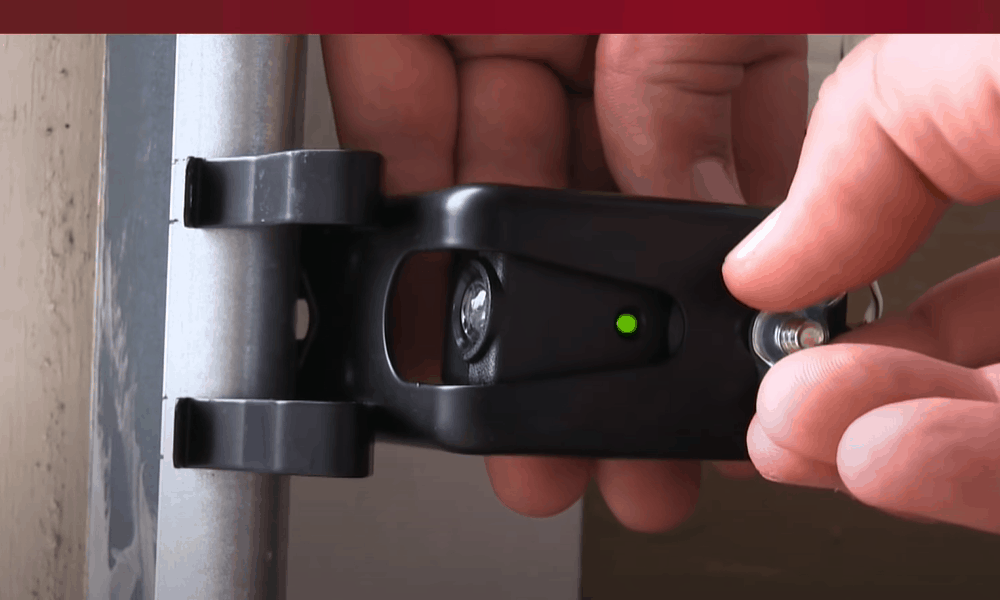
The sensors sit inside brackets on the garage door. They’re small, black objects positioned on the left and right-hand sides of the door, towards the bottom. They’re held in place by wingnuts.
Use your fingers to tighten the wingnuts as far as they’ll go. This will make sure that they’re sitting in the right position in the brackets. If the sensors have LEDs, they will be on with a steady green light when they’re correctly aligned.
You’ll also need to check that the brackets are fixed securely to the garage door. If they’ve come loose, take your screwdriver and tighten them up again.
This helpful video shows you everything you need to do to align your sensors.
Pro tip: Remember to turn screws and wingnuts to the right – that is, clockwise – to tighten them. A good way to remember this is with the saying “Righty tighty, lefty loosey.”
Check if that’s solved the problem. If not…
Step 3: Check your wiring
Loose or damaged wiring could be to blame for sensors that are no longer working properly. Check for any frayed, burned or damaged wires coming from your sensors. If you find any, turn off the power to the garage door to avoid injuries.
It’s always wise to contact a qualified electrician to repair damaged wiring.
If there’s no sign of damage and the door still isn’t working, it’s time to bypass those sensors.
Step 4: Try to get the door closed
If at all possible, it’s best to disengage the sensors when your garage door is closed. If it’s open and the door spring is damaged, the door may fall closed when you switch to manual mode. That will be both noisy and alarming, and it can be dangerous too.
Of course, sensors don’t always stop working when the garage door is conveniently closed. If it’s open and it isn’t possible to close it, don’t worry. Just move on to step 5. If you’ve managed to get the door closed, go straight to step 6.
Step 5: If you can’t close the door, prop it open
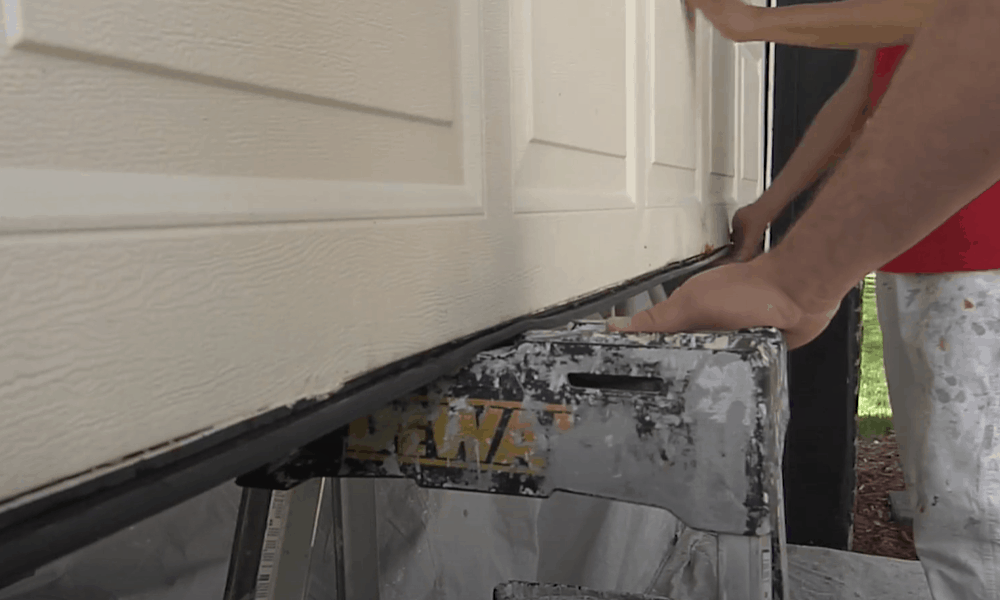
If your door is stuck open, measure the distance between it and the ground. Now cut your two pieces of 2×4 timber to that measurement.
Position one piece of timber under either side of the door. You want them positioned so that one end is on the ground and the other is holding up the door.
Use your hammer to knock them into place so that they’re tightly squeezed into the gap. This will prevent the door from moving when you disengage the sensors and switch to manual mode.
Pro tip: If you can’t get hold of any 2×4 timber to brace the door, any strong piece of wood will do. A shelf stood on its end will work just as well. You could even prop a couple of ladders underneath.
Step 6: Put the door into manual mode
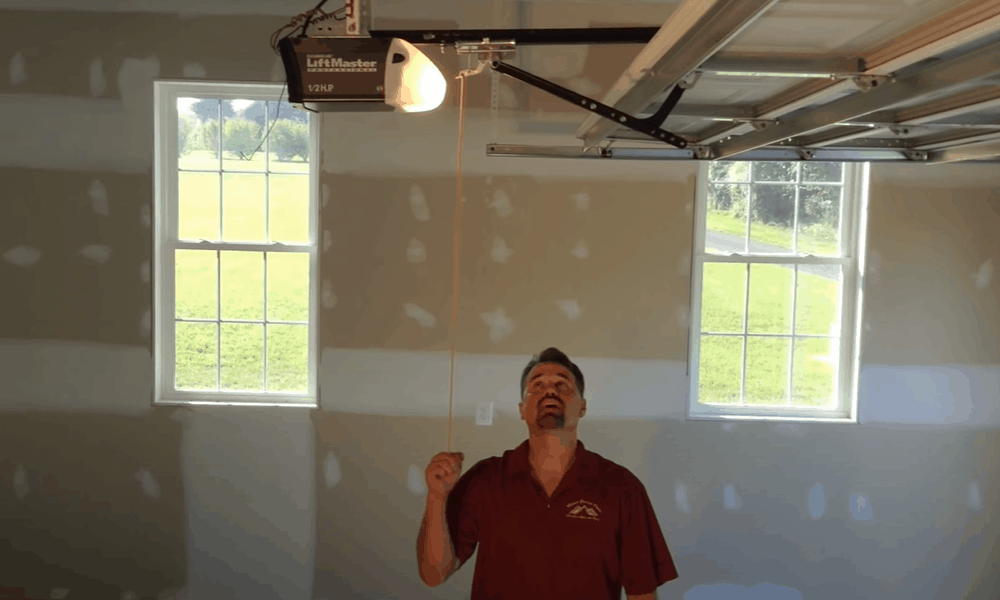
You’re now going to separate the trolley that opens and closes the door from the automatic system.
To do this, look for the manual release cord. You’ll usually find it next to the motor that powers the garage door, and in most cases it’s bright red.
Pull down on the cord. You should now be able to open and close the door by hand.
If the door was stuck open, ask someone to hold it in position as you remove the props. Make sure you give your friend plenty of warning, They’ll need to be ready to take the weight of the door when the props are gone. Then gently lower the door.
Pro tip: If you’ve used pieces of 2×4 for your props, use your hammer again to knock them out of position.
Step 7: Open the door manually
Now that your door is closed and in manual mode, you need to know how to open it again!
Simply pull down on the red cord again and the door will lift open. Avoid getting the cord trapped in the mechanism by pulling it in the direction of the motor.
Depending on the weight of the door, you may need someone to help with this. All the better reason for getting those sensors fixed quickly!
If you need to switch back to automatic mode, open the door whilst pulling the cord towards the door. The trolley should connect back to the automatic system. When that’s done, you’ll be able to operate your door using the button again.
Extra tips
Some garage door openers will have helpful diagnostic systems to pinpoint what’s gone wrong if they stop working. It’s a good idea to check for any warning indicators that might help you correct the problem. Always check this before embarking on bypassing your sensors.
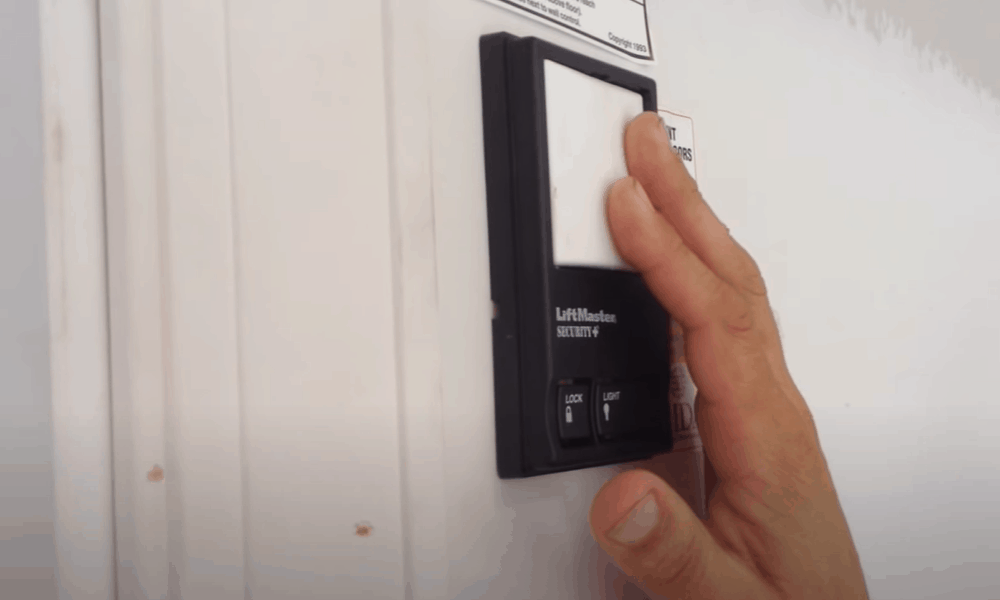
If your sensors are misaligned, some garage door openers will tell you that’s the problem. The LiftMaster Security Plus 2.0, for example, has two arrows inside the opener that flash. If the up arrow flashes four times followed by the down arrow flashing six times, the problem is misaligned sensors.
Other models will use a flashing “learn” button inside the opener to indicate what’s wrong. If the sensors are misaligned, the button will flash four times every ten seconds.
Your sensors will usually also have green LEDs to show they’re working properly. If the sensors are operating normally, the lights will be on and steady. If there’s a problem, they will be off, dim or flickering.
If you can’t fix the problem with your sensors, you may prefer to disconnect the power to your door opener. This will prevent the garage door from being opened or closed altogether.
If you can do without using your garage until it’s fixed, this is certainly the safest option. Bypassing the sensors means the garage door will be able to close, even if something is in the way. If you’ve got small children or pets, that could be very dangerous. A garage door can cause serious injury, or even death.
Alternatively, you can disconnect the sensors altogether. In most cases, this will also prevent the door from opening or closing.
If you want to do this, start by disconnecting the power supply to your door opener. Then loosen the wingnuts that hold each sensor in place in their brackets. Use your fingers to turn them counter-clockwise until they’re loose enough to be taken off.
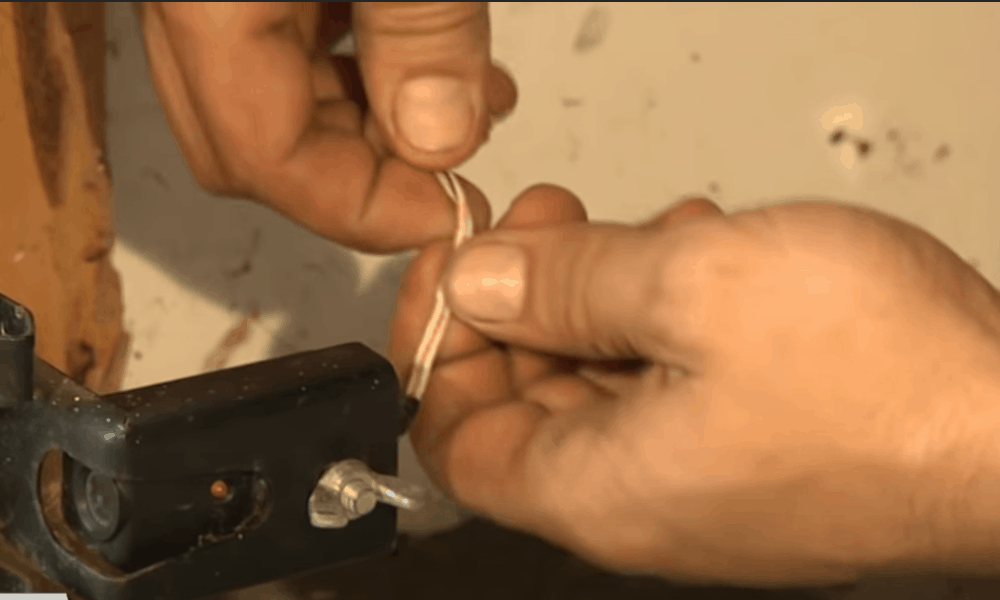
Next, remove the wingnuts. You should now be able to take the sensors out of their brackets. Take your wire cutters and look for a black and white wire running to each sensor. Cut it about an inch from the brackets. Your sensors are now disconnected.
When you’ve got your new sensors, you’ll need to strip the rubber casing from the ends of the wires. Twist the cut end of the wires on the garage doors together with the wires in the new sensors. The black wires need to be twisted together, then the white wires twisted to each other.
The final step is to put the new sensors into the brackets and tighten up the wingnuts.
Time to fix your garage door!
We hope you’ve found our guide to how to bypass garage door sensors helpful. Only do this if you’ve first completed troubleshooting and haven’t been able to fix the problem. And don’t do it if there are pets or small children who could be injured by a closing garage door.
But if you need a quick fix until a repair can be made, bypassing the sensors can be helpful. It’s not a difficult task, and you won’t need specialist skills or expensive tools.
If you’ve already bypassed your garage door sensors, why not comment and tell us how it went? We’d love to hear your hints and tips.


Can sensors still be faulty if they are properly lit and aligned?
Can i splice new photo cells wire to existing wire, so that i dont have to run new wires. Its a marantec 4700 abot 30 years old,motor is fine
I understand why the sensors are there but it does occurs to me that it is just as dangerous when you are in the garage with the door closed working on the ceiling and someone decides to open the door and the top of the door knocks your ladder over. Or you are building a tall cabinet and the door knocks it over.
To disable, extend the wires and secure them out of the way somewhere else looking at each other. Then it’s up to you to be sure the way is clear.
Can you provide some further details on to do this. Thanks
The Chamberlain garage door opener’s sensors were removed and connected to each other two sensors against each other. the black and white wires connected together and connected to the right side of the hole. The white wires connected together and connected to another hole.
Both leads go on when the garage door has power.
When you try to close the door it does not go all the way and come back.
no sensors on sides of garage door, some crazy contraption screwed into the opener that may be tripping it, but my door goes up and trips when trying to go down…
any ideas?