Is your garage door not working as intended? Do you have to leave the comfort of your car and manually open it every time you return home? Then it’s time for you to roll up your sleeves and learn how to align garage door sensors. Here’s why we’re saying that.
The functionality of garage doors depends on their sensors. One of them (the emitter) sends signals to the other (the receiver) that then closes your front door. However, if both of them aren’t in alignment, the receiver won’t receive the signals from the emitter and your door won’t close.
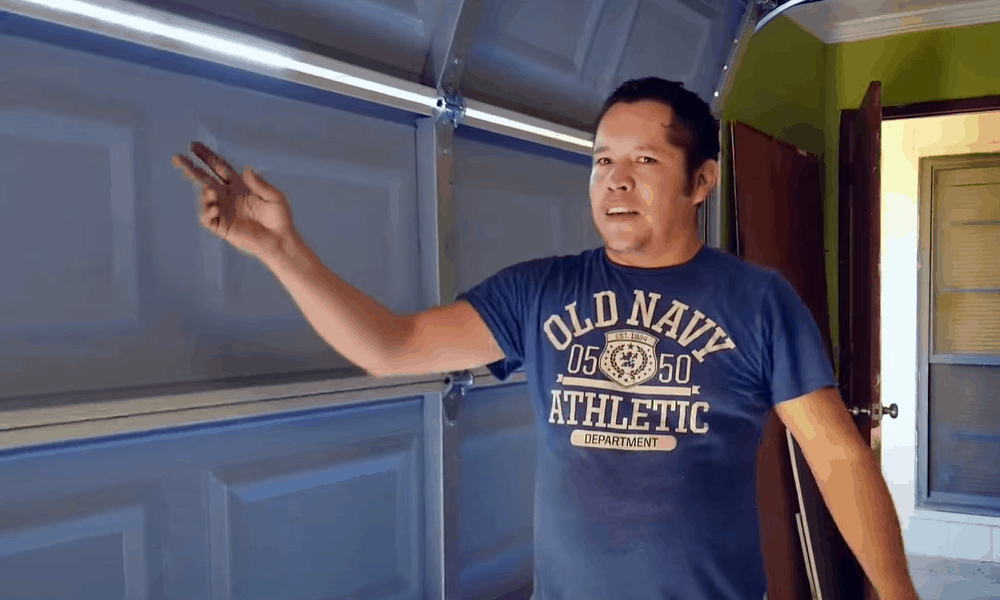
Luckily for you, it’s not extremely difficult to realign garage door sensors. You can go through our below-mentioned guide to make sure of that. Or, if you have trouble understanding some of the stuff we’re talking about, watch this video before scrolling down.
Tools for aligning garage door sensors
Here’s a list of all the tools and equipment you’ll need:
- Electricity-resistant gloves
- Screwdriver
- String
- Level
Step-by-Step Guide for garage door sensor alignment
Follow these steps to align garage door sensors:
Step 1: Disconnect power supply to the garage

Turn off the power supply to your sensors. You can do that by either turning off their switch (if the sensors are manually plugged into a wall outlet) or tripping the fuse of your entire garage from your home’s breaker box.
Make sure that you’re wearing electricity-resistant gloves as you’re fiddling with the wires. You might not be working with live wires. Still, we always recommend against taking any chances when your personal safety is concerned.
Pro Tip: When shopping for electrically insulated gloves, specifically check out their ‘Class’. Those that are rated ‘Class 0’ or ‘Class 00’ can withstand voltage of up to 500 volts AC and therefore provide adequate protection for aligning garage door sensors.
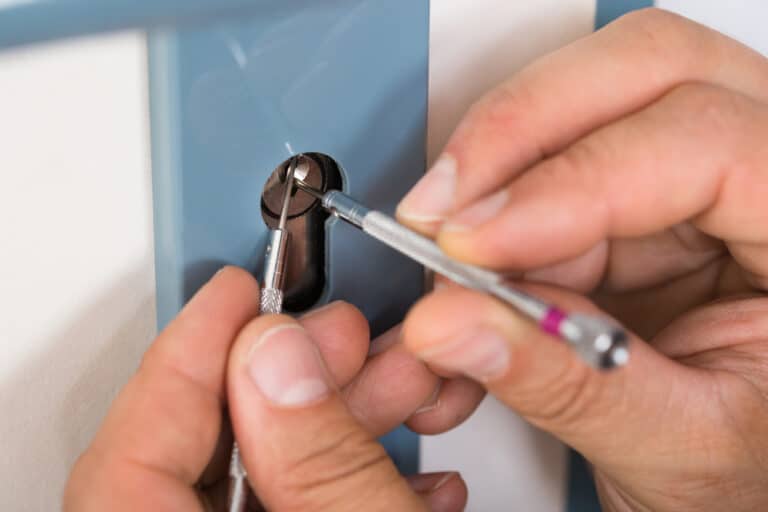
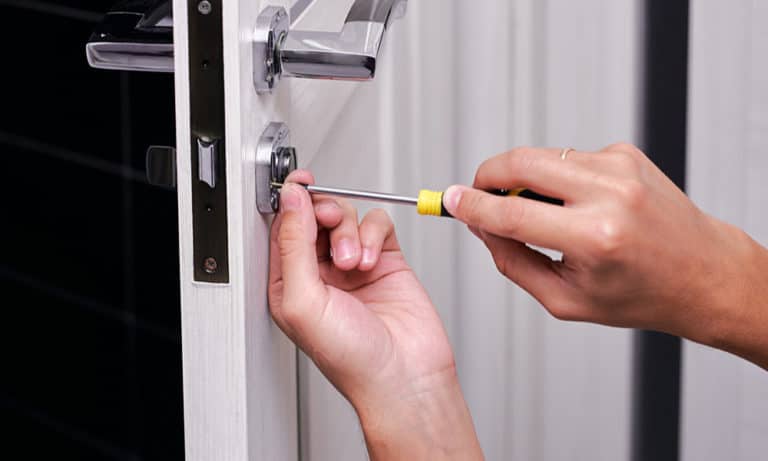
Step 2: Unscrew the screws holding the sensors
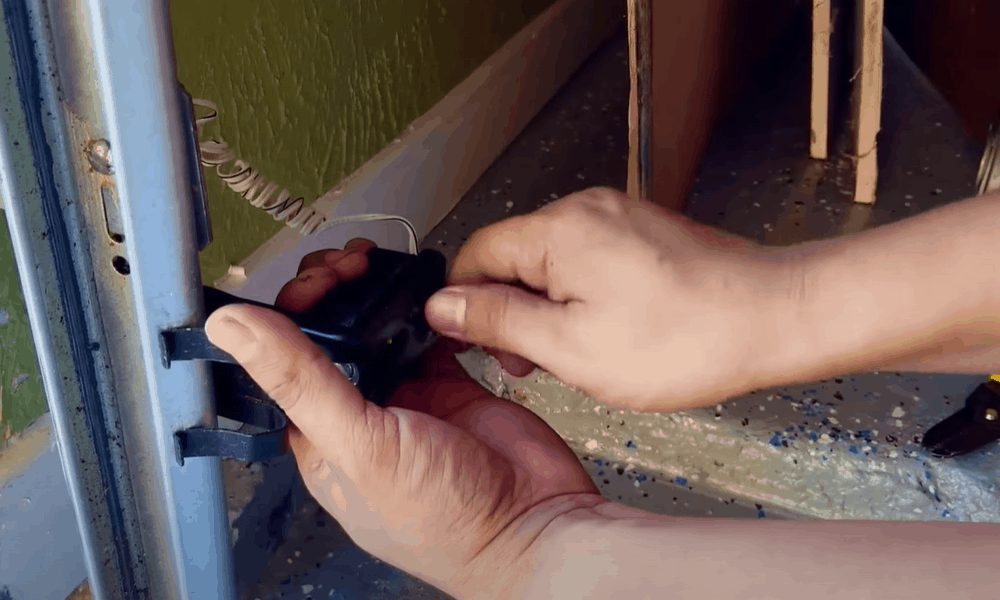
Loosen the mounting brackets of your garage door sensors by opening their screws. You can do that by inserting the screwdriver into the screws and turning it in the anticlockwise direction.
Remember, you only have to loosen the screws. There is no need for you to take them all the way out. That’s because you are going to slide the mounting brackets up and down in the upcoming steps – which won’t be possible if the screws go missing.
Step 3: Slide the garage door sensors downward
Once you have loosened the screws and made sure that the mounting brackets can slide up and down with ease, slide the garage door sensor downward with your bare hands.
Don’t use a wrench to move the sensor. It will leave marks on the sensor’s surface and may also disturb its functionality. Slide them as low as possible while keeping the sensors inside their mounting brackets.
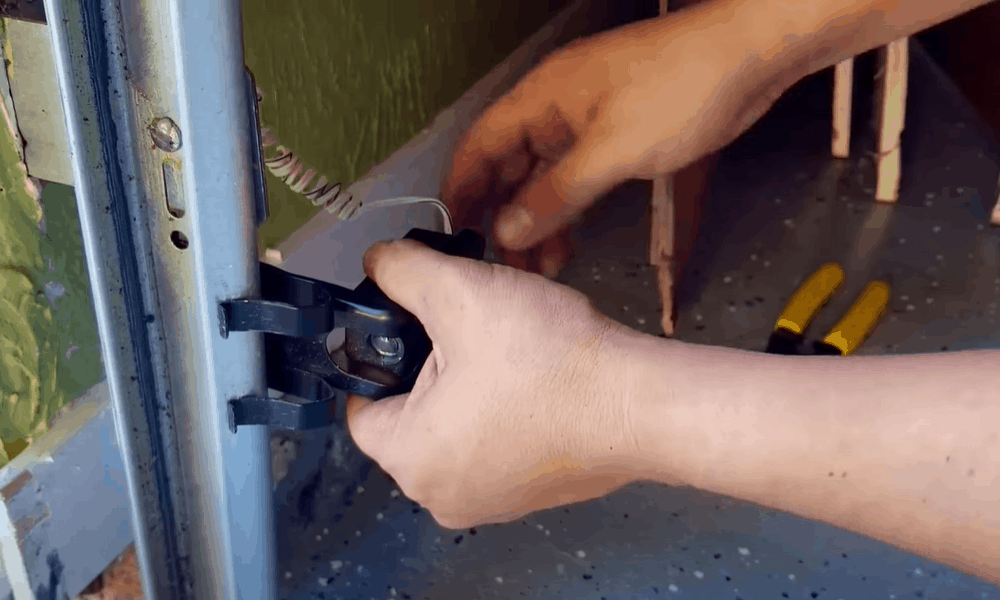
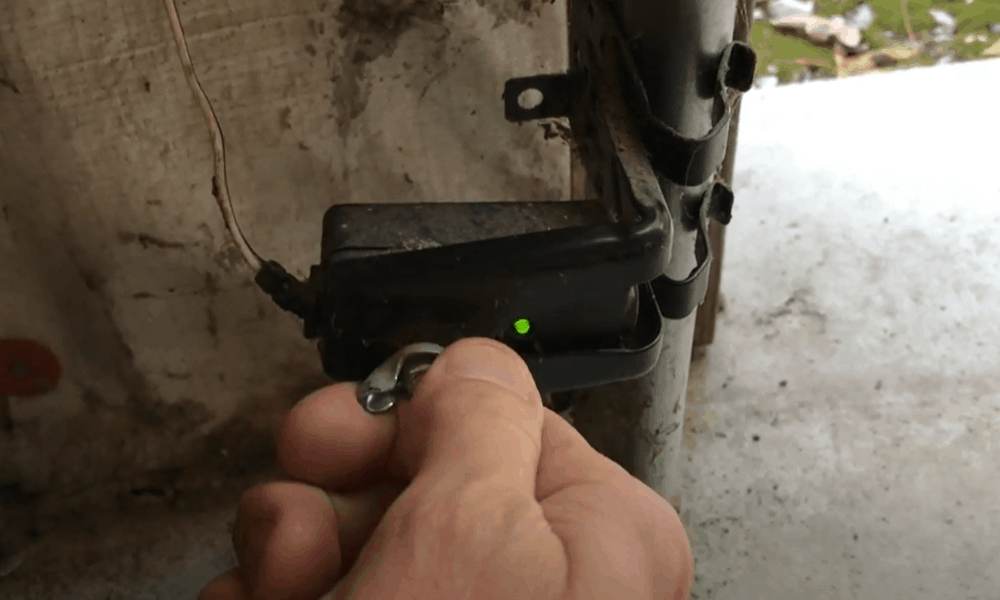
Step 4: Attach the string and tie the knots
After sliding them as low as possible, attach one end of a string to one sensor and its mounting bracket. Tie the knot as tightly as possible as this step has a huge impact on the success (or failure) of the overall operation.
Afterward, run the untied string end across the opening of your garage and roll it around the center of the opposing sensor before tying the knot in such a manner that the string runs as straight as possible.
Step 5: Check the level of the string
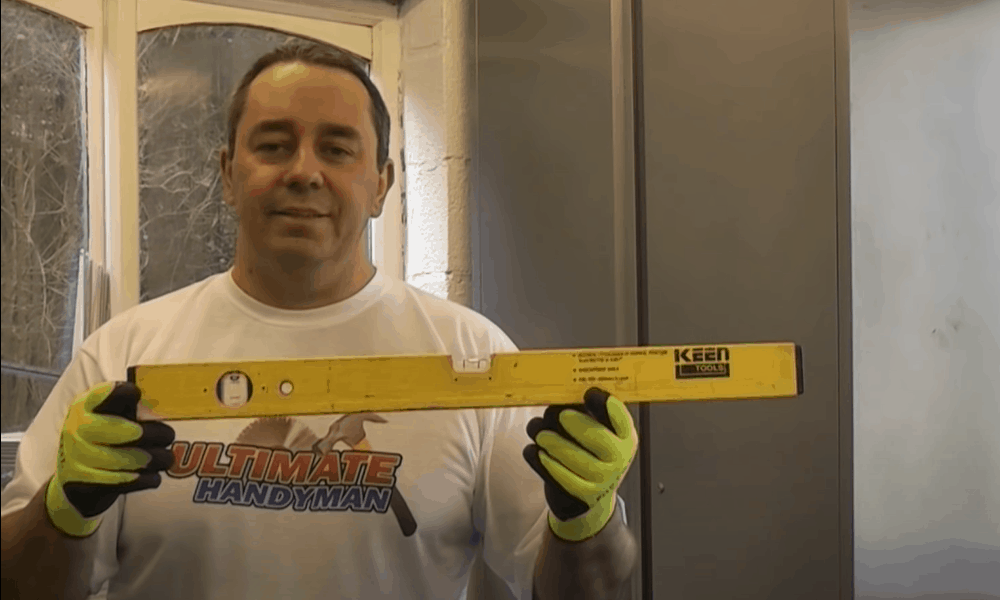
Place a level below the string and make sure that it is running level across the garage doorway. You’d have to manually press the level against the string and hold it there for a few seconds.
If the line of the string is level, move on to the next step. If that isn’t the case, adjust one or both sensors (by sliding their mounting brackets). Keep on adjusting until the level shows that both sensors are aligned.
Step 6: Tighten the screws
Once the level shows that both the sensors are on the same level, start fastening the screws. Tighten them to such an extent that you can see that even after applying effort, the garage door sensors aren’t moving from their new position.
After you have tightened the screws, once again use the level to make sure that both the sensors are aligned. As they can come out of alignment as you were tightening the screws.
Tip: If you don’t like making multiple trips across the garage’s doorway (first to level both the sensors and later to tighten their screws), get a helping hand. In this way, you’d be able to finish the entire job in quick succession.
Final Step
After ensuring that both the sensors are level, remove the strings, turn the power to your garage back on and test the sensors. They should be working fine by now.
FAQs
Q: How do garage door sensors work?
A: As we stated at the start of this article, your garage door has two sensors. One of them sends the signals and is therefore named as the emitter. The other which is on the receiving end is called receiver. Though you don’t need to identify which of the two sensors is receiver/emitter to know how they work.
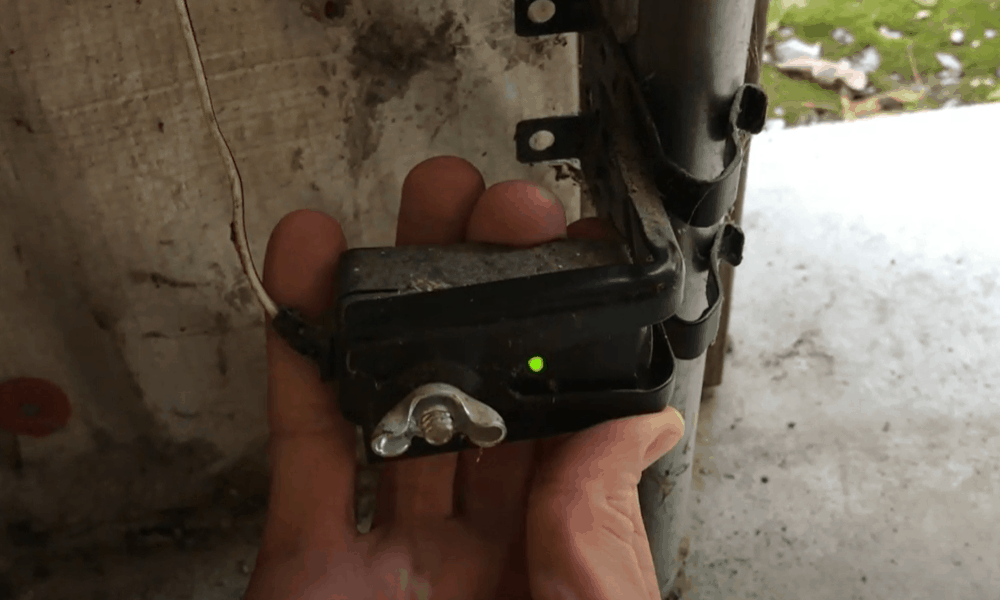
Both these sensors are equipped with infrared light. This light is out of the visible spectrum and therefore cannot be seen with a naked eye. The emitter sends this light to the receiver which, on receiving it, begins the process of closing down your garage door.
Since the infrared light will be traveling in a straight line between the two boxes, its interruption by any obstruction will send a signal to the receiver to cease operation. The receiver will then block the door in its current position, protecting whatever is beneath the door from getting crushed.
Q: Why my garage door sensors aren’t working?
A: Following are some of the reasons why your garage door sensor might not be working
- Too much dirt has accumulated on the sensor (s)
- An impact has damaged its connection wires
- You have exposed the sensors to direct sunlight for too long.
- Excessive vibrations from the door have affected the sensors.
- The sensors aren’t correctly aligned with each other
- Wiring is incorrect between the door opener and the sensors
Q: How to tell if the garage door sensors are misaligned?
A: It is only in extreme cases that misaligned door sensors stop working altogether. Prior to that, depending on your model, it might be giving these signs to tell you that everything is not hunky-dory with your garage door sensors:
- Up arrow flashing four times, down arrow flashing 6 times
Provided you own a Security+ 2.0 garage door opener, its up arrow will flash 4 times followed by the down arrow flashing 6 times to indicate that either something is obstructing the beam between the sensors, or they are misaligned.
- LCD Display showing error code
If your Security+ 2.0 garage door opener came with an LCD display, it would show “Error code 4-6 sensor momentarily obstructed” whenever the sensors are misaligned or something is obstructing the beam.
- Learn button flashing every few seconds
Some garage door openers have a learn button that starts flashing ‘once every 2.5 seconds’ or ’4 times every 10 seconds’ to indicate the misalignment or obstruction of the garage door sensors.
- Door closing prematurely
If the sensors are misaligned, or something is obstructing the path of their beam, the door will continue to close, regardless of whatever or whoever is beneath it.
Q: How high off of the ground should the garage door sensors be placed?
A: Regardless of the type of garage door sensors you may own, they should be placed at least 6 inches to 9 inches off the floor. It goes without saying that the distance of both the sensors (receiver and emitter) should be the same from the floor. Or else, they will be misaligned.
Q: How to disable a garage door sensor?
A: If you feel that your garage door sensors are malfunctioning, you need to disable them altogether or else they might cause an injury. Here’s how you can do that:
- Disconnect them all together: You can do that by pulling out the wires that supply them electricity or manually switching them off.
- Set them at bypass mode: Most garage sensors that you see on the market today give you the option to set them at ‘bypass mode’ to circumvent the sensors.
Conclusion
As you have seen by now, aligning faulty garage door sensors isn’t that difficult. You just need to have the right materials at your disposal and shouldn’t be in a hurry to get the job done. You can get the entire process done quickly if you have a helping hand. However, regardless of whether you have company or prefer doing it alone, following our step-by-step guide will let you complete the project successfully.