Installing a garage door opener properly allows the garage door to operate safely and fit well. Most garage doors have a carriage that wheels on a rail or inside a channel from the motor to the front of the garage. Also, it features an arm that attaches the carriage to the garage door.
Most chain garage door openers feature a chain as the connection between the motor and carriage. However, others have a different opening procedure with a rod as the attachment holding the carriage.
This guide would show you how to install a garage door opener with everything needed.
Important Tools Needed for installing garage door opener
A garage door installation cost is mainly because of the tools you will need. For a successful DIY garage door opener installation, you should have all equipment necessary together before starting the task. Here are the tools needed.
- Hacksaw
- Measuring tape
- Cordless power drill
- Set of screwdrivers
- Open-end wrenches
- Clamps
Steps on How to Install a Garage Door Opener
Step 1: Check It Out for the Opener Connection
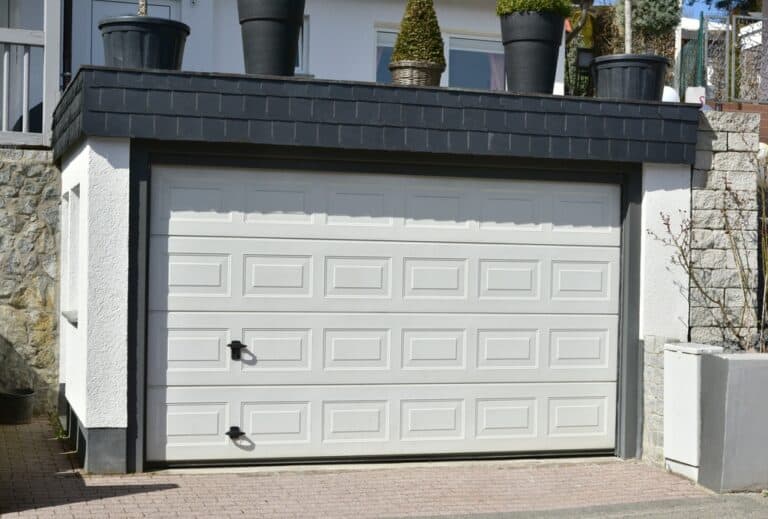
Ensure that the garage door is compatible with an opener, that is, having many horizontal segments. Before learning how to replace a garage door opener, you may need to change the older door that is in one solid piece.
Step 2: Select the Correct Garage Door Opener
Ensure to select a ⅓ hp or ½ hp garage door opener when you want to install one on a single door. You should know that ⅓ hp may be challenging to see in home improvement stores. In that case, go with ½ hp for a double door or ¾ hp for a door that has faux wood edges (this may be weighty).
Since every garage door opener has an already set speed at which it opens, there is no need for a high hp opener. All door openers either come with a screwdriver, chain drive or belt drive. Although chain doors are cheap, they can be noisy because they open and close by long heavy chains.
Screw drives are not so cheap but not expensive and they produce a moderate operation sound. This type has a lengthy threaded rod that opens and closes the garage door. The exciting part is that it needs little or no maintenance.
As for the belt drives, the rubber belt open and shut system, are the quietest openers making them the best and costliest. This opener suits a garage that is beneath a living space.
Step 3: Ready your Garage Door for the Installation of an Opener
First, lubricate the garage door thoroughly and ensure that operation is sound. Take note that the door weight rests on springs, cords, pulleys, and cables but has nothing to do with the opener. Ensure that you can freely open the garage before attaching an opener to the door.
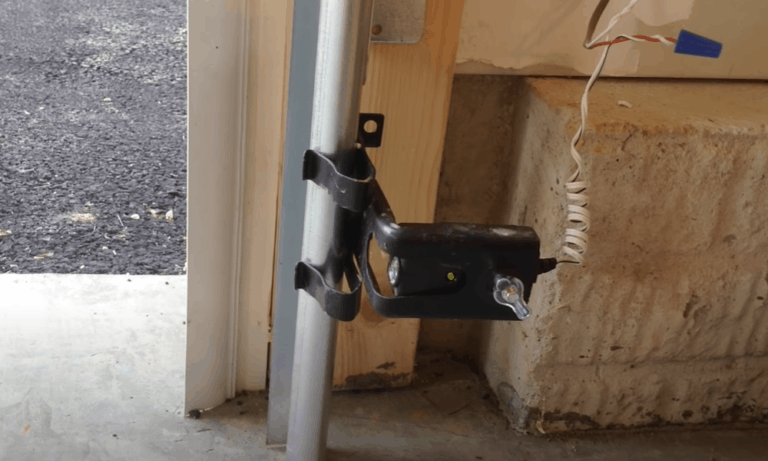
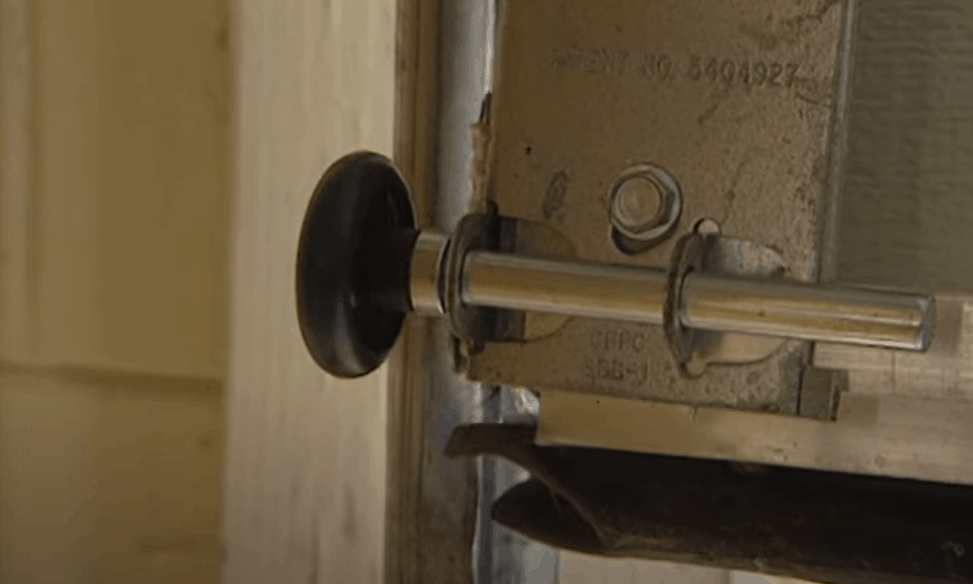
Then, take out all cords or cables connected to the door to avoid engagement during the installation. Disconnect every other door lock mechanism when installing so that it won’t spoil the opener or harm you.
Ensure that there is a power socket around the door opener area facing down from the ceiling. If there isn’t, get a certified electrician to mount one for you very close to the opener spot.
Turn off all electrical connections before installation. Make sure the power cord of the opener has the proper insulation to avoid electric shock.
Step 4: Connect the Main Assembly after Laying the Parts together
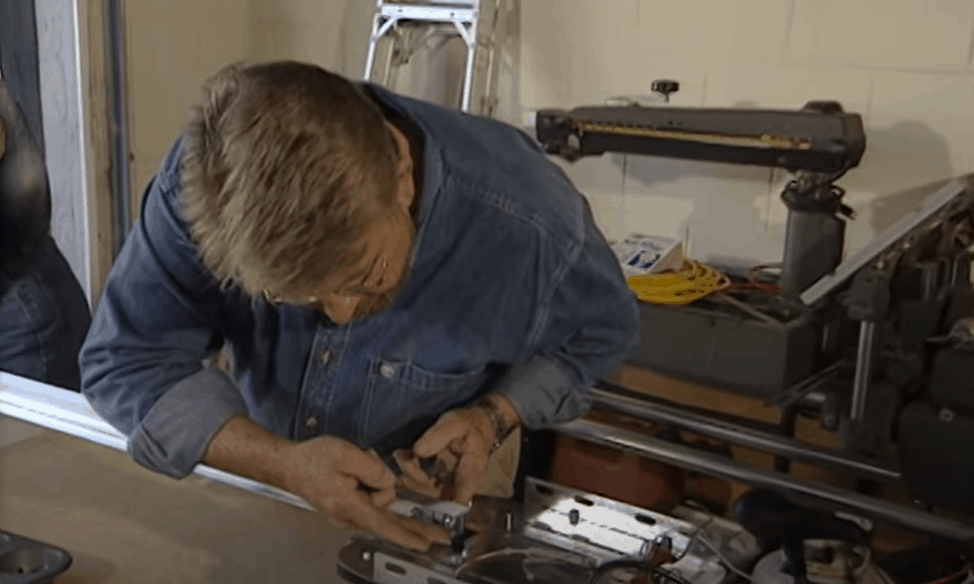
Ensure that the parts in your opener package are the same on the outline. Then, you can proceed to join them together, starting from the main junction. Look up the method on the manual for installation that comes with the package and start assembling.
Fix the rail together first by putting all the parts into one whole unit according to the manual. After this, the next thing is to pull down the trolley (that’s the carriage) over the rail. This unit is the system that shuts and opens the door.
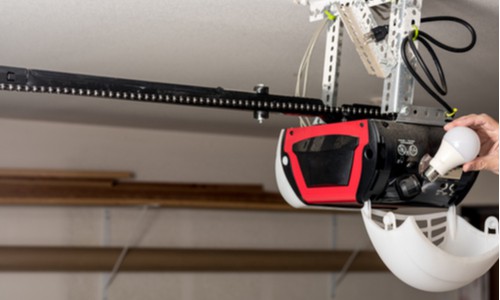
Next, you connect the rail to the motor unit. The motor unit is the biggest component of the opener and should be mounted very far from the door. Then, fix in the pulley at the rail end opposite the motor unit and attach the belt or chain to both ends.
After these, connect the verge of the chain or belt to the trolley (the rising and falling system). There is a screw attached to the end of the chain or belt. You will use this screw to install it on the trolley. The screw also allows you to adjust the tightness.
Step 5: Mount the Blocking on the Ceiling

You should mount a blocking if there is none in your garage ceiling. How to attach the garage door to opener involves the use of blocking. If you don’t know how to get this done, you can check the garage opener manual. There are instructions in there to help you with blocking the installation.
Whichever size of blocking you plan to use, ensure to fasten on a solid wood on the ceiling, rather than just sheetrock.
Step 6: Mount the Header Bracket and Connect the End Assembly
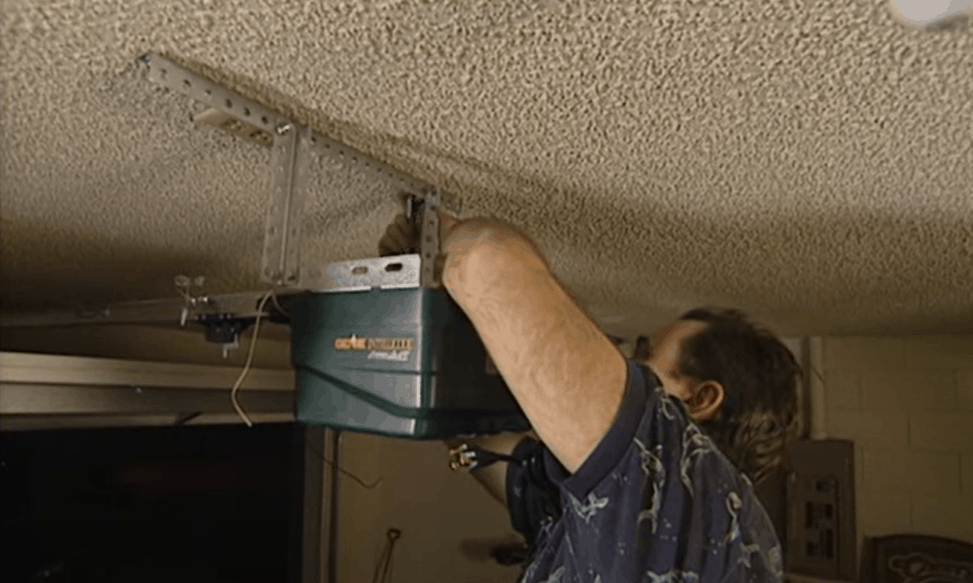
Find the connecting point of the garage door and then mount garage door opener bracket. Ensure you install the bracket that is in the opener package. Check the manual for the accurate distance from to place the bracket garage, but it is best to leave it at the center.
If the package doesn’t contain a bracket, you need to check the bracket specs from your manual to know which one to get.
Once you have gotten the right bracket, bend the end of the assembly towards the garage door header (facing the motor unit).
Mount the bracket on the wall at the top of the door and attach the end of the assembly to it. Ensure you follow all instructions in the manual. Head to the end of the assembly which is the power unit and lift it up. Afterward, install the powers section so high (like seven-foot) that tall people won’t hit it.
You should also make sure that all components of the power unit come with proper insulation to avoid electrocution. Ensure that the garage door opener height is high enough above the ground.
Step 7: Connect the Assembly to the Bracket
In most opener packages, there two parts that attach the opener assembly to the door. These parts give you options since the gap between them may not be the same. This is the reason you need to follow the guide in the manual carefully.
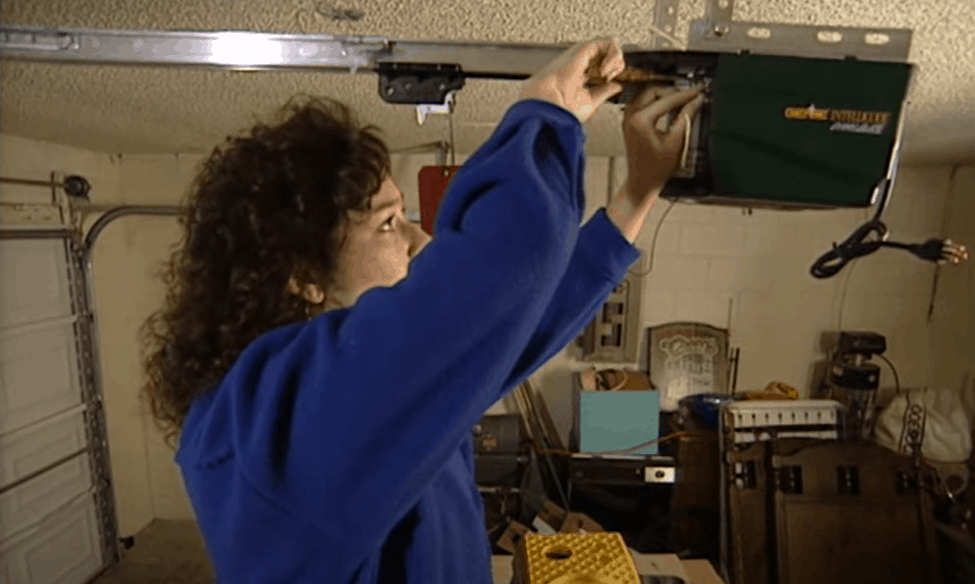
Step 8: Install the Additional Features
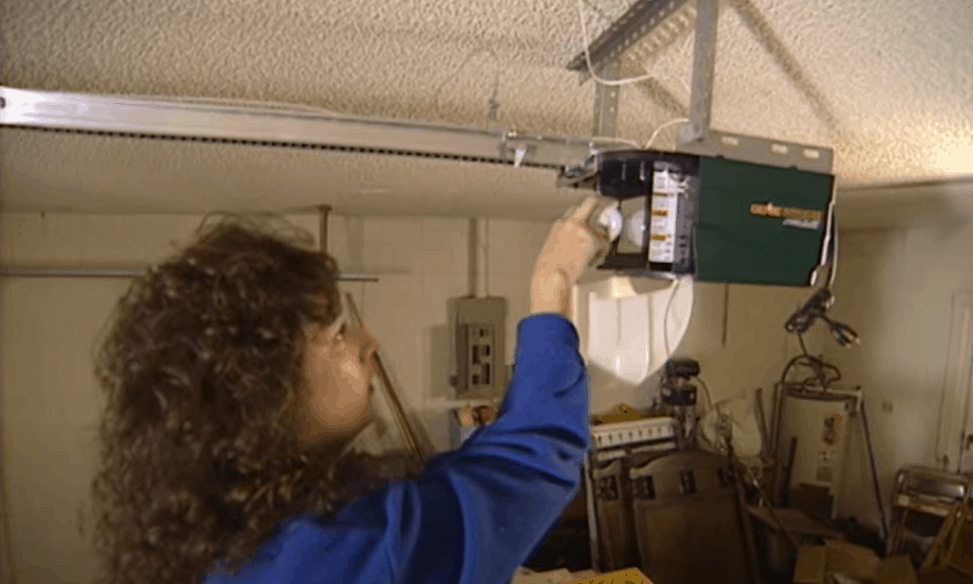
Ensure that you fix in a light bulb in the socket of the garage door opener. The user manual will state the required specification of the bulb needed in the compartment. However, you can get one for yourself the manual didn’t specify any, but make to go for a bulb with excellent resistance.
The strength is necessary to endure the vibrations of the garage door opener. The light can switch on both automatically and manually.
Also, you should install an electric eye safety system that is inside the opener package. To fix this, place two tiny cables from top to the downside of your garage door. Add the electric eye and indicator on opposite sides of the door.
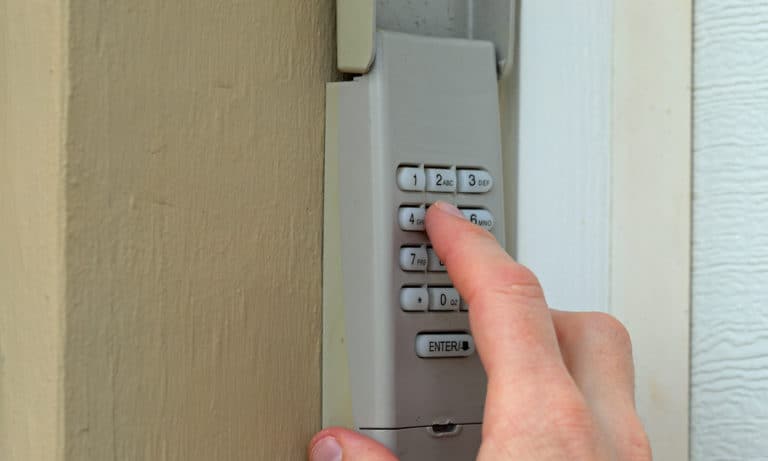
Then install a push-button control five inches from the floor out of the reach of children. Also, mount one device that you’ll use to open the garage door from the outside like a remote or keypad.
Test the Garage Door
After the whole installation, you should check if the garage door unit operates properly. Check if all the components work fine with no obstructions to the opening.
Wrap Up
The steps above explain in details how to install a garage opener. Use the steps together with the instructions on the manufacturer’s guide to achieve an excellent garage door opener installation. However, for a quick summary
- Always ensure you disconnect all electric connections
- Make sure that your garage door is compatible with an opener
- Test the garage door opener after installation
You can leave your questions and contributions in the comment sections.