Is your garage letting in too much heat or excessive cold? Standard metal doors do very little to regulate the temperatures inside the garage. An insulated door can set you back an upwards of $1400.
But, if you do not want to break the bank buying a new model, consider insulating your existing one with inexpensive foam board or fiberglass batting. Below, we show you how to insulate a garage door cheaply plus recommendations on making the project a success.
Tools for insulating garage door
The tools you will need to complete this project are:
- Tape measure
- Pencil
- Handsaw
Materials
- Foam board
- Batting fiberglass kit
- Cleaning materials
Step-by-Step Guide for garage door insulation
If you are on a tight budget, foam board and fiberglass batting are the least expensive type of insulation for your garage. You should be able to easily buy these from your local home improvement store. Follow these simple steps to install both foam board and batting installation
How to Insulate A Garage Door With Foam Board
Step 1. Measure your door panels
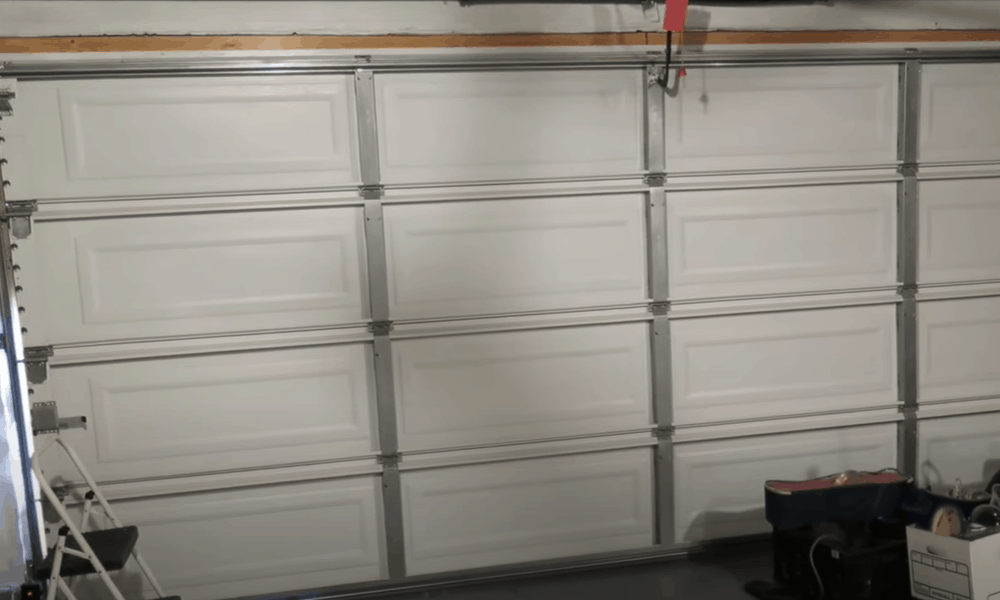
If the interior side of your garage door consists of panels, you will need to install insulation in each panel individually.
- Using a tape measure, determine the length, width, and depth of each panel separately. Panels may vary in size, making it necessary to measure each one of them individually. Write down the dimensions of each panel as you measure.
- Add up the total length, width, and depth of the panels to find out how much foam board to buy for the entire door.
- For garage doors without panels, simply measure the interior width and length of the door to determine how much insulation to buy.
Step 2. Buy the right type of foam board
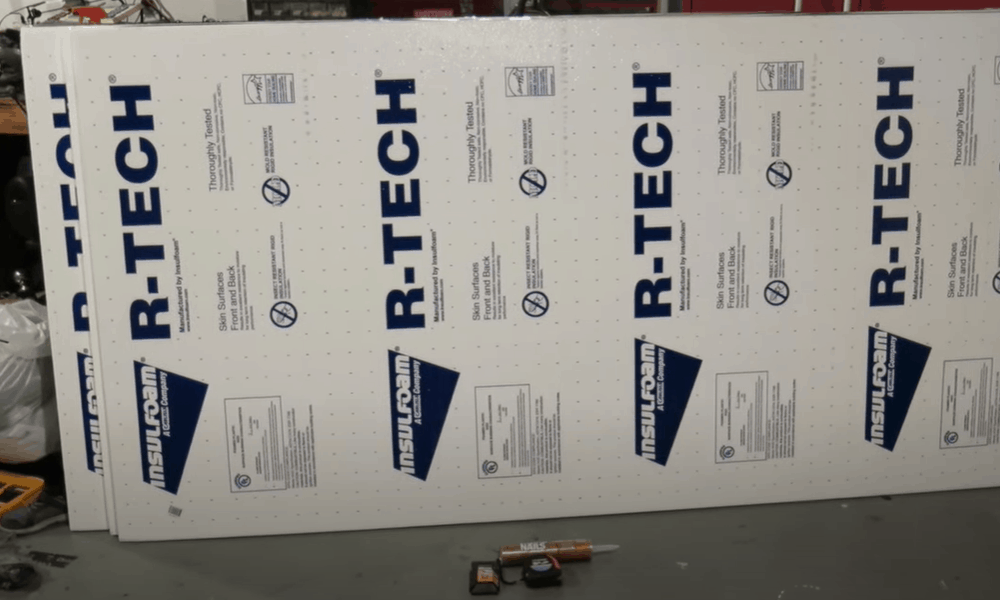
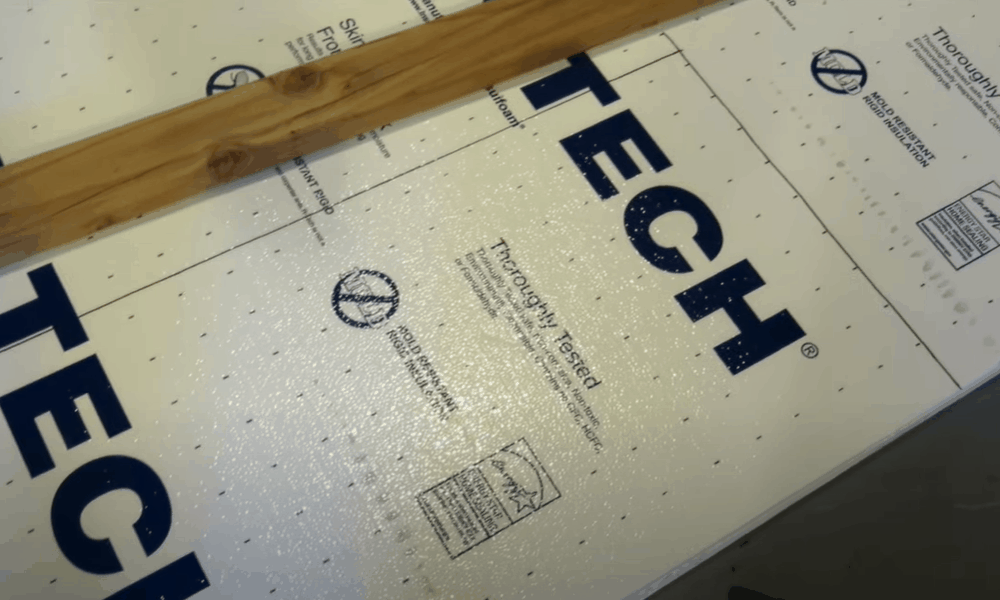
- The most common types of foam board are polyisocyanurate, extruded polystyrene, and expanded polystyrene. You can buy any of these but make sure they are fire-rated and foil-faced.
- Buy foam board that is a little thinner than your garage door panels for easier installation.
Pro tip: Do not use non-foil faced insulation as it can easily catch fire and produce toxic fumes.
Step 3. Consider the R-value of the foam board
- R-value is an important consideration to make when purchasing insulation. It refers to how well the insulation can resist heat. Materials with a higher R-value offer the greatest insulation performance.
- Each type of foam board insulation has different R-values. Expanded polystyrene has an R-value of 4 per inch and is the least expensive while extruded polystyrene has an R-5 per inch. Polyisocyanurate has the highest R-value between 5.7 and 6 per inch and is the most expensive of all three.
- If you live in a warmer climatic zone, extruded polystyrene and polyisocyanurate might be a good choice for insulating your garage door. These have a higher R-value and may, therefore, do a better job of resisting heat and keeping your garage cooler.
- If you live in a cooler climate, consider expanded polystyrene, which has a comparably lower heat resistance and can keep the garage warmer.
Step 4. Cut the insulation material
- Inexpensive foam board is usually available in standard 4ft x8 ft planks. You need to cut the boards to the right size to fit your door panels.
- Check if your local home improvement store can cut the boards for you. Be sure to bring along the panel measurements you took earlier.
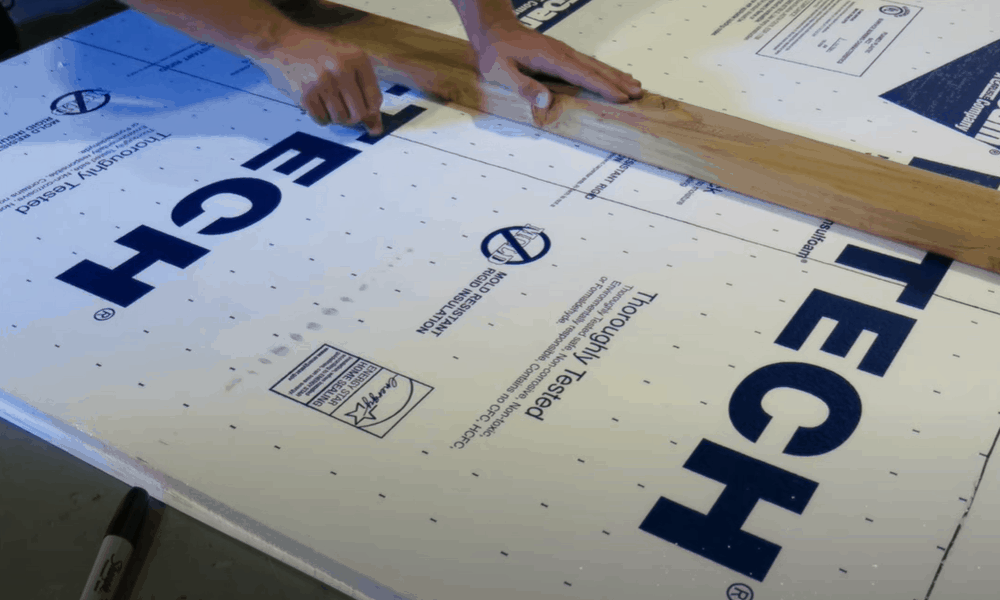
- Place a piece of insulation board on a flat surface. Then, use a hand saw to cut the board to the size of the panels. Cut as many boards as you need to insulate each panel separately.
Pro tip: Try as much as possible to cut the boards in straight lines so that the insulation fits snugly in each panel. Uneven edges will reduce the material’s insulation performance. A smart idea is to use a wooden plank or something with a straight edge to cut the boards accurately.
Step 5. Install the insulation boards
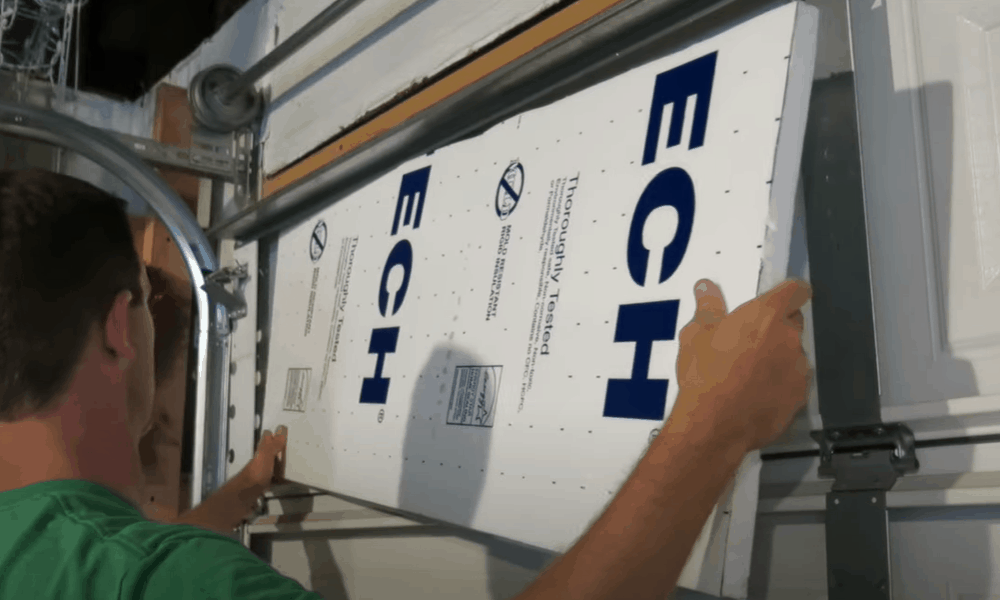
- One by one, tuck the cut pieces of foam board into the door panels. Face the foiled side of the board towards you and press the bottom edge into the panel.
- Continue to tuck the foam board around the edges and then at the top of the panel until it fits snugly. Repeat this process until you cover all the door panels with insulation.
- If you find it difficult to squeeze the entire board into the panel at once, consider cutting the board into half and installing one half first and then the next one. As long as there is no space between the two halves, insulation performance will not be compromised.
Pro tip: Use a high-quality adhesive to hold the foam boards in place. This is especially important for doors without panel rails to support the insulation boards. Remember, with adhesive, a little goes a long way.
That’s it! Your garage door is now insulated for under $100!
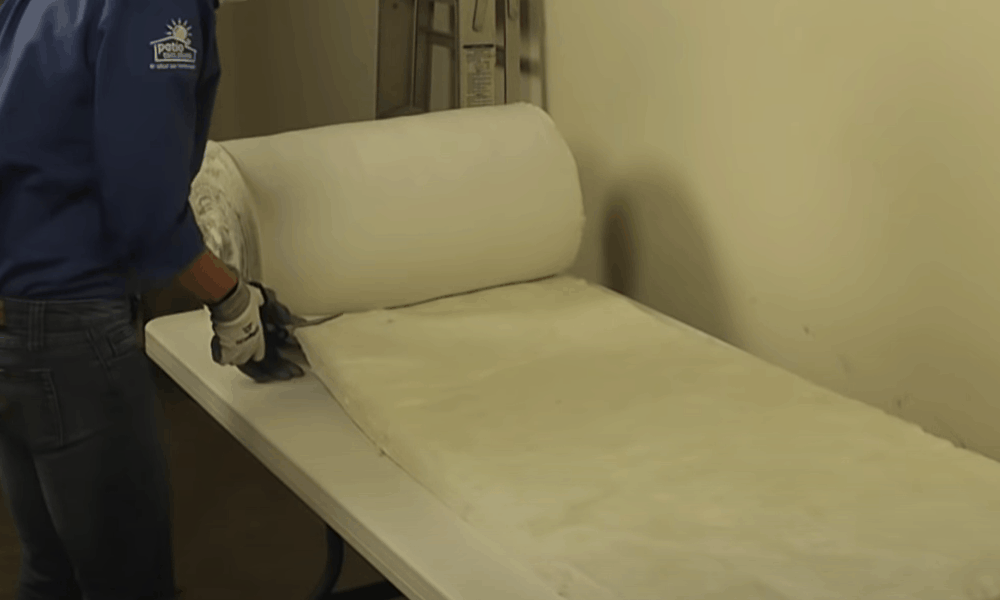
How To Insulate A Garage Door With Batting
Batting is a type of fiberglass insulation. It is generally cheaper than foam board but offers more or less the same insulation performance. Batting might be a cost-effective option if you live in an area with extreme temperature and you, therefore, need a lot of insulation.
To save on costs and time, it is best to buy precut batting sold as a garage door insulation kit. Kit prices generally start at $50 but may go higher depending on whether additional tools such as gloves and adhesives are included.
Follow these steps to install batting insulation:
Step 1. Measure your door
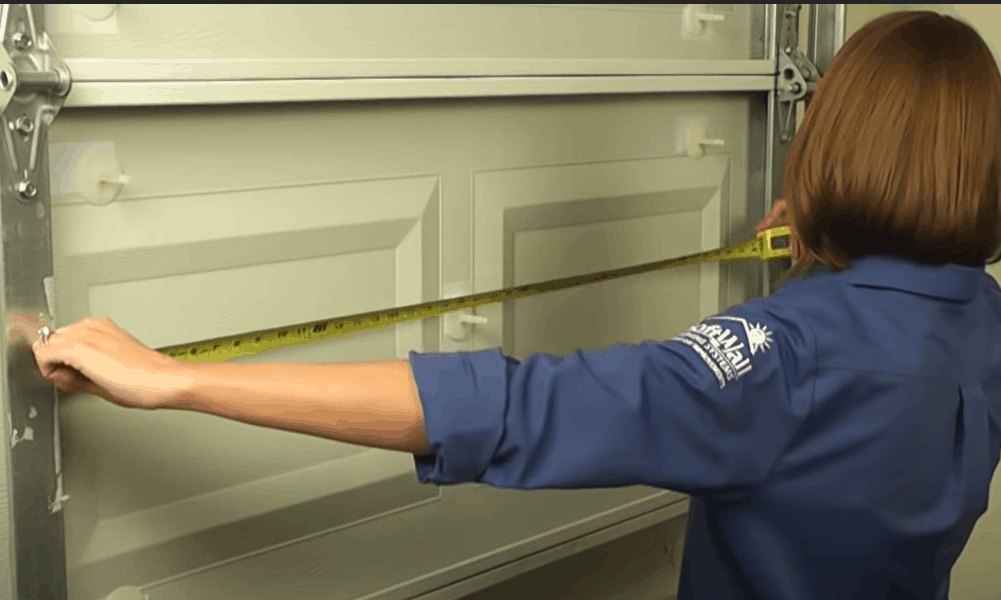
Use a tape measure to determine the width and length of a flat-surfaced garage door. If your door is made up of panels, measure each section separately. These measurements will come in handy when buying the right type and number of batting kits.
Step 2. Buy the right kit
- Batting insulation comes in different R-values. Select a kit with the highest heat reflectance for better insulation performance.
- Purchase enough batting to cover your entire door. Depending on your insulation needs, you might have to install more than one layer of batting, which will require you to buy two or more kits for adequate insulation.
Pro tip: Always wear protective gear when working with fiberglass. You can buy an all-inclusive kit that comes with protective gloves and a dust mask in addition to the insulation material.
Step 3. Set up the retaining pins
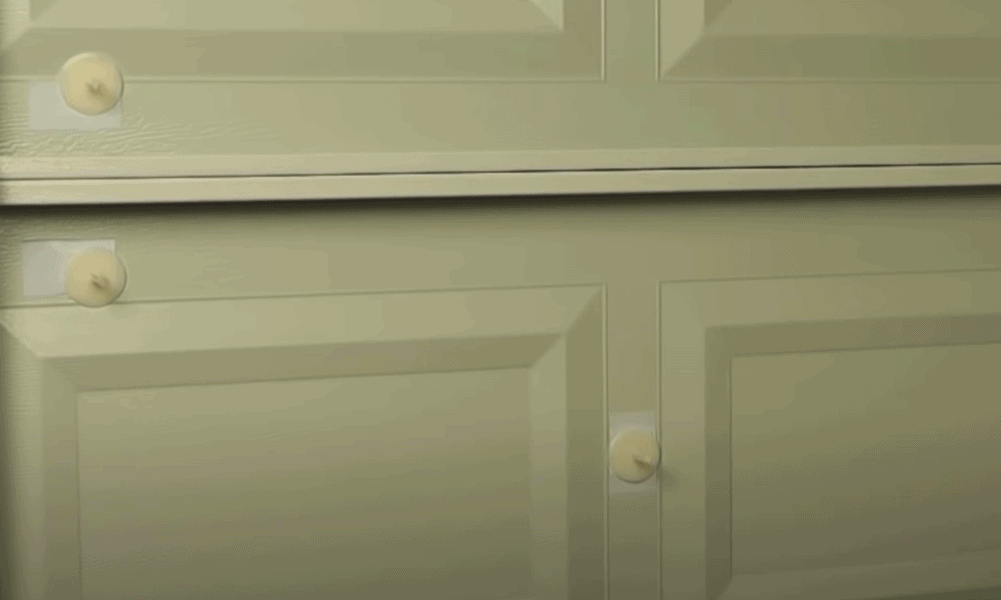
The biggest advantage of pre-packaged batting kits is their retainer pins. Made of plastic or metal, these pins have a wide base with adhesive at the back so you can stick them on the garage door to hold the insulation in place when the door is open.
- Stick a retainer pin at the center of each panel. For correct positioning, measure the length of the panel, find the middle point then firmly stick the pin. Repeat this until there is a pin on all the panels.
- For a flat-faced garage door, simply install enough pins all over the door to support the number of batting pieces you will install. For best results, space out the pins evenly.
Step 4. Install the batting
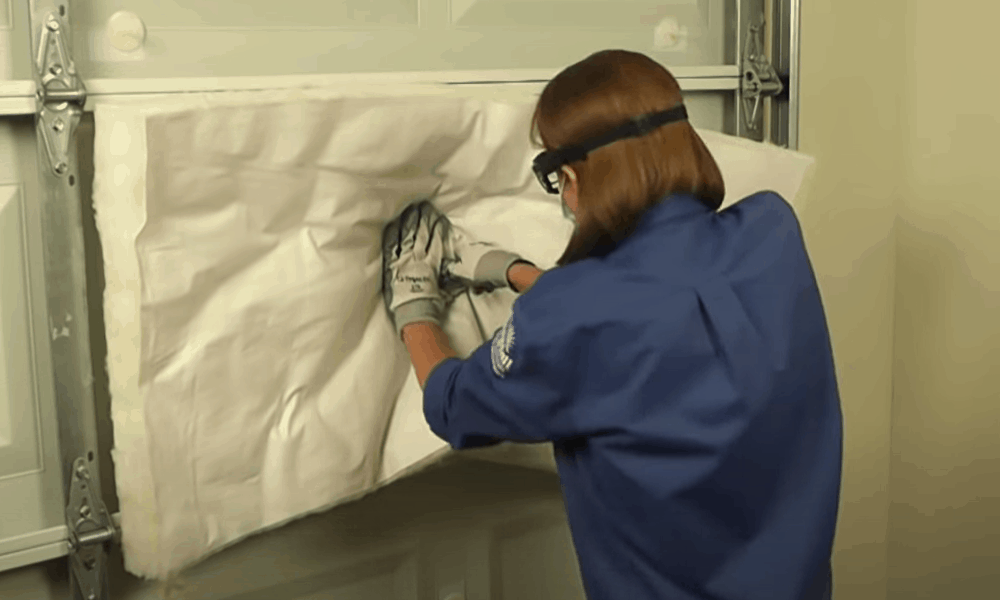
- If you have a flat-faced door, pick up the batting and spread it out on the interior of the door. It is best to have someone help you here. The plastic or foil side of the insulation should face you both for aesthetics and improved insulation.
- Locate the retainer pins underneath and make a small cut at each pin location. This will allow the head of the pin to protrude through the batting. Do this for all the pins and until the entire door is covered in insulation.
- Install fasteners on the head of the pins to lock the insulation in place. If properly installed, the fastener should make a click sound.
- If you have a door with panels, the process of installing batting is the same but you will first have to cut the insulation material to the size of each panel. Tuck the insulation along the edges of the panels and secure with the retainer pins.
Extended Tips
Here are some extra tips to aid you in getting the most out of this project:
- Clean garage door
Clean the door thoroughly and allow it to dry before installing any insulation. This will help the foam board or batting to adhere to the door.
- Implement other insulation measures
Insulating the interior of the garage door is a great first step. However, you might not realize significant cost savings if other parts of the door are poorly insulated. Extra measures you can take include replacing the rubber track at the bottom of the door if it is worn out. You can also install weather stripping along the edges of the door to keep cold air out. Consider insulating the garage walls and roof if you live in a particularly cold region.
- Purchase adhesive that is compatible with your insulation
Adhesive can prevent foam boards and reflective panels from falling when the garage door is open. However, some types of adhesives can burn and melt the insulation, rendering your project worthless. Be sure to buy the right adhesive for your chosen type of insulation. If in doubt, ask the store operators for recommendations.
Keep your garage comfortable with cheap, easy to install insulation
Insulating a garage door might sound like a daunting task, but as you can see, you can complete this project in just a couple of hours. If you are not up to fork out thousands of dollars for an insulated door, cheap foam board or batting is the way to go. Just be sure to select the right type of material for your particular climatic zone to realize the energy-saving benefits of insulating your garage.
Do you have any questions or comments about cheap garage door insulation? Leave them below—we’d love to hear from you!