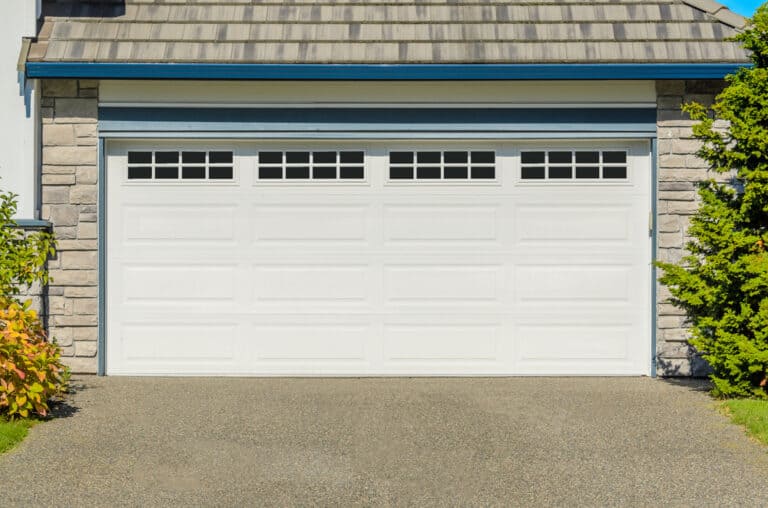
If your garage door is no longer moving smoothly, you may be contemplating an expensive repair. But before you reach for your phone, consider sorting it out yourself. Depending on what kind of door you have, it may be easier than you think.
Our step by step guide to how to adjust a garage door will walk you through the process. If you’ve got the right kind of door, it could be as good as new before you know it.
Let’s start by looking at the tools you’ll need for the job.
Tools for garage door adjusting
- Sweeping brush
- Damp cloth or old toothbrush
- Rag
- Safety glasses
- Thick gloves
- Hard hat
- Step ladder
- Adjustable wrench
- C-clamp
How to adjust a garage door
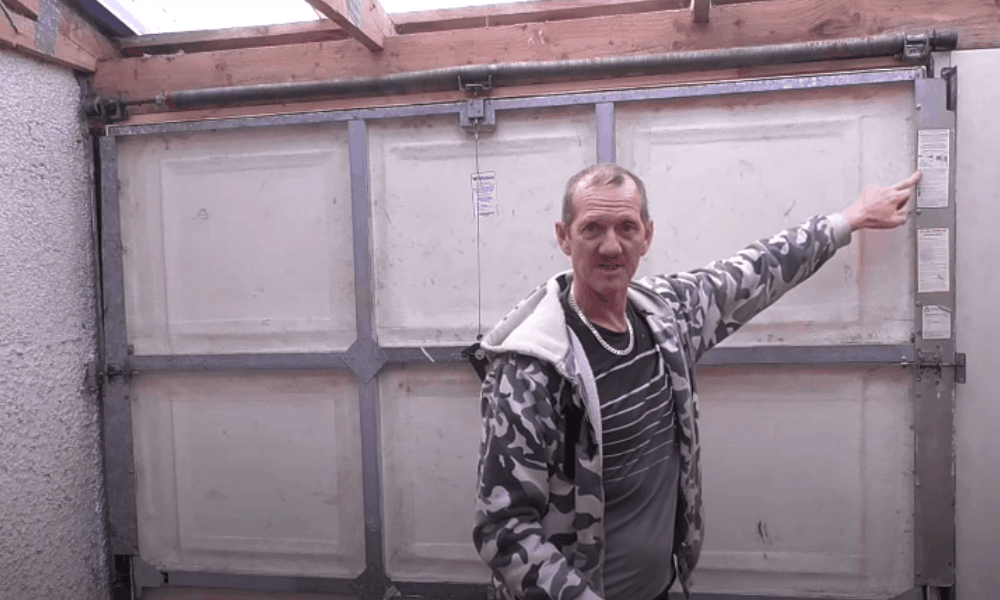
Step 1: Inspect your door
A number of different things can cause your garage door to stop opening smoothly. To identify the right solution, you need to start by pinpointing what’s causing the problem.
The issue can be with the tracks on which the door runs. Alternatively, it may be the springs and cables which take the weight of the door that are to blame.
Start by looking at the tracks. If they’re not correctly aligned, or if they’re dirty, they could be the cause of the problem. If this is the issue, move onto step 2. If the tracks are fine, go to step 3.
Step 2: Repair any damaged tracks
If the tracks are dirty, give them a good clean. Sweep any debris away, then clean with a damp cloth. When the tracks are spotless, wipe them dry with a rag.
Try closing and opening your door again. Hopefully, that’s taken care of the problem.
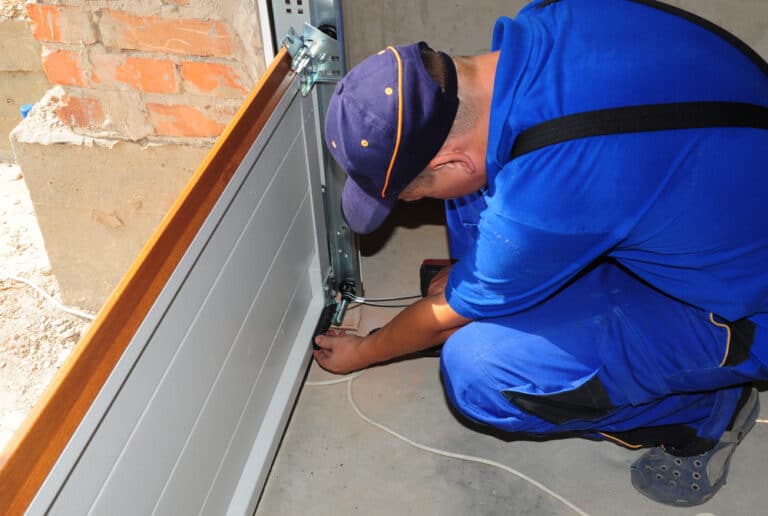
If the tracks are warped, they’ll need to be replaced. This isn’t too difficult, but there are number of steps and you’ll need some additional equipment. Check out this video, which will show you how to replace a vertical track.
Pro tip: To get rid of stubborn grime from the tracks, scrub with an old toothbrush. The head will be small enough to get right into the grooves.
Step 3: Identify what type of springs you have
If the tracks look fine, check out the springs. These will be one of two types: torsion or side-mounted extension springs.
Torsion springs are most often used with bigger doors, those with a width of over 10 feet. They’re positioned over the door, along a shaft and parallel with the upper door rim. There may be one or two of them, depending on how big and heavy the door is.
If you have torsion springs, it’s best to call in a professional to adjust them. It’s not straightforward, because you need to work on them whilst they’re carrying the weight of the door. If you get it wrong, it can be very dangerous. Don’t risk it.
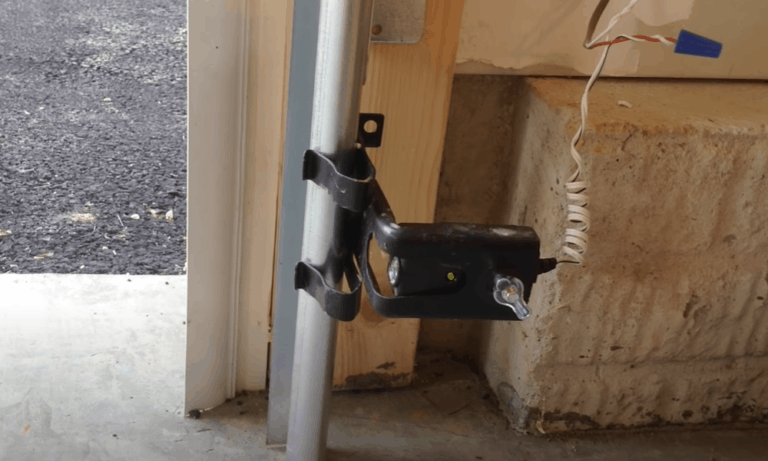
If you have side-mounted extension springs, you’ll find one above the track on each side of the door. They’re positioned so that they run parallel with the track. They’ll be held in place by a cable and attached to a pulley.
If you’ve got side-mounted extension springs – that’s good news! This guide will work for you.
Step 4: Pinpoint the adjustment you need to make to the spring tension
The adjustment you’ll need to make to your springs depends on the action of your door.
If the door isn’t shutting evenly, you’ll need to adjust the spring tension on the side where there’s a gap.
If it’s stiff to close or isn’t closing all the way, you’ll need to decrease the spring tension. This will also be the solution if the door is opening too fast.
If the opposite is the case – that is, the door is closing too fast or is hard to open – the tension needs to be increased.
Step 5: Prepare your workspace
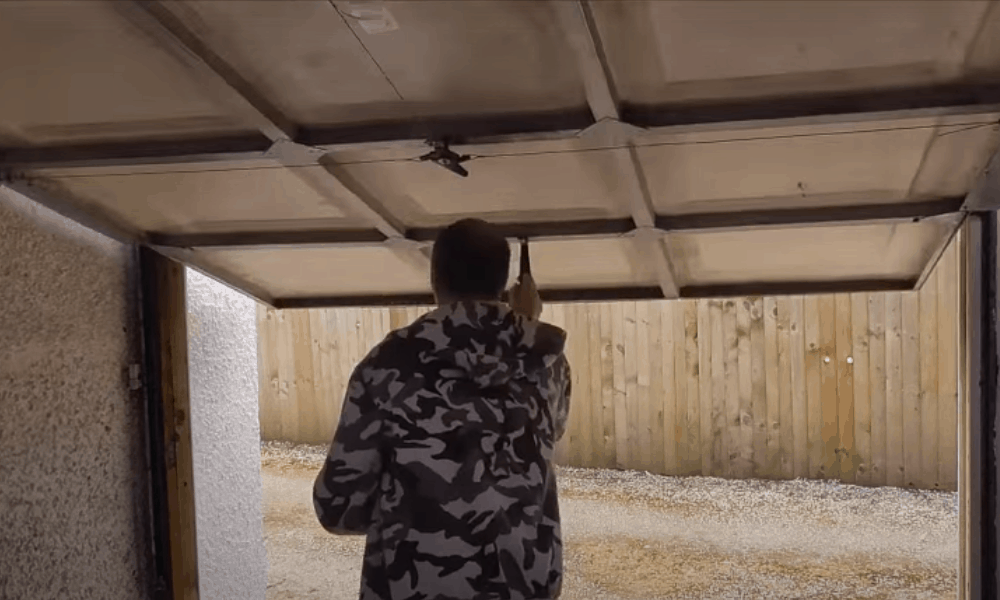
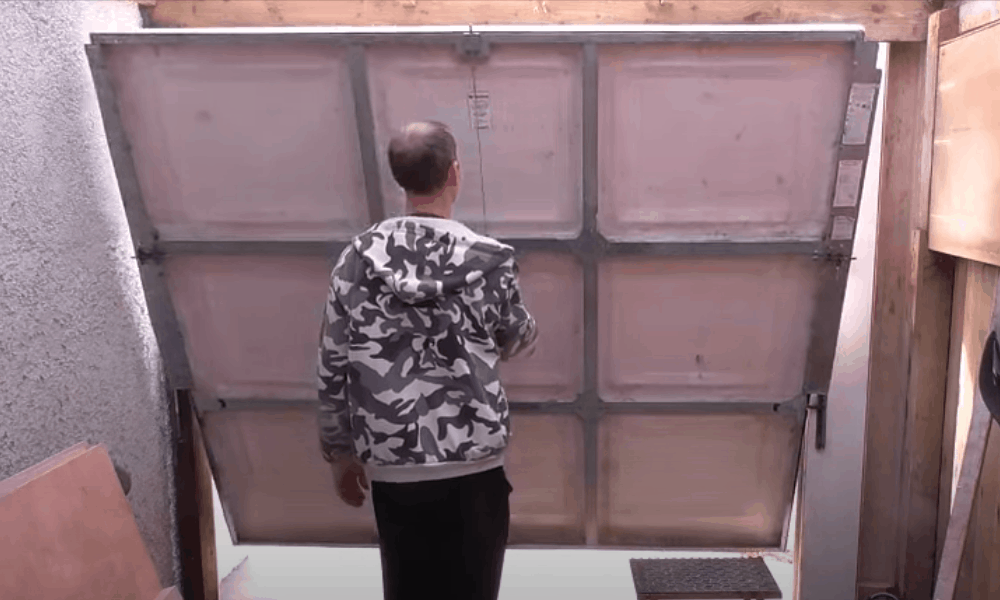
Open your garage door as far as it will go before it’s stopped by the stop bolt.
If you have an automatic door, you’ll need to start by disconnecting it from the opener.
Turn off the power to the door. Now pull the cord on the back of the door down and backwards. This will keep the spring locked open. That will allow you to open the door all the way, so the springs aren’t under tension.
Put on your gloves, safety glasses, and hard hat. Now place the C-clamp under the roller at the bottom of the door. If you prefer, you can use locking pliers and place one under each of the bottom rollers. Either way, your door needs to be held securely in place while you work.
Step 6: Adjust the tension in the springs
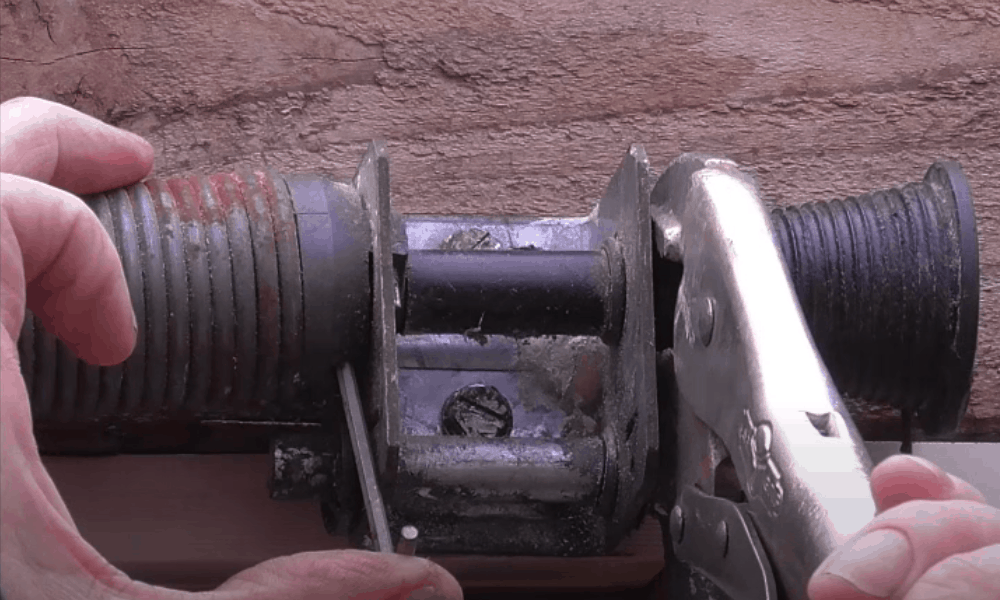
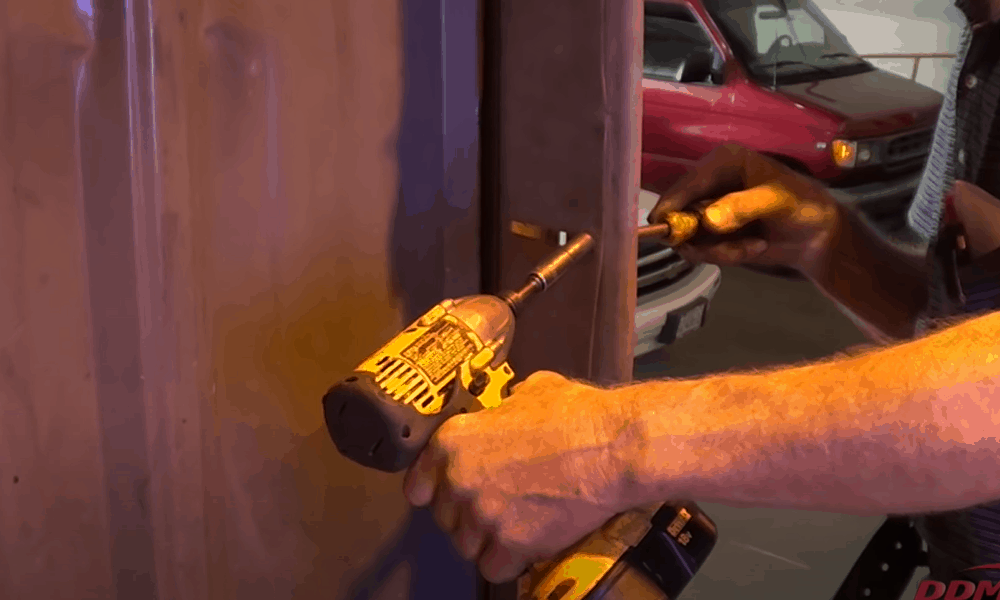
You’ll need to remove what’s called a spring hook before you’re able to change the spring tension. This is a big hook that attaches the spring to the track hanger. It’s held in place by a nut.
Before you do anything, check again that there’s no tension in the springs. If there isn’t, mount the ladder and use your adjustable wrench to take off the nut. The one you need is the one on the rear of the bracket.
This will enable you to move the hook to a different hole on the track hanger. Moving the hook is what changes the tension in the springs. Moving it to a lower hole will decrease the tension. Move it to a higher hole, and you’ll increase the tension.
If your door is to hard to open or closes quickly, move the hook up one hole. If it’s too hard to close or shuts too fast, move the hook down one hole. Now replace the nut and tighten it with your wrench.
If the door is closing evenly, make the same change to the springs on both sides of the door. If there’s a gap on only one side of the door, that’s the spring you need to adjust.
Pro tip: Don’t be tempted to move the hook more than one hole at a time. Slow and steady is the best approach here.
Step 7: Test whether your adjustment has worked
Remove the clamp from the roller and lower the door. Has the adjustment fixed the problem?
If it hasn’t, repeat steps 5 and 6. Make sure you re-clamp the door before you move the hook again! And when you do, move it up or down by only one hole at a time.
Test the door again. If it’s still not right, keep repeating the process until it is.
Step 8: Fine tune your spring tension
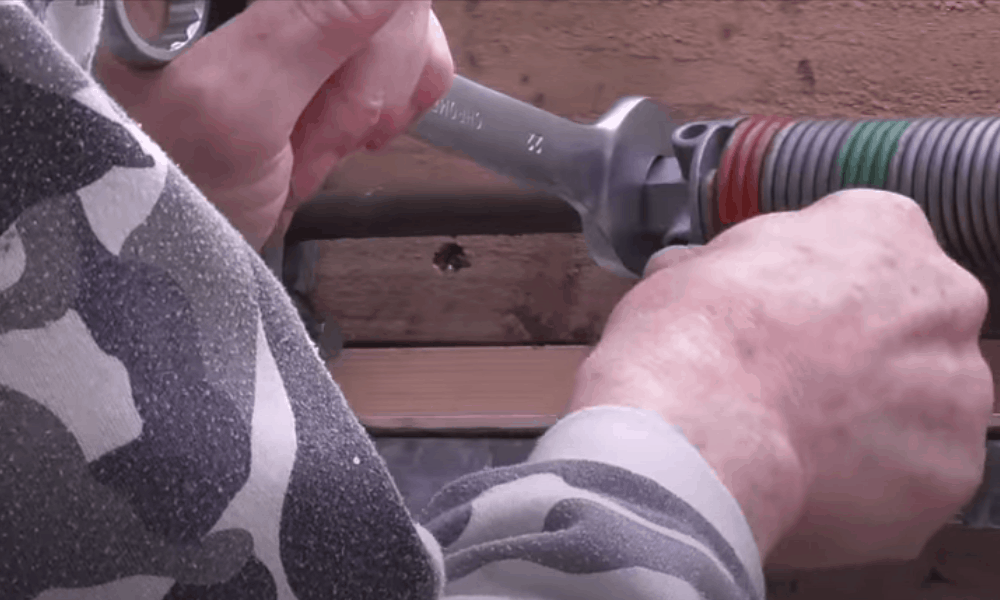
You might find that raising or lowering the hook doesn’t get the perfect amount of tension in the springs. If you need to make finer adjustments, you can adjust the cable that sits inside the springs.
To do this, you’ll need to adjust the clamp or knot attaching the cable to the hook or track. Make the cable shorter, and you’ll increase the tension. Lengthen it, and the tension will decrease.
Remove the clamp and test the door again. Continue fine tuning the cable until it’s perfect.
Pro tip: In some cases, there’s an S-hook attaching the cable to the track. The same principle applies here as for the spring hook. Raise the S-hook up a hole to increase the tension on the cable. If you need to decrease the tension, lower it by a hole.
Step 9: Get ready to use your door again
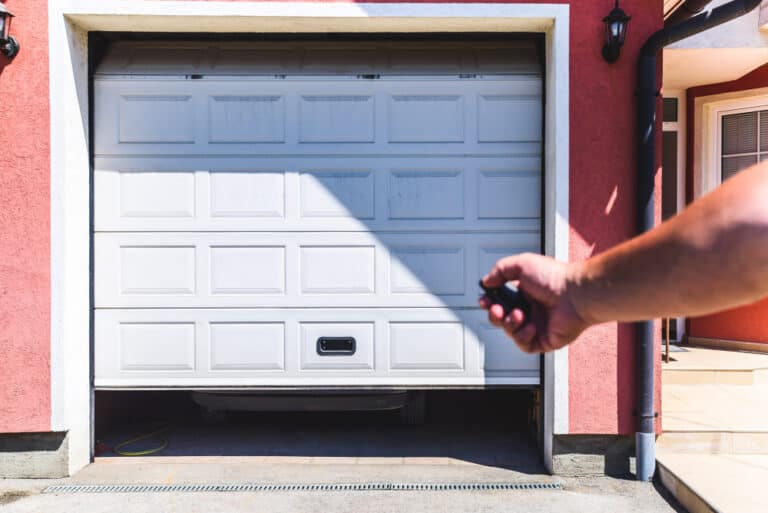
Your door is working perfectly again – congratulations! Make sure you’ve removed any clamps or locking pliers. Now tug on the emergency cord. The spring will be released and the door will be reattached to the opener.
If you’ve got an automatic door opener, you can now switch the power back on.
Extra tips
If you’ve got an automatic garage door, the spring tension will affect the work the motor needs to do. The tighter the springs, the more power will be needed to close the door. On the other hand, tighter springs mean less power will be needed to open the door.
In adjusting the tension on the springs, your goal is to get a balance. Your motor will be under least strain if the same power is needed to open and close the door.
Automatic garage doors can run into other problems too. If your door is opening a few inches, only to close again, it may simply be obstructed. Check for any items that might be getting in the way. It’s worth checking the track too, in case any debris is causing a blockage.
Finally, remember that regular maintenance can avoid the need for repairs. Clean the tracks of your garage door regularly. Carry out a regular inspection, tighten up any loose nuts, and replace any worn components promptly. You’ll save yourself money in the long term.
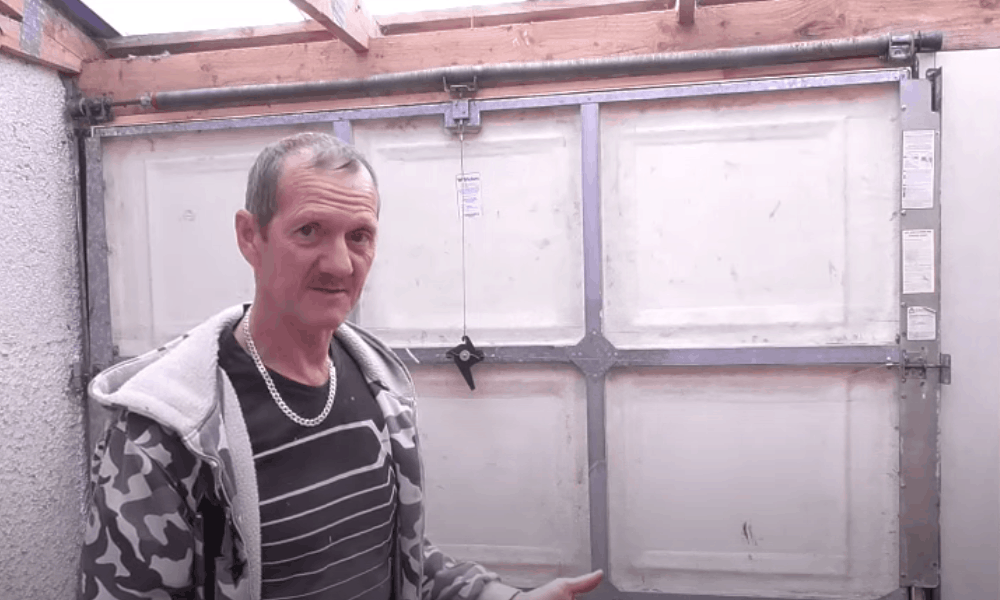
Time to fix that garage door!
We hope our guide has given you the know-how to adjust a garage door. Take your time at the beginning to properly identify the problem, and you’ll save time later. And if your door has torsion springs, don’t risk the DIY approach. It’s much safer to call in a professional.
We’d love to hear from you if you’ve adjusted your own garage door. How did it go? Did you run into any unexpected problems? Please comment and share your tips for a successful project!