Are you looking to add rustic charm to a room in your house? A wooden sliding door is a fantastic choice. Also known as barn doors, these can be hung on just about any entryway including the bathroom, a walk-in closet, TV room, and living quarters.
Kits with all the hardware you need are available in most local home improvement stores, making it super easy to set up your door. Don’t worry, you only need basic DIY skills to install a barn door—we’ll show you how.
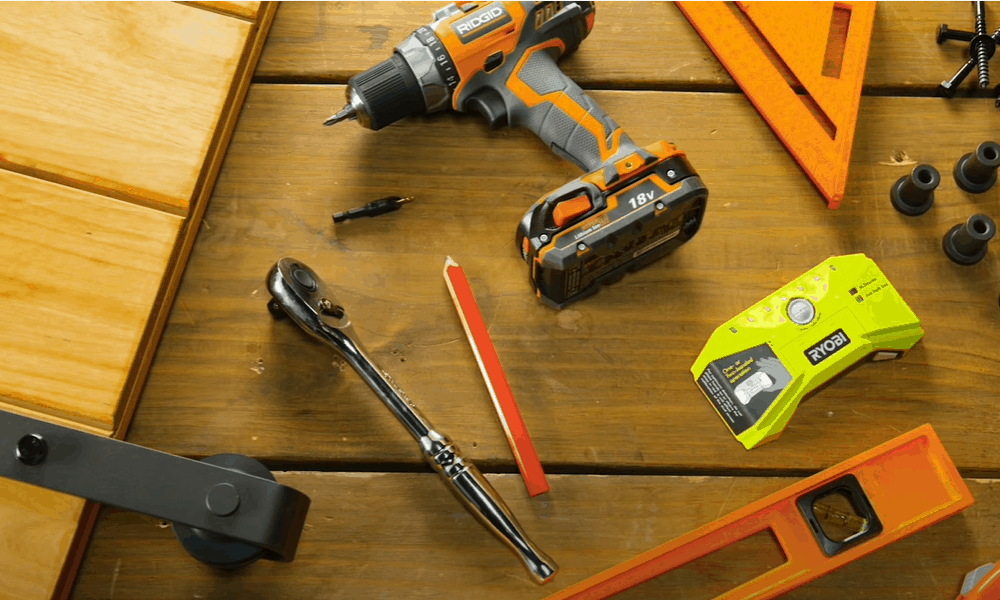
Tools for installing sliding barn door
The tools you will require to complete this project are:
- Cordless drill
- Screwdriver
- Tape measure
- Pencil
- Level
- Speed square
- Allen key
- Countersink bit
Materials
- Hardware kit
- Barn door
- Paint
- Nail filler
Step-by-Step Guide for hanging barn doors
Follow these simple steps to install a barn door.
Step 1. Gather all the necessary hardware
In addition to the door, ensure that you buy a hardware kit that comes with the essentials including a steel track, left and right stoppers, straps with rollers, anti-jump discs, floor-mounted guide, spacers, washers and lag bolts, door strap bolts, floor anchors, and screws.
Step 2. Prepare the backer board
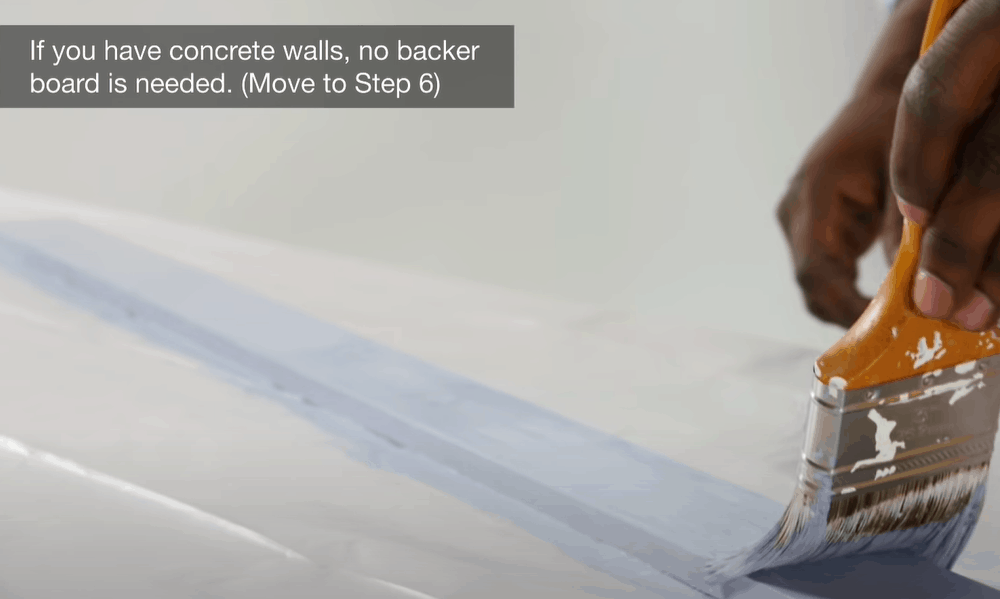
- A backer board is a sturdy block of wood on which the track and door will hang. If you are installing on drywall, this piece is important as it offers the necessary support for hanging the door without needing to tear the wall apart to add reinforcement.
- Opt for a 1×4 inch backer board. It should be the same length as but slightly wider than the track. Paint it the same color as your walls for a seamless look.
Step 3. Locate the studs behind the drywall

- Place the stud finder about the 3-4 inches above the side of the entryway then move it along to the other side of the opening. Use a pencil to mark each stud location.
- Using a tape measure, determine the distance between the studs and mark these dimensions on your backer board.
Step 4. Pre-drill holes in preparation for installation

- Using a countersink bit, pre-drill holes at each stud location you have marked on the backer board before installing the door.
- On a flat surface, place the metal track on top of the backer board and copy the holes of the track onto the board then pre-drill on these holes.
Step 5. Hang the backer board on the wall

- Have someone help you hold the backer board against the wall. Then, insert a screw on each end of the board. Remember to only insert screws in the pre-drilled holes at the marked stud locations.
- Keep the board level and insert the remaining screws. Be sure to drive the screw heads deep inside the backer board.
Pro tip: Cover the screw heads using nail filler and paint for a seamless look.
Step 6. Mount the track
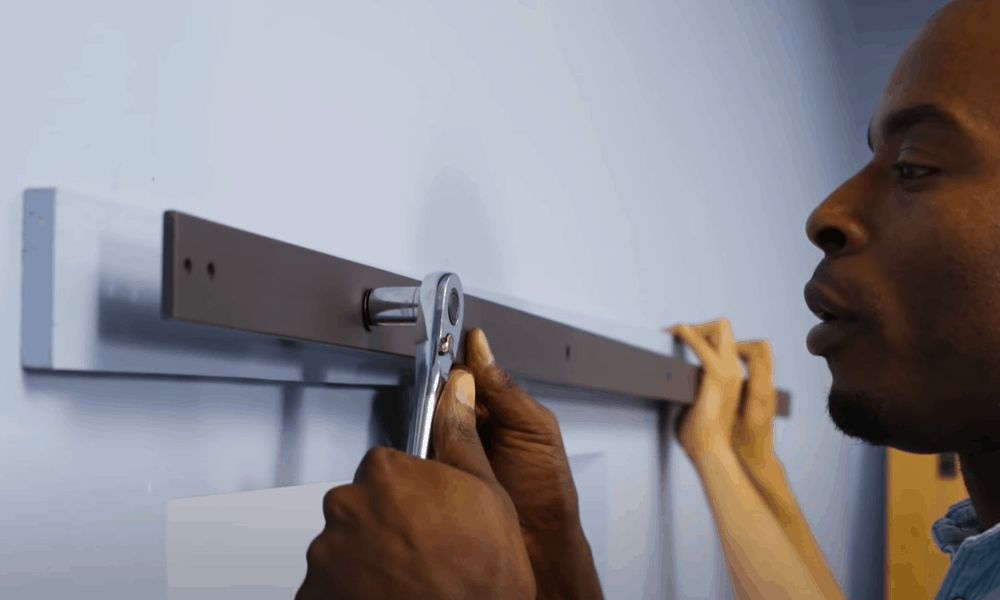
- Place a spacer on one end of the backer board where you had copied the first hole of the track. Have someone help you align the metal track with the backer board.
- While holding the spacer in place, correspond the first hole of the track to the hole in the spacer. Then, insert the washer and lag bolt and tighten them into place using a wrench. Repeat this process for the remaining track holes to firmly attach the track to the backer board.
- Check that the track and board are level.
Pro tip: If you are installing two doors, purchase a track that is twice the length of the door. This will allow each door to open completely on each side.
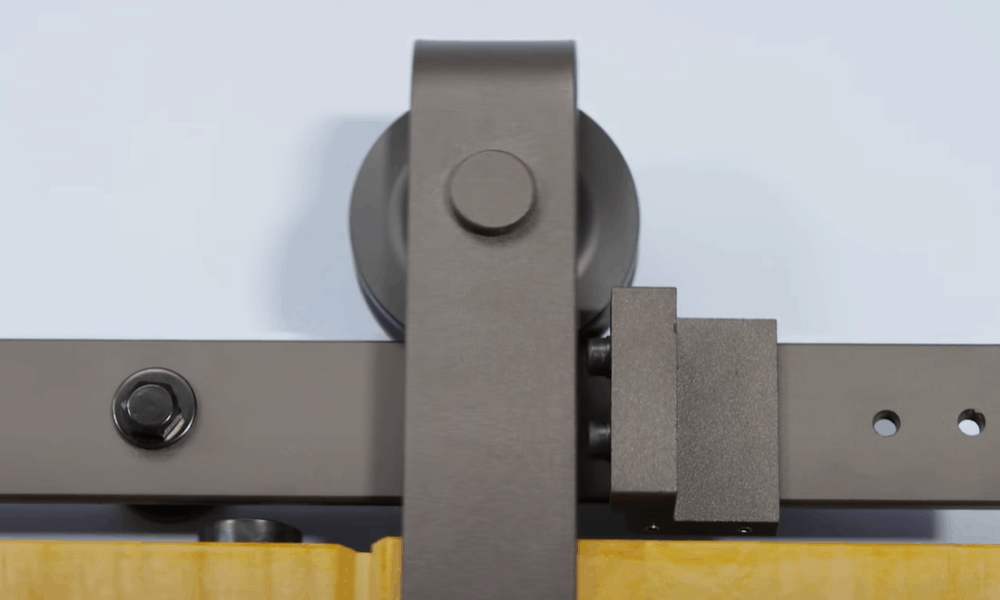
Step 7. Insert stoppers
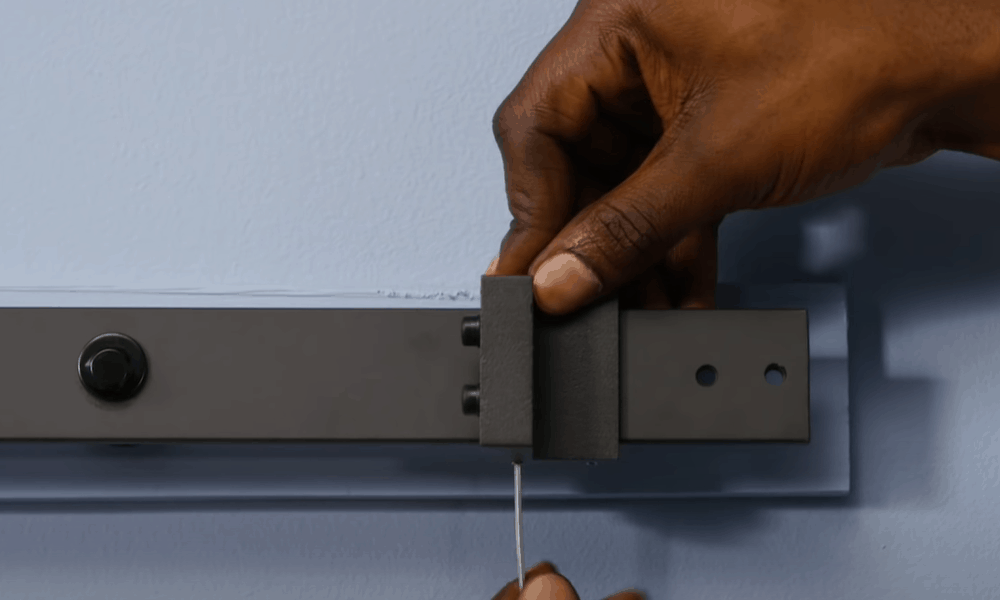
Stoppers prevent the door from sliding off the track once it is mounted. Slide a stopper on each end of the track and tighten the stopper screws with an Allen key.
Step 8. Install straps and rollers
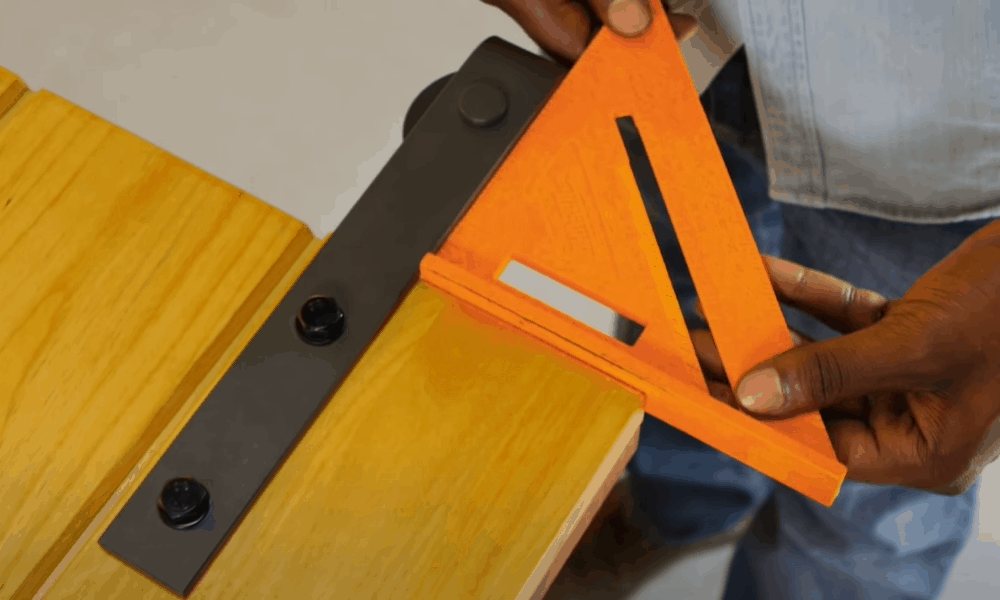
- Barn doors usually come with pre-drilled holes for easy installation of the straps and other hardware.
- With the door on a flat surface, align the holes on the strap with the corresponding pre-drilled holes on the door.
- Use a wrench to secure the strap into place with the provided washer and lag bolts. Repeat this process with the other strap.
- Use a speed square to ensure the straps are installed straight.
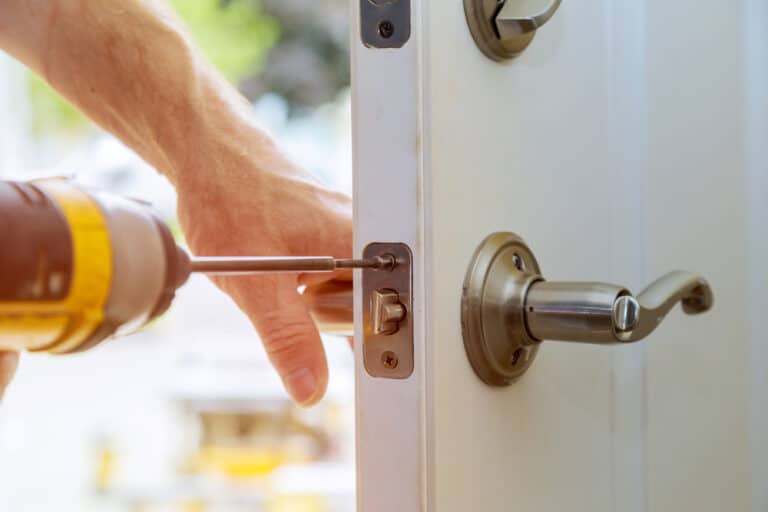
Step 9. Attach the door handle
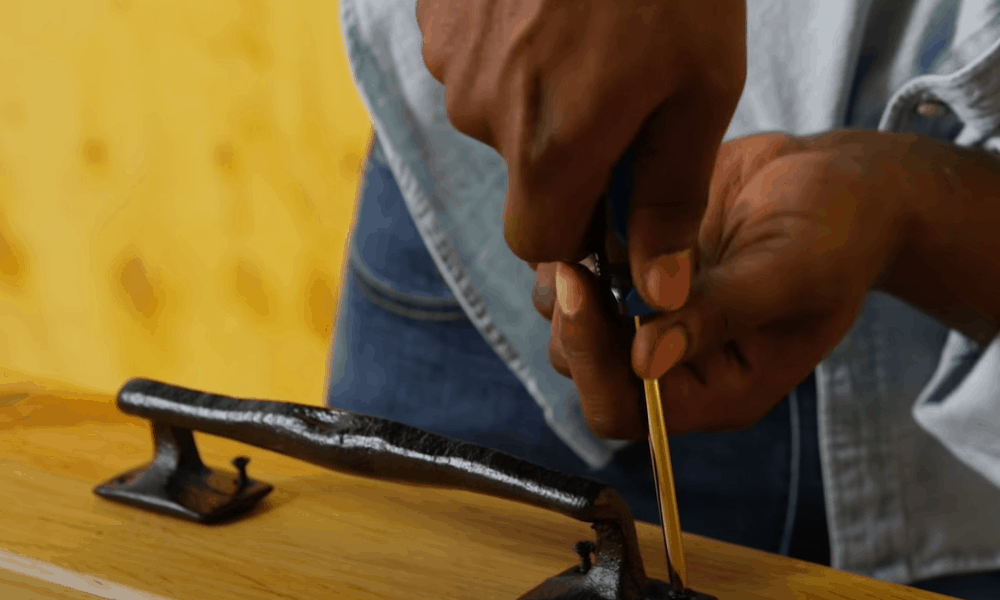
- Place the door handle in the appropriate location atop the door. The center of the handle should be about 36 inches from the bottom of the door.
- Use a pencil to mark the location of the handle’s screws. Pre-drill at these holes then, use a screwdriver to insert the respective screws to secure the handle in place.
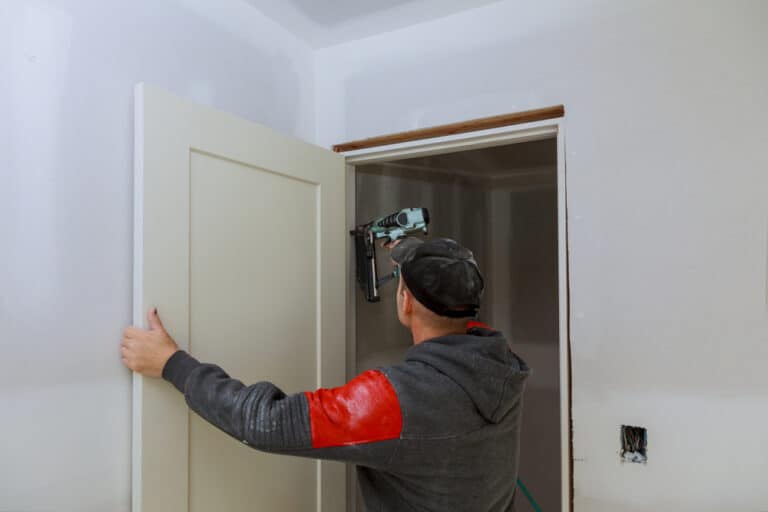
Step 10. Hang the door
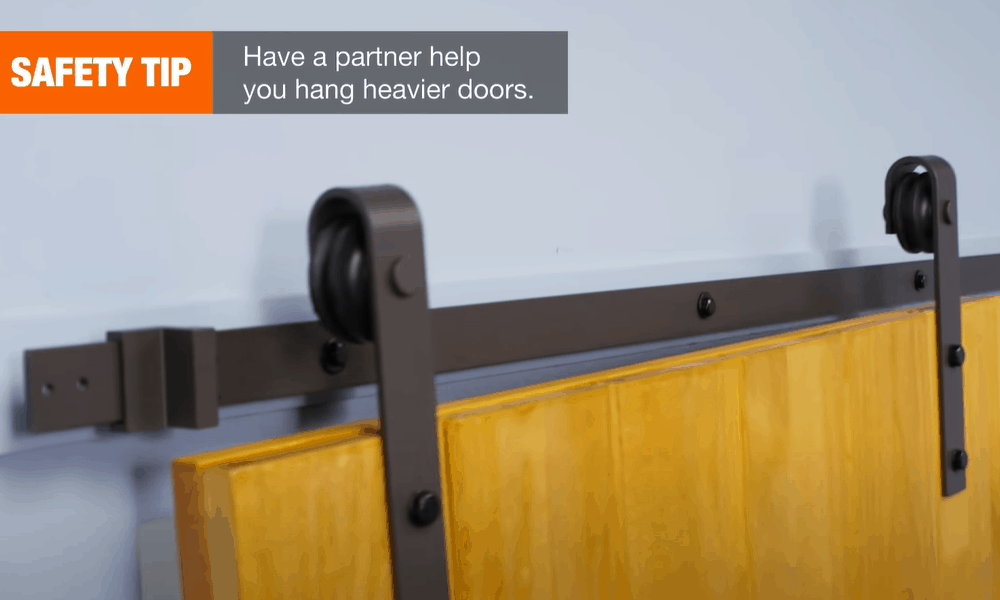
- Have someone help you lift the door. Hang the wheels on the track. Then, slide the door along the track to check that it closes and opens properly.
- Next, install the available anti-jump discs on each end of the door about 1 inch from the straps. Tighten slightly for easy adjustment if necessary. Anti-jump discs prevent the rollers from sliding out of the track.
- Slide the door along the track to ensure that it is working properly.
Step 11. Install floor-mounted door guide
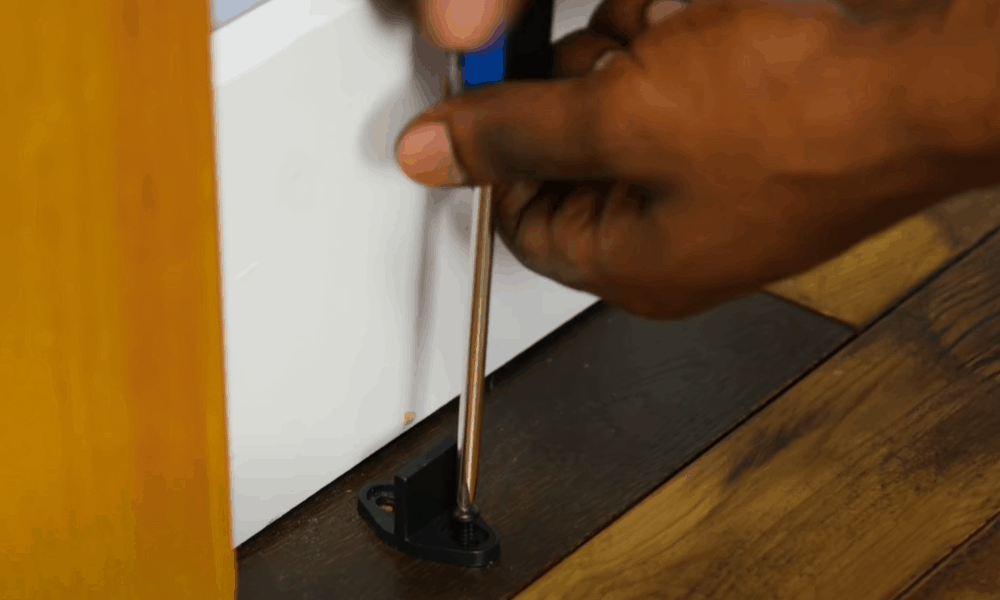
- Barn doors bought from the manufacturer come with a groove along the bottom of the door for the floor-mounted guide.
- Before installing the guide, check that the door is plumb. Then, slide the guide inside the groove on one end of the door, positioning it close to the entryway. Mark holes for predrilling.
- Pre-drill 1/4 inch holes and insert the appropriate fasteners to secure the floor guide in place. Repeat this process to install the other floor guide on the opposite side of the entryway.
Pro tip: If you are installing the floor guide on a concrete floor, use a hammer drill to drill the hole and floor anchors suitable for fastening objects to concrete or brick.
Step 12. Perform final checks
- Slide the door along the track to ensure that the backer board is strong enough to support the door
- Check that the track and straps are firmly held in place.
- Ensure that the stoppers and anti-jump units work properly. If necessary, tighten them for safe and efficient operation of the door.
There you go! That’s how easy it is to install a barn door and now it is ready for use!
Extended Tips for barn door installation
Check out these additional tips to make this project a success:
-
Consider the width of the door when buying a track
Ideally, the length of the track should be similar to or close to the width of the door. If you are installing two doors, be sure to get a track that’s twice as wide as each door. This way, both doors can easily fit and slide on a single track.
-
Get the right size door
A sliding barn door always looks attractive when it is wider than the entryway. Select a door that will extend on either side of the entryway by a couple of inches widthwise. It should also extend past the length of the entryway to block out light. Two barn doors that close in the middle are a great option for larger doors. When measuring for the door, be sure to take into account the thickness of the trim and the ½ inch space at the bottom.
-
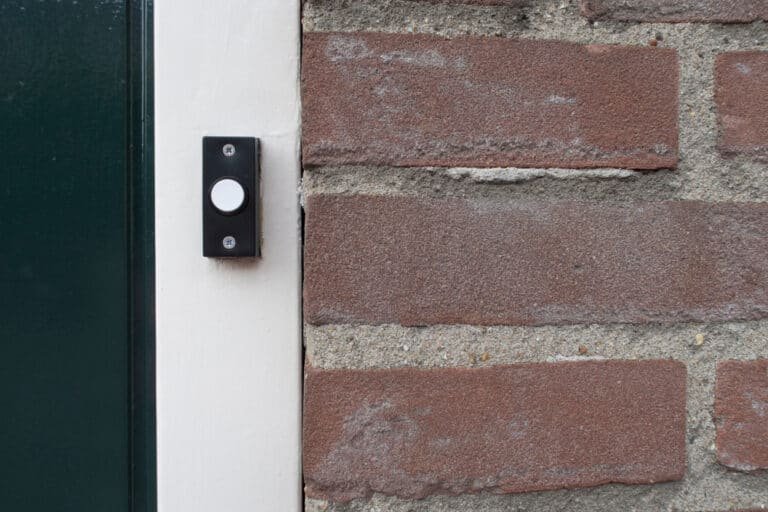
Evaluate the location of the entryway before setting up the door
Consider electrical outlets, receptacles, and furniture in the vicinity of the entryway where you want to hang the door. Are you willing to have things like switches covered by the door, therefore blocking access? If in doubt, ask a licensed electrician to check the location of electrical wires hidden behind walls to avoid interfering with these.
-
Ensure proper positioning of the track
When determining the appropriate position for the track, measure the height of the door then add 1 ¾ inch above the door opening. This will in turn leave a ½ inch gap at the bottom, ensuring that the door travels seamlessly on the track and floor guides. In addition to this, leave at least 2 inches between each end of the track and the side of the opening.
-
Lubricate the tracks and rollers after installation
Sliding doors are notorious for becoming stuck and clunky. Don’t wait until the door is too difficult to operate to lubricate it. For efficient operation, it is a good idea to lubricate the hardware as soon as you finish installing the door.
Add character, charm, privacy to any room with a sliding barn door
Sliding wooden doors are a clever way to save space while adding a unique farm feel to any room. If you are not up to building your own from scratch, simply buy one and a corresponding kit from a trusted manufacturer. Even with a pre-made door, you can still save costs by installing it on your own. We hope our instructions make it easy for you to complete this worthwhile project.
Do you have any questions or comments on installing an interior barn-style door? Leave them below- we would love to hear from you!